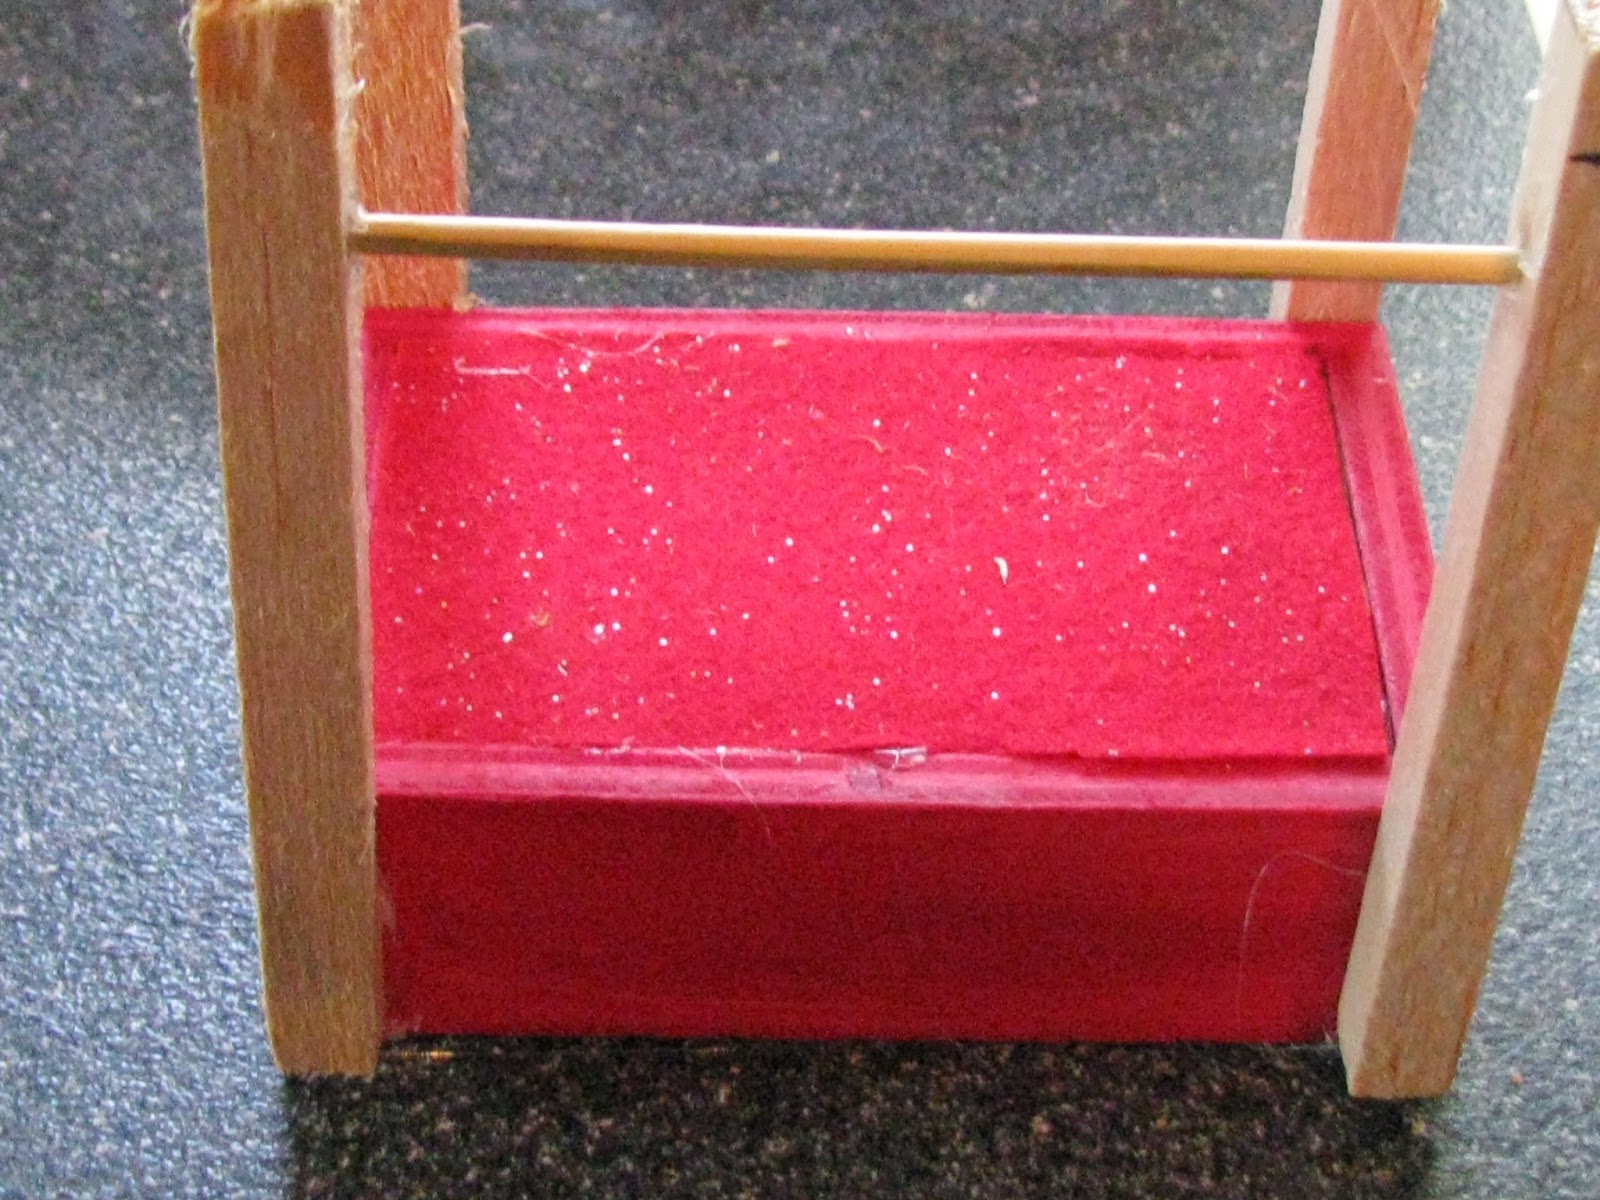
In this photo is a cheap wooden box that I purchased from Michaels craft store. I will be making the bottom of the bed with the bottom of this box ( which I already painted the bottom red).

In this picture is some square pieces of balsa wood that I cut down for the canopy top piece., As you can see in the picture I put some holes in the top areas on the sticks, I will be putting some small round shape wooden sticks in the holes as you will see.

This is what the bottom of the box looks like.

In this photo I added the wooden sticks in the holes, I also put some holes on the sides which I need for other sticks. I hot glued the sticks into place. You will see where they get installed on the box bottom for the beds canopy.

This is what it looks like with the canopy in place.

Another photo of the canopy.

A closer view of the side. You also can see I added a piece of foam board cut to size for a mattress. I also put felt on the top of it. To hold up the foam board I put some wooden sticks across on the inside of the box to hold up the mattress.
I then painted the whole bed. I then added some christmas looking lights on the tops of the canopy poles to give it a nice look.

In this photo you can see what the bed looks like from the bottom looking up. I also added some trim work on the sticks on the sides. I also took two decorative hair combs and cut off the teeth and hot glued them to the top and bottom of the bed for a footboard and headboard.

In this photo you can see the decorative hair combs better, and the trim. Any hair piece looks great as a foot board or headboard. Now to show you how I made a countertop/ stove for the kitchen area in the house.

This is a piece off a trophy that I took apart for another one of my projects.

I added some white foam board to the sides and top of this piece to hide the colors.

This is what it looked like after I added the foam board to it.

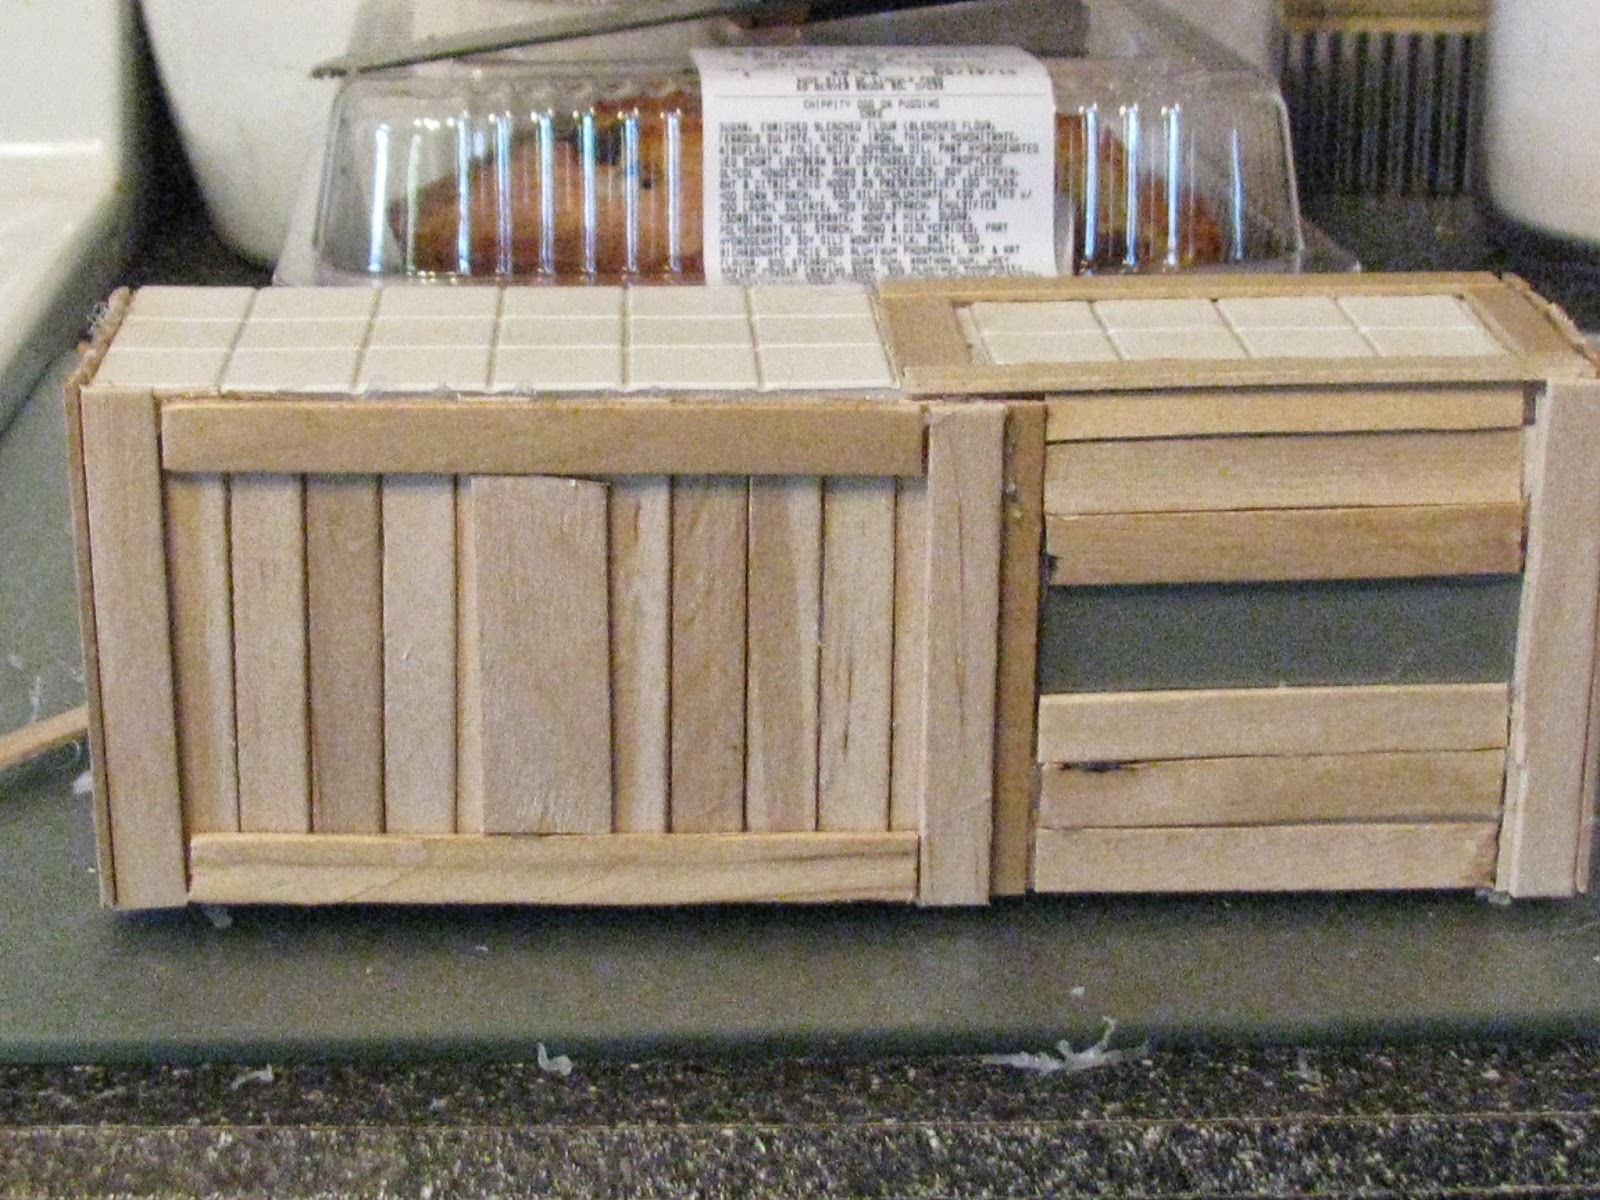
In this photo the gray item in the back is a metal plate from a switch plate which I will cut a piece off to make the window for the oven area. You can also see popsicle sticks which I'm making a wainscotting out of.

In this photo you will see the gray piece of metal I added to look like the window of the oven area. You can also see the popsicle sticks as the siding around the piece. I also added some plastic fake tile sheets to the top to look like a tiled counter.
This is what the project turned out to look like after adding some beads, pictures on the cabinets. I also painted it a brown color.

Here is what the top turned out to look like. I added some small wooden circles and painted them black with a white dot in the middle of the circle to look like the burners.

This is two top pieces off another wood piece I bought from michaels, I put them both together and added some wooden hearts in the middle of them.

This is how the little girls bedroom turned out to look like. The mirror in the background was from a birds cage which I painted black and gold.

I also made a country looking bed which I started out exactly like all the beds I make ( the bottom part of a wooden box)

This is the parlour area of the house, as all of my houses I made a TV which lights up at night with a solar light. I also made a fireplace. The bottom of the fireplace is the marble base off a trophy.

This is what the kitchen looks like. The refrigerator is made of the same type of wooden box I make the beds out of. I painted on the details to make it look like a refrigerator.

This is the bathroom area. The sink is made of a martini glass painted cameo color. The toilet is made of clay.

This is what the little boys room looks like.

I made curtains for all the windows out of pieces of a window topper I bought from a garage sale. You can make alot of different items for a dollhouse from things you will find at the dollar store etc. Use your imagination.

Keep checking my blog you will see me transform this candle holder into a gazebo for another one of my dollhouses. In this picture I have already taken out the glass panels on the sides. Don't miss seeing this one it will give you some good ideas of your own.


