Ad sense auto

Google analytics

Friday, June 28, 2013

An old round sink turned into a fairy swimming pool.


This is an old sink which I got from someone, they didn't want it anymore.  I had to take out all the plumbing fixtures.


This is the plumbing fixtures that I took out of the sink.


The first thing I did was wash the sink.  As you can see the sink is a beautiful sky blue color.  I first added three glass decorative round mirrors to cover the three holes that the plumbing fixtures were coming out of.  I then glued on glass round decorations and some small marbles.  


I dug a hole in the yard and installed the whole sink down inside it.  I then placed rocks around the sink to make it look like a swimming pool.  You can see the frog statue is already enjoying it.  I added a little house off to the side and a Grecian type statue.


This is what the finished project looks like in the garden.  I will be purchasing a sink stopper so I can control how much water I want in the sink.  This is a great thing to have in your yard it helps out the animals in the hot weather.  When you need to change the water pull out the sink stopper and refill.  This would be a great project for your children, they can make a fairy garden with a swimming pool.  There are many things you can use this sink for once it's in the ground.  I hope this gets your imagination going.  I'm sure I will be adding some small flowers around this area maybe some fake looking trees etc.  The possibility's are endless.  


Thursday, June 27, 2013

Old tiffany style lamp, lighthouse, turned into something unique. Solar light.


These are some pieces I will be using for this project.  These are different pieces from different style lamps.  You can also see a cap for a PVC pipe, which I drilled a hole in the top of it.  The PVC cap is going to go over the area that gets cut off on the long pipe which you will see in a photo below.


I will also be using this fake tiffany style hanging lamp.  I bought this at a garage sale it had no electric installed in it.


Your probably wondering what is that?  Well this used to hold a table umbrella, it's an older one.  I will also be using this.


As you can see in this picture I cut off the bar that was extended on top.  This is the area that I will be installing the pvc cap.


I then spray painted this item with outdoor metallic blue paint.


I then added the fake tiffany style hanging lamp upside down on top of the umbrella holder.


I tried to get a good close up of the fake tiffany lamp where it is connected to the other piece.


This is what the inside top looks like.  As you can see I spray painted all the pieces so they would match.  I used a lamp topper for the top.


This is a lighthouse that used to hold a candle.  I started taking the top portion off, I will be installing a solar light on top that changes color from red to blue to green.  


I then added some fake ivy and flowers around this item.


This is the solar light I will be using for this project, I love solar lights!!  I just need this piece, not the stick bottom.


This is the lighthouse minus the top.  The solar light fits right down into this area.


As you can see in this photo I installed the lighthouse in the center of this item and the solar light right on top.


this is what the top looked like finished off.  The solar light will light up the lighthouse at night with the three different colors. Also if you look inside the lighthouse you will see the top of the lamp fixture.  I hope you can see what an old umbrella holder can be with a little imagination.  


Wednesday, June 26, 2013

New York, Twin Towers, Statue of Liberty, Solar lights Project.


This is the lamp which I will be using for this project.


I will also being using this outdoor candle holder.


I will also be using this water globe which has new York in it, it also has the twin towers and statue of Liberty.


This is the inside of the bottom of the candle holder, I had to drill a hole in the bottom so I could install a threaded bar through it to hold all the pieces together.  I also painted the whole candle holder a beautiful metallic blue.


When I put  both the candle holder and the lamp together this is what it looked like.  As you can see I painted the lamp to.


These are some parts I used for spacing for this project.


This is what under the lamp area looked like before the spacer was added and the bolt.


I used this piece for the inside of the candle holder, I will be installing a circle mirror on top of it.


I added to the bottom inside of the candle holder some square glass tiles, they are black and white.  I also added some fake leaves.


I drilled two holes one on each side of the candle holder top for solar lights.


This is what the finished project looks like.


This is what the inside looks like.


This is what the top area looks like.  As you can see I also added a piece on the top front which was from an old dresser.  The piece on the top front was a metal dresser knob cover plate.  I painted detail on it with some white paint and painted on NY as you can see in the picture.  I also added some red beads and some white snowflakes and two fake pearls.


This is what the  bottom of the project looks like.


I tried to give you a close up of the top piece of this item.  I also added two fake pearls to hide the area in the plate where screws used to go through.  I hope this project gave you some ideas.  This is my New York City, twin towers project.  At night the twin towers and statue of liberty light up due to the solar light.


Tuesday, June 25, 2013

A once water fountain transformed into a beautiful piece. Solar light with planter


This is the item I will be transforming.  When I got this item it was broken on the bottom.  The girl was no longer connected to the bottom.  The first thing I did was use construction glue to glue her back on to the base area.  This used to be a water fountain but I'm going to use it for a planter. 


This is what the back of this item looked like.


After adding paint to this item this was what it looked like finished.  I first spray painted the whole thing with black exterior paint so it would be easier to paint it.  I knew that it would also be protected from the outside weather with the exterior spray paint.  I then started to paint the detail work.  I found really nice metallic blue exterior spray paint which I used for her dress.  There are so many beautiful colors to choose from.  I also painted red roses, green leaves which I did some light color green on the leaves too to give it a look like the sun was on the leaves.  The bottom I spray painted some white on it and red.  I also painted the decorative items with a metallic gold color paint ( from a craft store).


I tried to give you a good view of what the bottom looks like now.


This is what the side of this item looks like.


this is what the back looks like.


This is what the other side looks like.


This is a close up of what her face and hair looks like.


This is another view of this item.  I want you to also notice the rose on the top which the water use to come out of at one time.  However, I will be installing a top of a cheap solar light into the top of the rose so it lights up at night.  I don't miss adding solar lights if I can.


This is just a reminder of what the base looked like when I first got this item.  Any statue can have color added to it to make it look a lot better.  Don't settle for the drab gray color.  Add your own unique style to the piece.   I hope you got some ideas of how you can paint your statues or an old water fountain to give it a new look.


Monday, June 24, 2013

An old rusted out fire pit made a new. Gnome home


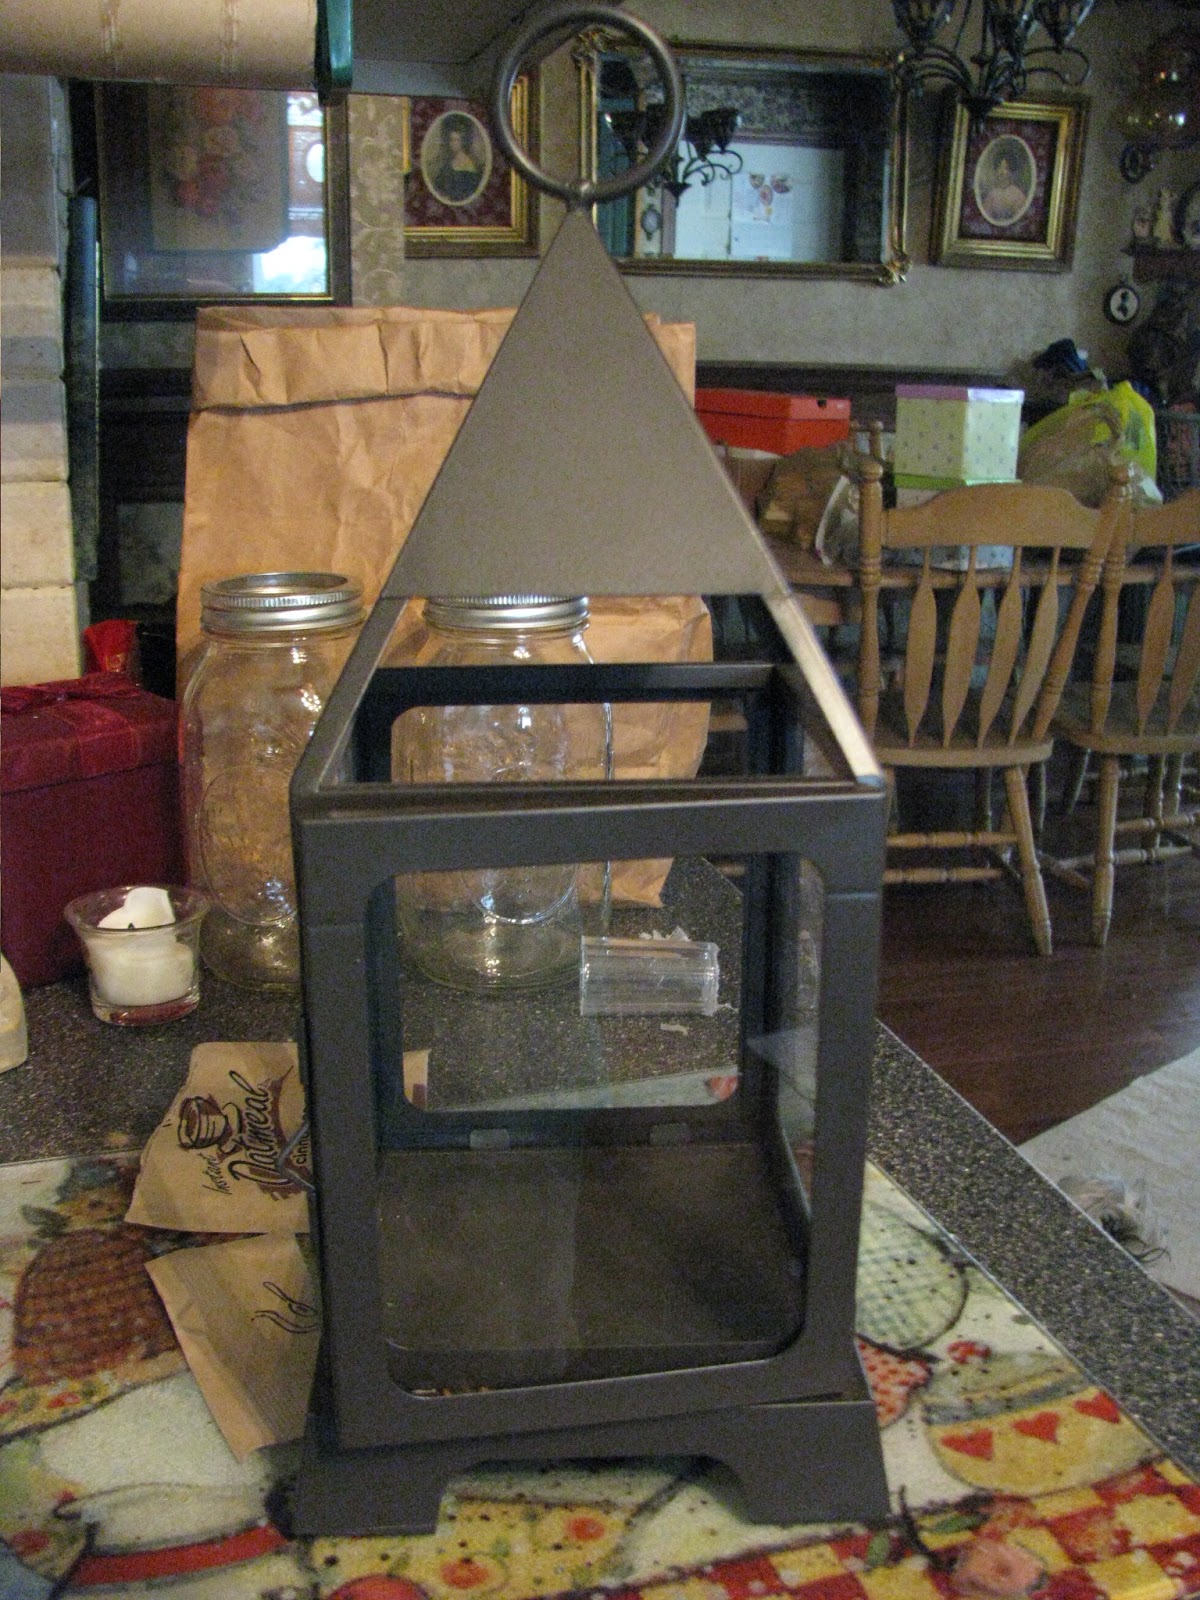
This is the item I will be transforming for this project.  A wood burning fire pit I think it's called.  I got this item from two nice people at a garage sale, I promised they would see it on my blog when I finished it.  Well I think they will be surprised.  This is what it looked like in the beginning.


The first thing I did was sand off the rust on the item I used a wire brush.  The next thing I did was spray paint it with outdoor spray paint.  The color I used was silver, as you can see in the picture.


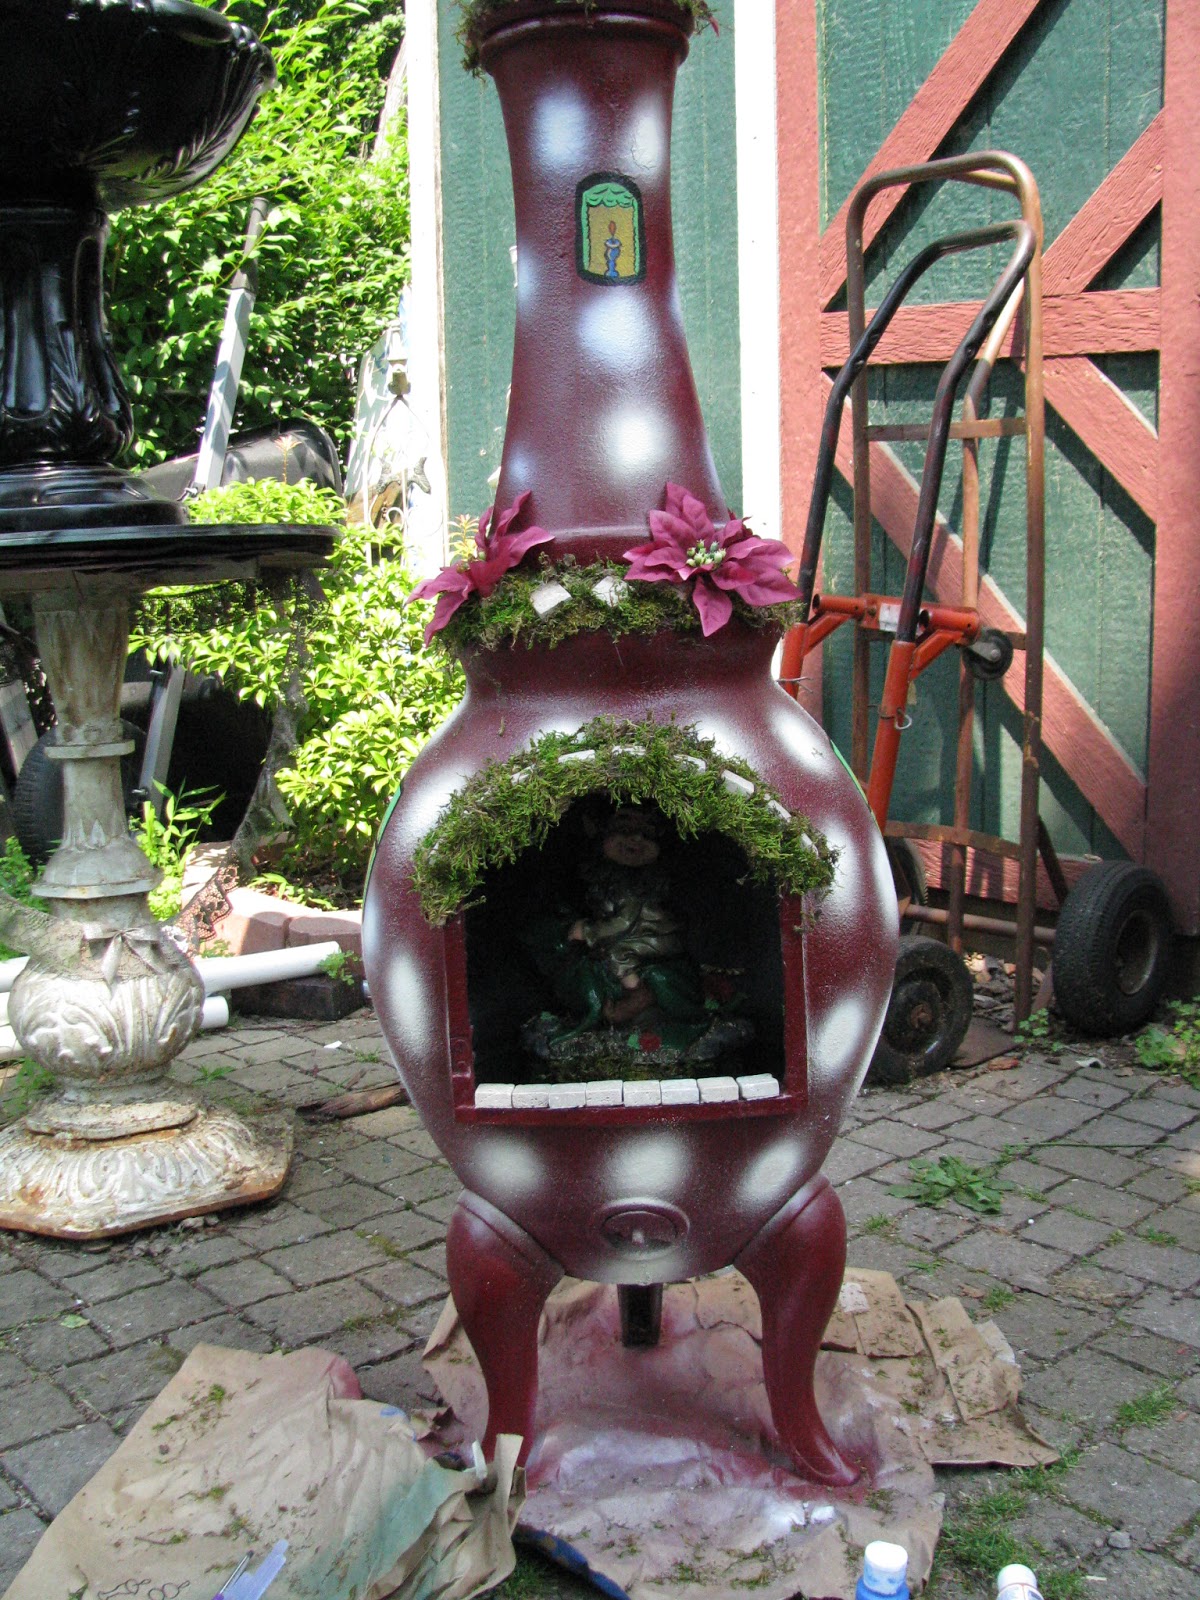
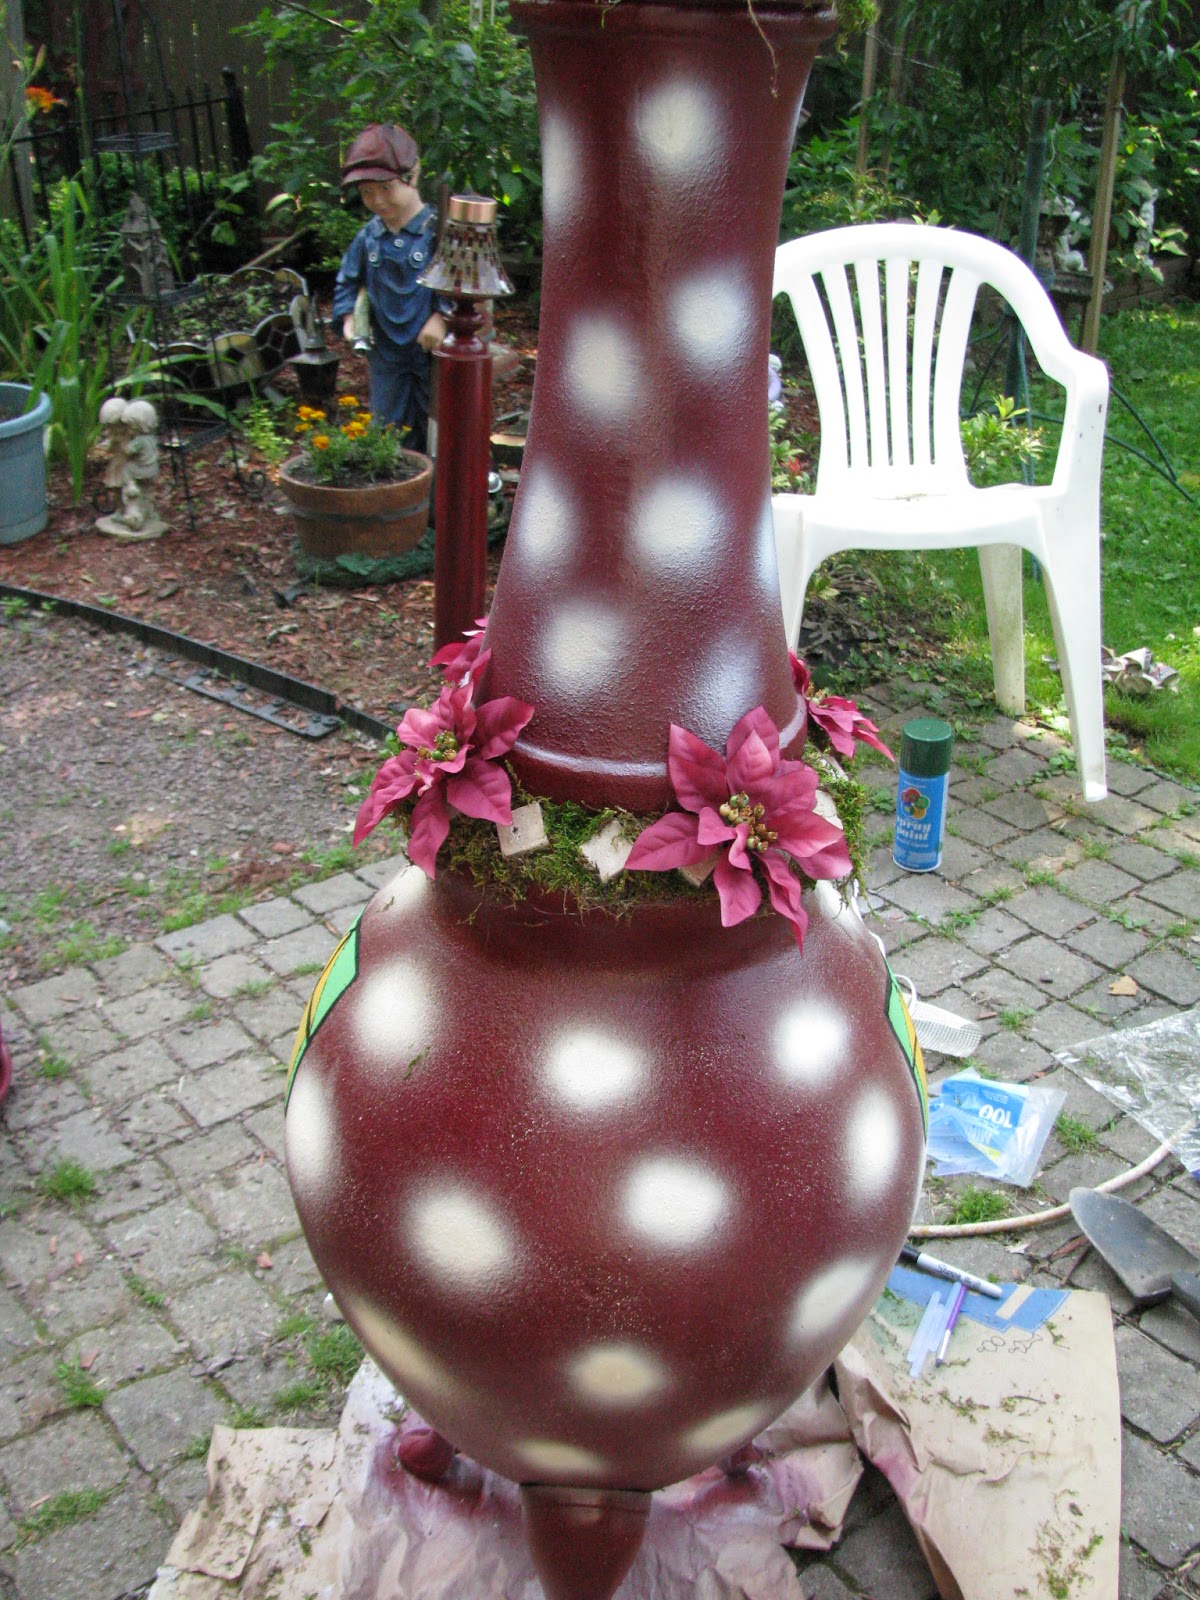
Then I spray painted over top of the silver with a burgundy red color outdoor spray paint.  I also dotted it with white exterior spray paint.
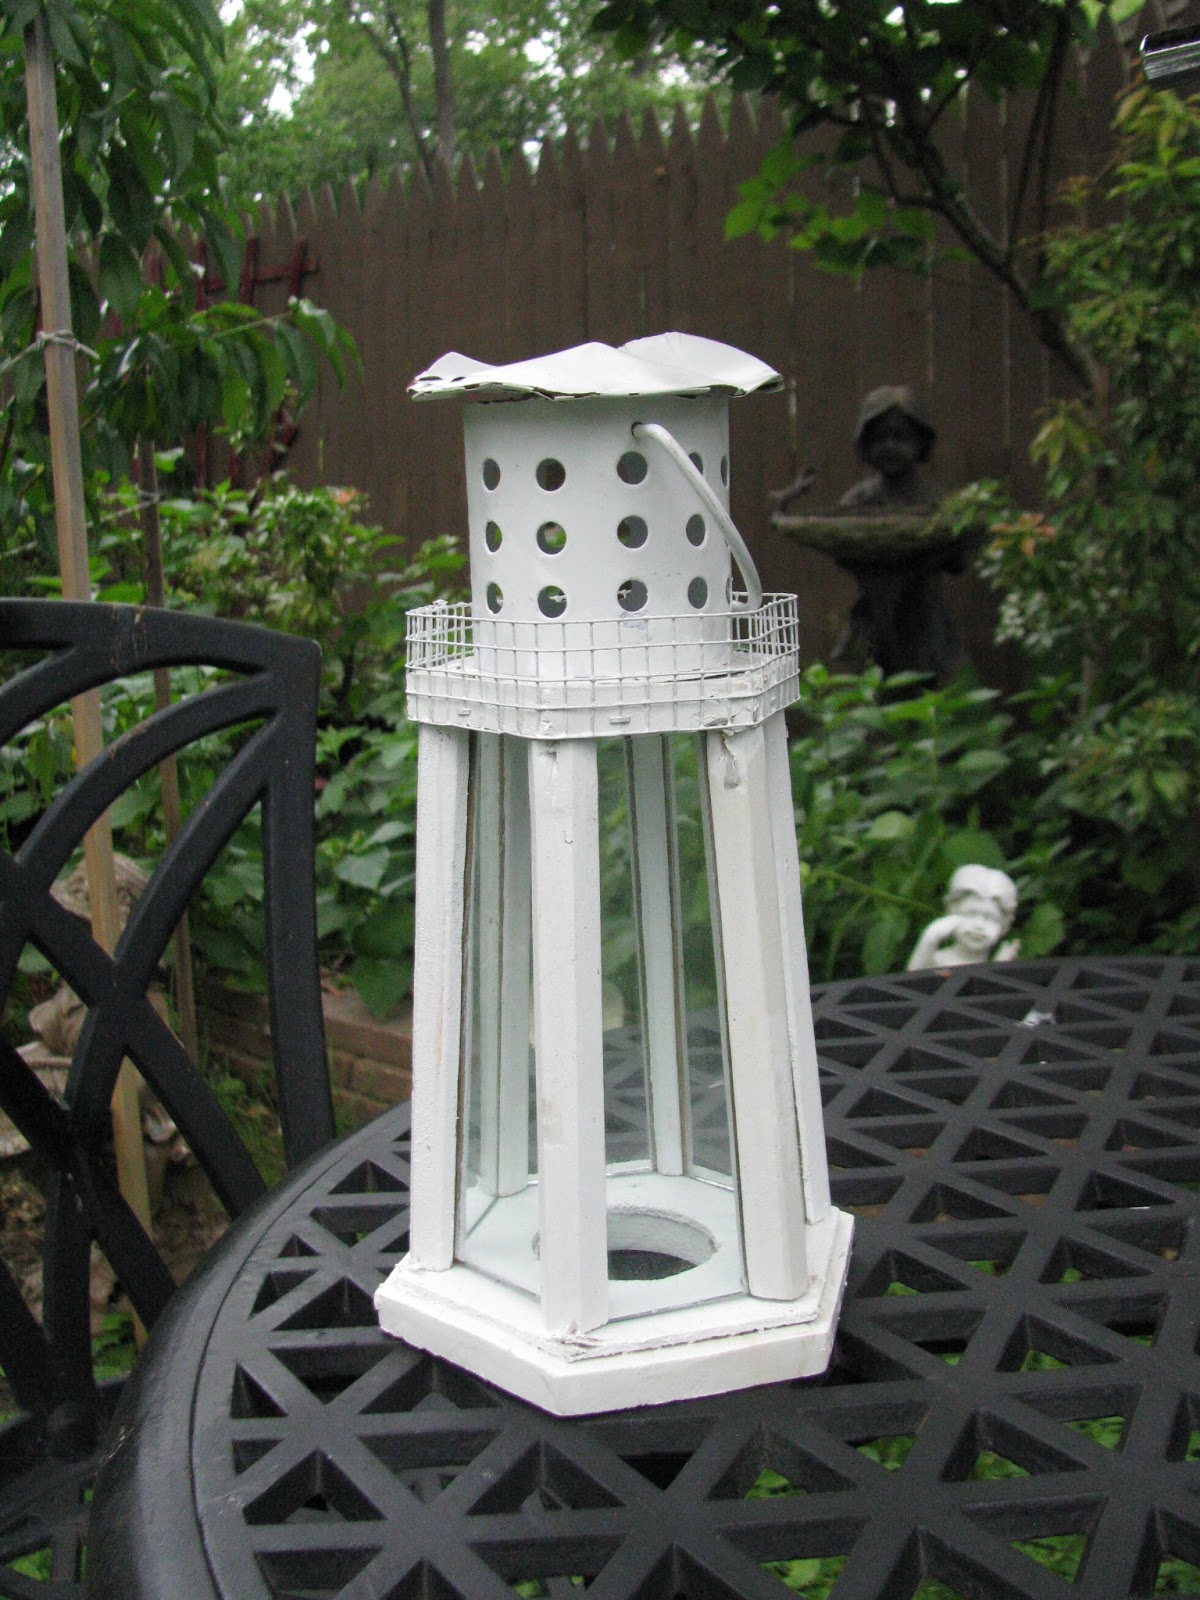
The top area of this fire pit I added a light globe which I got from a garage sale this weekend.  I also added to the top of it a top of a solar light.  I also added some square tiles which were from a left over bathroom tiling job.  I also added some dry moss which I purchased at a garage sale also.  I hot glued it between the tiles, above and also below the tiles.


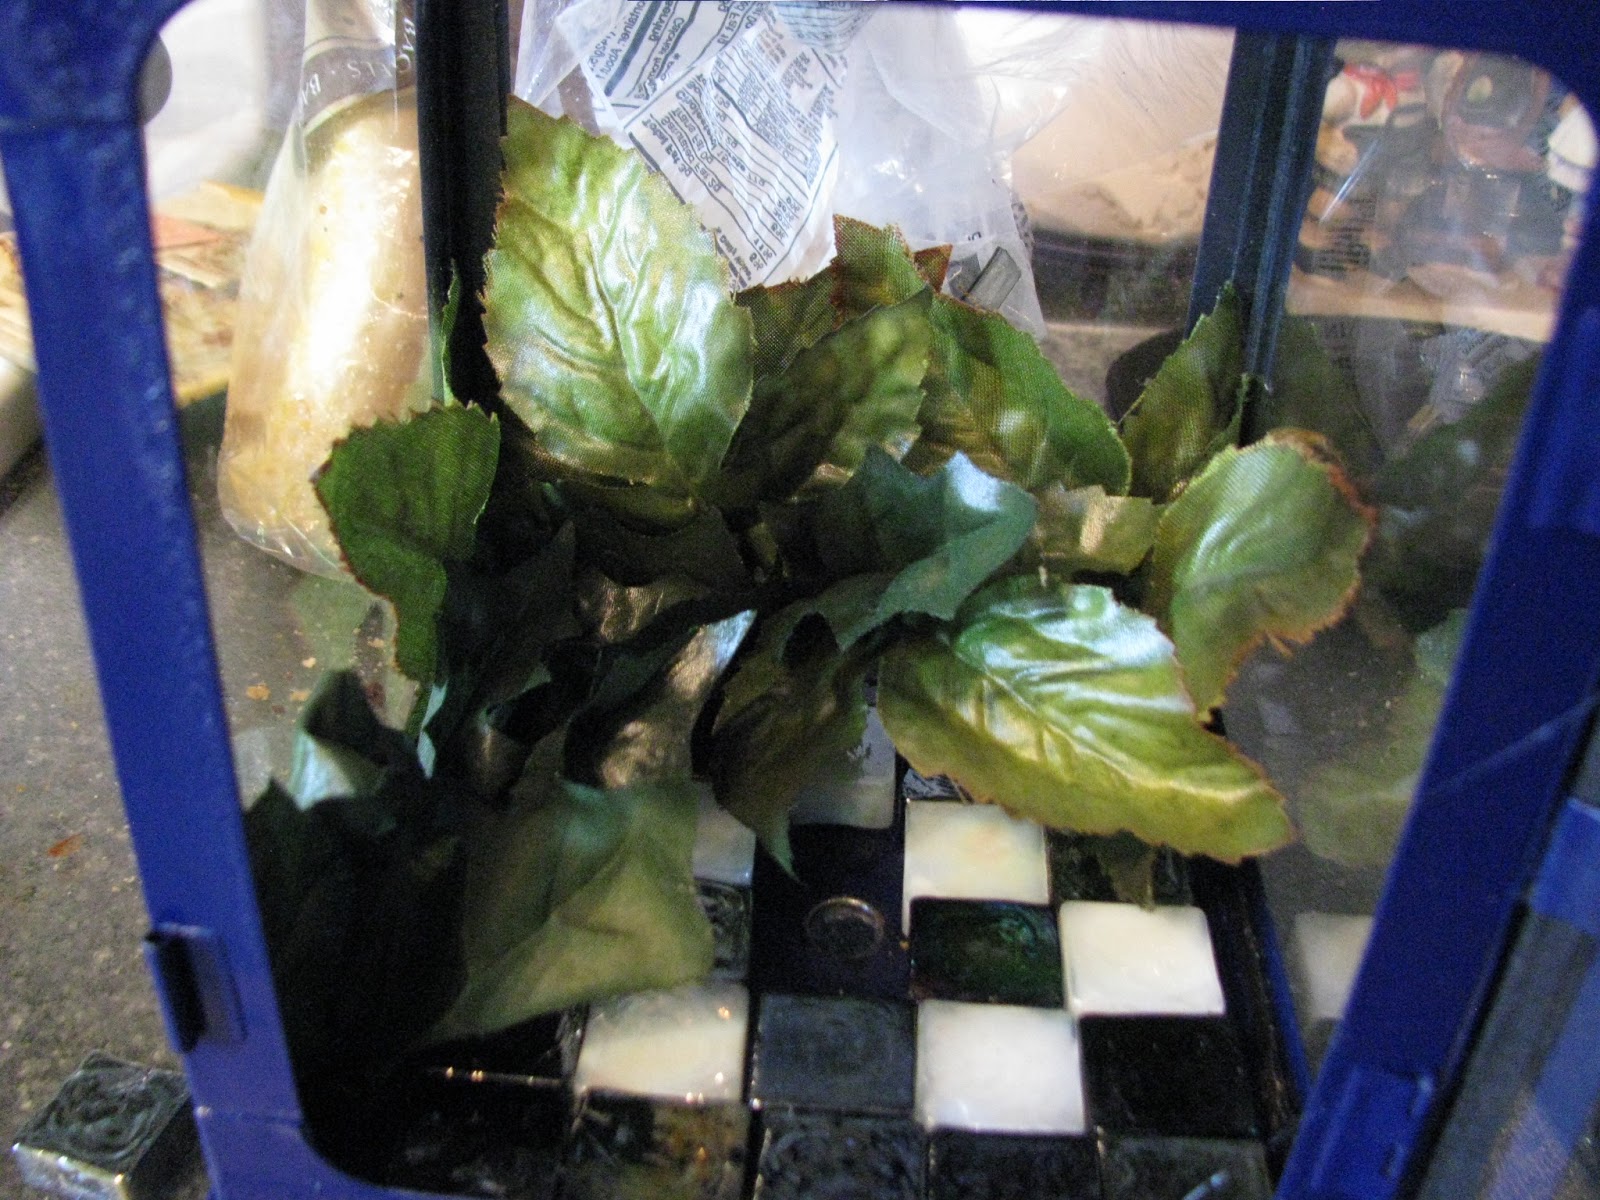
In this picture you can see some of the tiles when I first started to add them to the bottom area of this fire pit.   Also you can see that I started to add moss to this area also.


In this picture you can see the bottom of the fire pit.  On the inside of the fire pit I spray painted the top of a light fixture and added it to the bottom of the inside to give it a nice base start.


Inside the fire pit I painted a gnome statue which I got from a garage sale.  It had no color so I added color to him and his frog that he is riding.  I put him on top of a octagon shape base which I put on top of the light fixture base I then spray painted the octagon shape green and added moss around the top edges to give it a nice look.  I then put in the gnome and his companion.  He looks like he is very happy in his new home.  I also added some moss above the doorway area, and tiles around the bottom of the entrance way.


This is what the item looked like on the bottom area.


This is what the top area looked like at this point.


In this picture you can see a window which I painted on the top area above the doorway.  I painted a window with curtains in it and also a candle in the window.  I also added windows to the sides as you will see in the bottom photos.  I also added some fake flowers.


In this picture you can see that I also added fake flowers to the top area.


In this picture you can see what the bottom area looked like at this time.


In this picture you can see I painted a window on the side of this fire pit, it gives it the I'm home look.


This is what the side looked like.


This is the other side of the wood pit.  As you can see I also painted another window.


I tried to give you as many views of this item so you could see what it looks like around it.


This is what the back of this project looked like at the end.


This is what the top of this project looked like at the end.  You can see the upside down light globe with the top of the solar light.  This solar light lights up at night.  Sort of reminds me when you turn on your outside light on your home at night.  A gnome needs a light on his home also that turns on.


This is another view of this project.  I wanted to show everyone what can be done with a rusted out fire pit, don't throw it out when it's rusted, gnomes need homes to.  Make it into something unique for your garden area.