Ad sense auto

Google analytics

Friday, October 24, 2014

I finished the dollhouse I was working on, a roof garden on top


Here is the dollhouse I was working on, if you look on top of the roof you will see the garden.


This is a closeup of the garden on the top of this roof from the front of the home.


This is the front porches on this home, I put some solar lights on the front and a bike on the front porch.


This is a view of the roof garden from the back of this home.


This is one of the bedrooms in this home.


This is the parlour area, you can see I made a solar powered TV set that has a scene from the movie frozen on it.


This is one of the bedrooms.  This room also has the babies crib in it and toys.


This is the kitchen area.


This is the bathroom area.  I added some mirrors to the back wall and over the sink area.  There is also a shelf on the wall on the left side which was made from the alphabet holder for the game scrabble.  I cut it down to the size I needed.


This is another view of the back of this home.


Another view of the home,


Here is another view.  Making a dollhouse look like a real home all depends on the decorating you put into it.  You can see the purple light hanging over the bed.  


Thursday, October 23, 2014

A dollhouse bed that I finished and sheet set, pillow, and comforter on bed.


If you looked at my blog before this one you would have seen the three pieces I first started with for this minature bed.  In this picture are four pieces of square cardboard.  I glued them all together.


I then cut the cardboard to fit the top of the wooden box.  This is the bottom of a wood box I bought from Michaels craft store.


As you can see in the picture, when I hot glued the cardboard to the bottom of the wooden box I made it so it overhung the bottom of the bed a little so I could attach the head board against the cardboard, and so it could rest on top of the wooden box.


This is a picture of the headboard that I attached.  I painted it white.


The round dowel sticks is what I will be using for the posts at the top of the bed.  I cut the wooden sticks to the size I would be needing.


I then glued the wooden sticks on the headboard on both sides.  I also took some batting material and hot glued it to the cardboard that I glued to the wood box.


I then added a wooden decorative piece to the headboard, and also two beads on top of the wooden sticks.


As you can see in this picture I then took a piece of material so it looks like a sheet and hot glued it to the white batting to cover it up.


Then I started to add some trim.  I decided to add three rows of lace, you will see how it covers up the edges of the material.  This is the first row on the bottom.


In this picture you can see the second row of lace was glued on.


In this picture you can see the third row was glued into place which covers all the material edges.


I then made a comforter and pillow.  On the bottom of this page you will see a book that I found about a week ago that has GREAT ideas and this bed is in it.  Except I changed some of it to fit my dollhouse.


This is another view of the bed.


Here it is folks, this is a GREAT book.  I found it on Amazon dirt cheap.  If you want to make some small items for your dollhouse this is the book for you.


This is the page that has the bed on it.  The page opens up to show you the directions which you will see next.


This is the opened page that shows the directions.  This book is Fantastic! This was a great buy for me.  I hope I gave you some information that you can use, and maybe some information on a Great Book!


I'm working on a new dollhouse, I'm just starting on the inside


This is what the inside of this dollhouse looks like at this point.  No wallpaper, no rugs, no trim around the windows.


In this picture you can see I added some rugs in the rooms, with the exception of the kitchen floor I put down scrap booking paper that looks like a wood floor.  I purchased the paper in Hobby Lobby.


Here is a closeup of the kitchen area.


Here is one of the bedrooms.


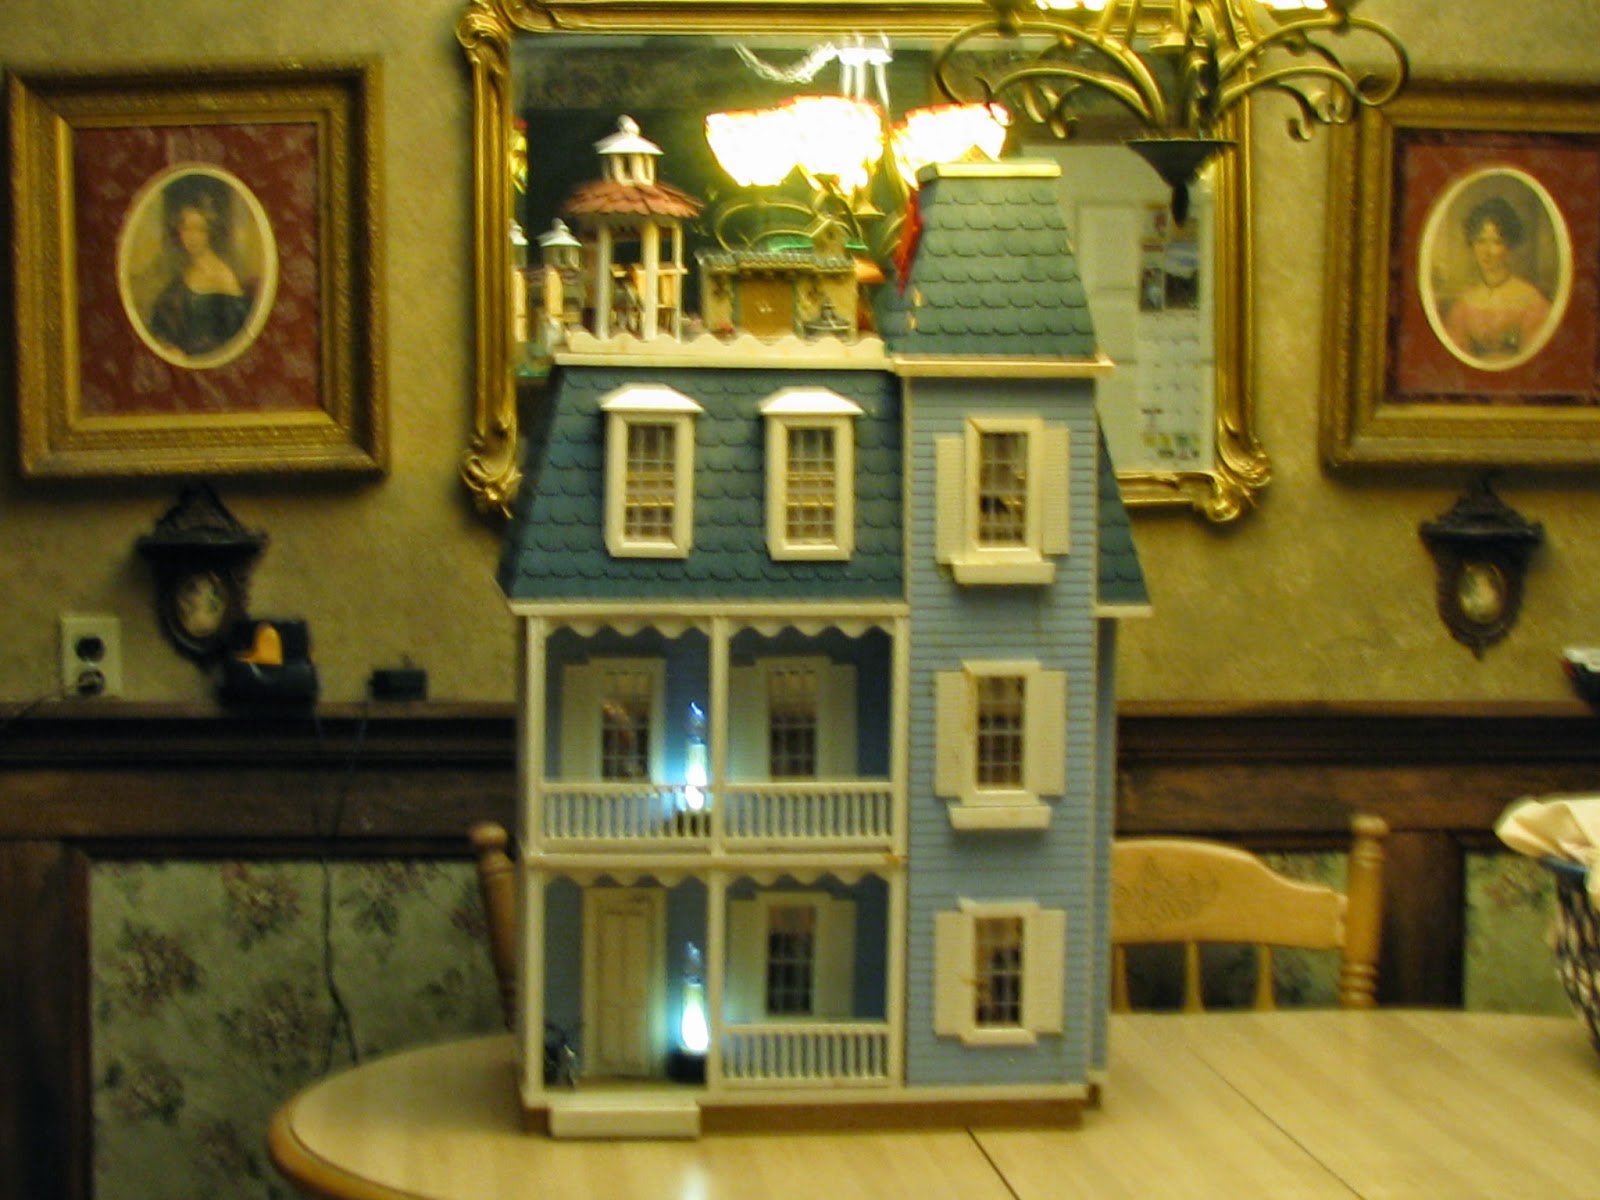
This is the flat roof on this home which I decided to turn it into an outside garden area.  I put down green felt on the roof for grass.


In this photo you can see the steeple on top which also has a flat roof on it, I added some green felt to that area also.  Inside this small roof area I added some rug.


I then started adding the wall paper in this home, this is the parlour area.  Remember I like to use scrap booking paper for my dollhouses it is cheaper than buying dollhouse wallpaper, and easier to work with.  I glue it down with tacky glue which I add a little water to, so it is easier to spread on the paper.  


This is the kitchen area.


This is one of the bedrooms.


This is another one of the bedrooms.


This is the last bedroom in this home.


This is the bathroom area.  This area I used normal wallpaper with a small print on it.  When you see wallpaper at a garage sale that some of the roll has been used it is good to use for dollhouses.


I then started to add some colored popsicle sticks around the windows for trim work.  These two windows are angled windows as you can see in the photo.


This is another window which has yellow popsicle sticks installed.


This is another room.


This is the bathroom window.


This is the parlour window.


And last is the kitchen window.


I bought these little decorative pieces from a garage sale, this is just two of them I'm showing.  I will be adding these on top of the windows for decorative pieces,


After adding some lace on top of the window and the decorative pieces this is what it looks like.


Here is another of the windows with some lace from a curtain and also the decorative piece on top.


Keep watching my blog you will see when I put this bed together.  I am making a bed from these items.  On top is a bottom to a box which I bought from Michaels craft store.  On the left on the bottom is a square piece of cardboard.  On the right side is a piece of decorative wood which I bought from a garage sale.  Keep watching my blog for the finished projects for this dollhouse.  I'm going to show you how you can build some items for a dollhouse.