Ad sense auto

Google analytics

Wednesday, July 31, 2013

The final phase of a church remodel solar light stained glass looking cabinet


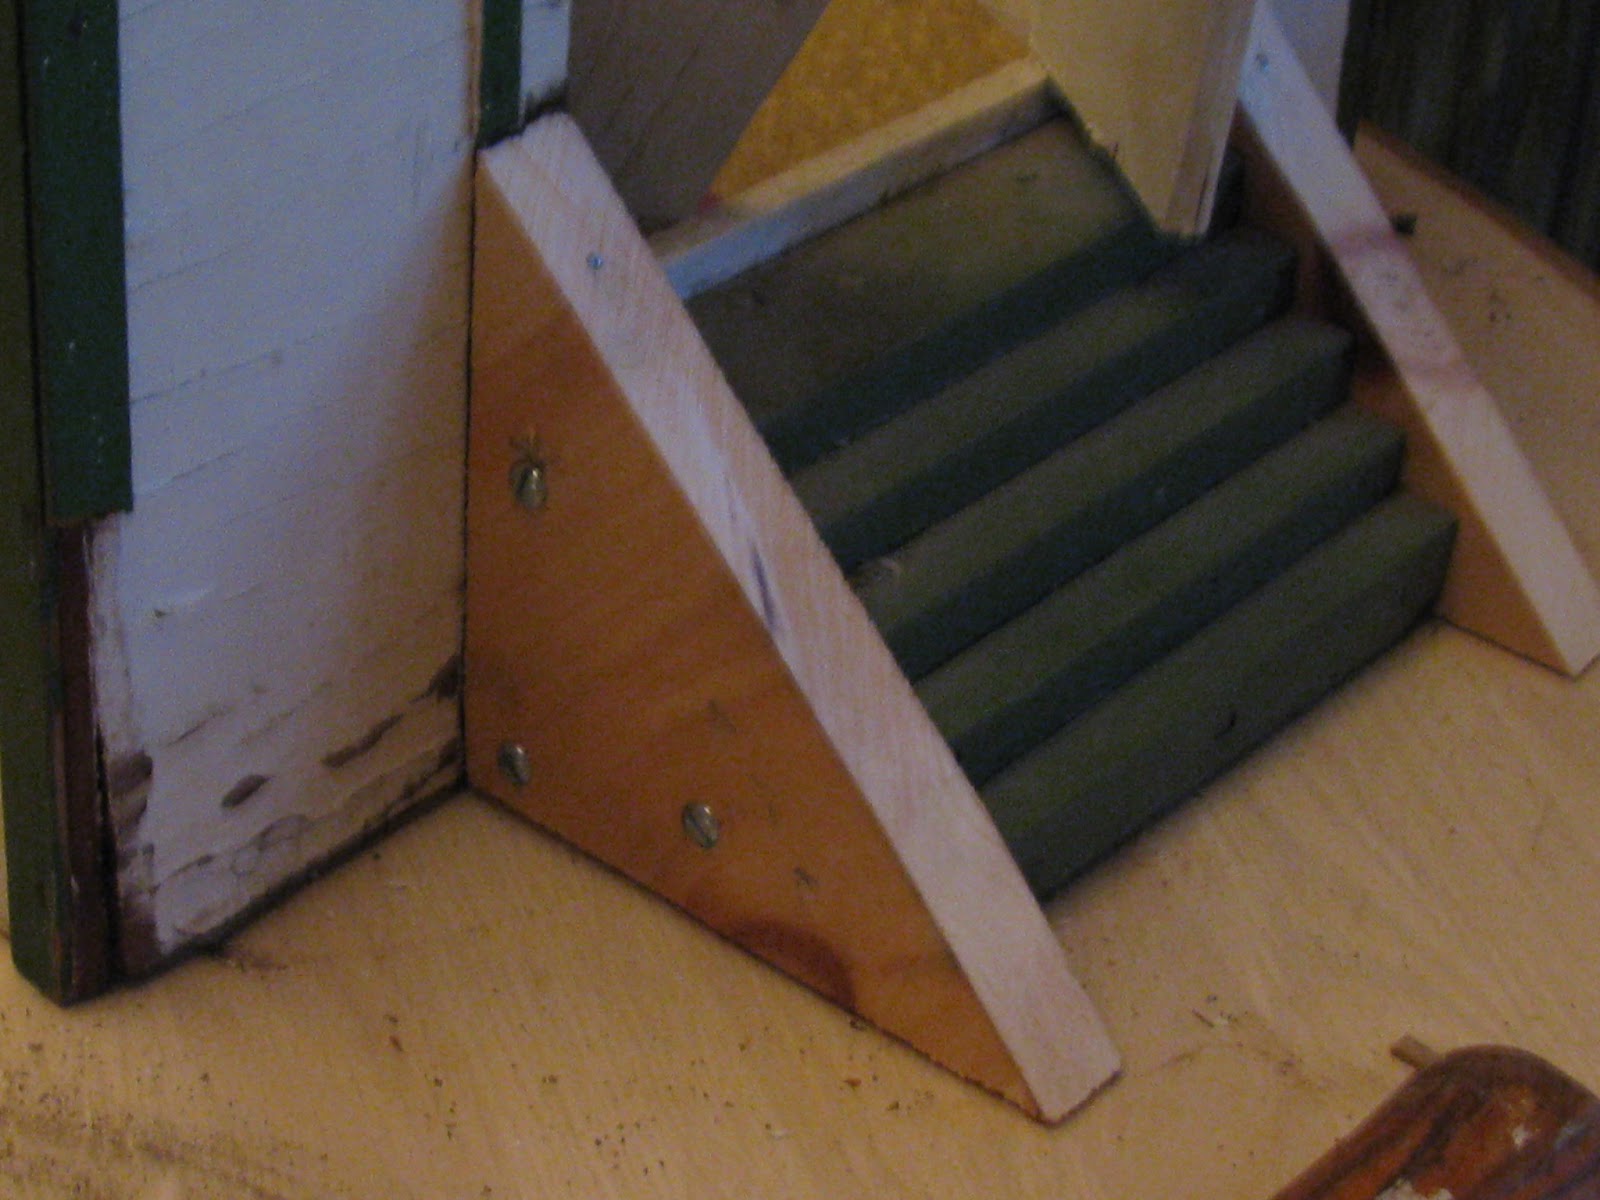
This is the way this church looked as I was still working on it.  You can see the stained glass looking window on top of the front entrance.  This stained glass looking window was made of window film.  For the people out there that haven't heard of this item before it's made of a plastic type material and you can put it on your windows in your home to make it look different.  It comes in different designs.  I painted the stairs red I'm getting ready to make them look like brick.  I also put a statue on the right side of the church which you can see in the photo.


Here's a close up of the view looking in the entrance way.  Notice the light in the back of the pastors head it lights up due to a solar light top which I drilled a hole in the back of the cabinet I built and installed it in the hole.  


I painted all the trim work a red color, you can also see the stained glass windows better in this picture.


I framed a picture which came from some type of magazine.  You can also see the cabinet I built under it.


This view is looking down into the church.  If you can notice there are two candles on the altar.  I took two wooden decorative pieces and added a small dowel to the top of each.


I took some religious pictures and framed them and hung them on the wall in the back of the church.


This is another picture I framed and hung up the picture.  I didn't change any of the people that came with this church I figured it took someone a while and an imagination to make them so they are all still in the church.  The long benches that they are sitting on I added crosses to the outside areas which were made from toothpicks.  I also added the little holder in the back of the seats which holds the music books and bible.


I built an altar, this church didn't have one.  This is looking down into the church.  I put rug around different areas of the church the rest I built a wood slat floor out of popsicle sticks.


This is looking into the church, I love the way it looks.


I built shutters on the steeple out of popsicle sticks.


I painted the steeple red, black and white. 


I added a cross to the top of the steeple which was made of small dowels, I push it into half of a Styrofoam ball an painted it gold.


this is the side of this church.  As you can see I put a cardboard roof on the church and painted it black.  I also put in some little tree looking things.  In the area where the bell is I put a solar light to light up the inside of this area.


This is a close up of the side.


This is what the front turned out to look like.  The steps were painted to look like brick, I also hung a sign on the church which says Country Bible Church.  I put two decorative pieces on the doors.  I also built a red brick looking planter and put flowers in it.


This is a view of the front  of this church.


I also added an angel to the front.


This picture is looking down into the church.


This is the piano area at the front of this church. 


Another view looking down into the church.


Another view looking down into the church.


 A close up of the front middle of this church.


This is the view in front of the altar area.


In this picture you can see the signs I made and the decorative pieces on the doors.


This picture is looking in the front door.  The light that is hanging above the pastors head was made from the bottom of a mosaic solar light.


A close up of the little dolls that came with this church.

Here's what the front of this church looks like now.  Remember solar light can be installed inside of cabinets you make.  I hope this gave you some ideas.


Tuesday, July 30, 2013

A minature church makeover I'm doing this in two phases


I'm doing a makeover of a miniature church for someone.  I'm going to show you what it looked like when I received it and tell you what I did with it.  In this photo you can see a piece of curtain which was stapled to the inside front of the church and also a piece of paper with a religious picture on it.  This is what was on it when I received it.


This is a view on the inside front.


This is the steeple which was not attached.


I had to take the sides off the steps they both had wood rot.


This is after I replaced both the sides.


This is another view of the steps.


This was the back of the church which as you can see also had wood rot.


After I cleaned out the whole church I put a new piece of plywood down and took the plastic off the windows.


I'm sure everyone knows what this is.  This is a mat.  You will see what I did with this.


This is what I bought which was two mats in a package from Home Depot.  It was cheaper to buy the two mats instead of purchasing the fake grass which came in a large roll by the carpeting department.  Keep reading you will see what I did with the mats.


I spray painted the church and the steeple with white paint so I had a fresh surface to start with.  You can see the back of the church I also replaced the wood rotted wood with brand new wood.


This is the church.  I spray painted the floor a brown color.


I had this decorative wood  which I had from Home Depot.  I cut it into pieces to fit all the windows and spray painted them black.

You know the window film you put over your windows to give it a nice look.  Well I bought a roll and cut it up to fit under the decorative wood pieces and attached it to the church.  I also put trim work around it.


This is what the inside of the church looked like when I got it.


This is another photo of what the church looked like.


This is another view of what the church looked like, you can see the plastic in the windows which had lines drawn on it with a marker.


This is a view of the front of the church.


This is another view which you can see the seats.  These seats had deep purple material on them, which I am taking off.


This is what the front window over the front door of the church looked like.


Another view of the windows.


This is the front of the church .


This is the package that the mats came in, now I'll show you what I did to make the fake grass.


First a piece of thick plywood was cut to fit under the church, then I took the mats and spray painted them green.  Yes, I spray painted them, I let them sit until they dried.


This is the window film I used for the stained glass windows.


This is another view of the window film.


You can see it's starting to shape up.  First of all I installed the new stained glass windows and put some wood trim around them.  The straight pieces I was able to use popsicle sticks.  However, the curved areas on top of the windows I had picked up from a garage sale one of those kits made from wood that you put a dinosaur together.  there were areas in the wood where you connected the pieces together.  You can see the grooves in them.


This is the front of this church which I put the window film in the window.  I took the doors off the front of this church so I could make them more detailed.


I didn't like how the outside of the church looked so what I did was put on wood siding, I used popsicle sticks.  Make sure you don't miss my blog tomorrow.  Your not going to believe the stained glass cabinet I made for the church which uses a solar light to light up.