If you have been following my blog you will know this is what the dollhouse looked like when I got it.

This is what the dining room area looked like.

This is what another room in this home looked like

This is another view of the inside.

This is one of the front pieces of this dollhouse. As I said in one of my other blogs about this house it only came with half of the front. I had to make a new front with porch, roof and new windows. Also some of the windows were missing on this house.

This is the front of the dollhouse looking up toward the attic area.

I'm going to show you some of the other pieces I made for this dollhouse before showing you the final picture. This is a splatter screen you use for cooking on the stove. I need the screen to make the openings for the crawl space area under the front porch.

I made the frame out of the balsa wood and glued the screen down to it. I made sure it fit the openings.

This is one of the screens installed. In the background you can see the wood floor I put down on the front porch which was made of coffee stirrer sticks. They stain very well.

I had to put posts on the front porch to hold up the roof. As you know the roof shingles are made of cardboard. I painted the whole roof black, they look like slate in person..

This is another view of the front porch. You can see the new windows I made out of toothpicks, plastic, and popsicle sticks. I also used some balsa wood.

This sign I printed out a picture off the internet and put it on to some cardboard and then hot glued it to the front of the house.

This is another sign that I printed off the internet.

The house didn't come with any furniture so let's make some. First of all is one of the beds. This is the balsa wood I've been telling you about they sell a big package of mixed wood in AC Moore. It was a great value.

The first thing I did was build a frame, bed shape.

I then added smaller pieces of wood around the bottom of the wood to make a shelf type thing so the bed slates had something to rest on.

Now I made the bed slates which hold up the mattress.

If you have been following my blogs you will remember what this piece is. I told you I would be using it in the future well todays the day. I'm using this for the headboard and footboard of this bed. I cut it up into two sections.

I had to add legs to the bottom of the bed frame, these I purchased from michaels craft store. They work great for the legs.

This is one of the sections of the front of a piece of furniture. I added some wood around the outside edges to make it larger.

I glued it to the head of the bed frame. I did the same for the other piece but added that to the footboard area.

This is where I got the legs from for the bed. This was in the clearance section I bought enough so I could make four legs. I just took the knobs off the flower and used them. I kept the flower just in case. Keep reading you will see how the bed turned out painted and decorated.

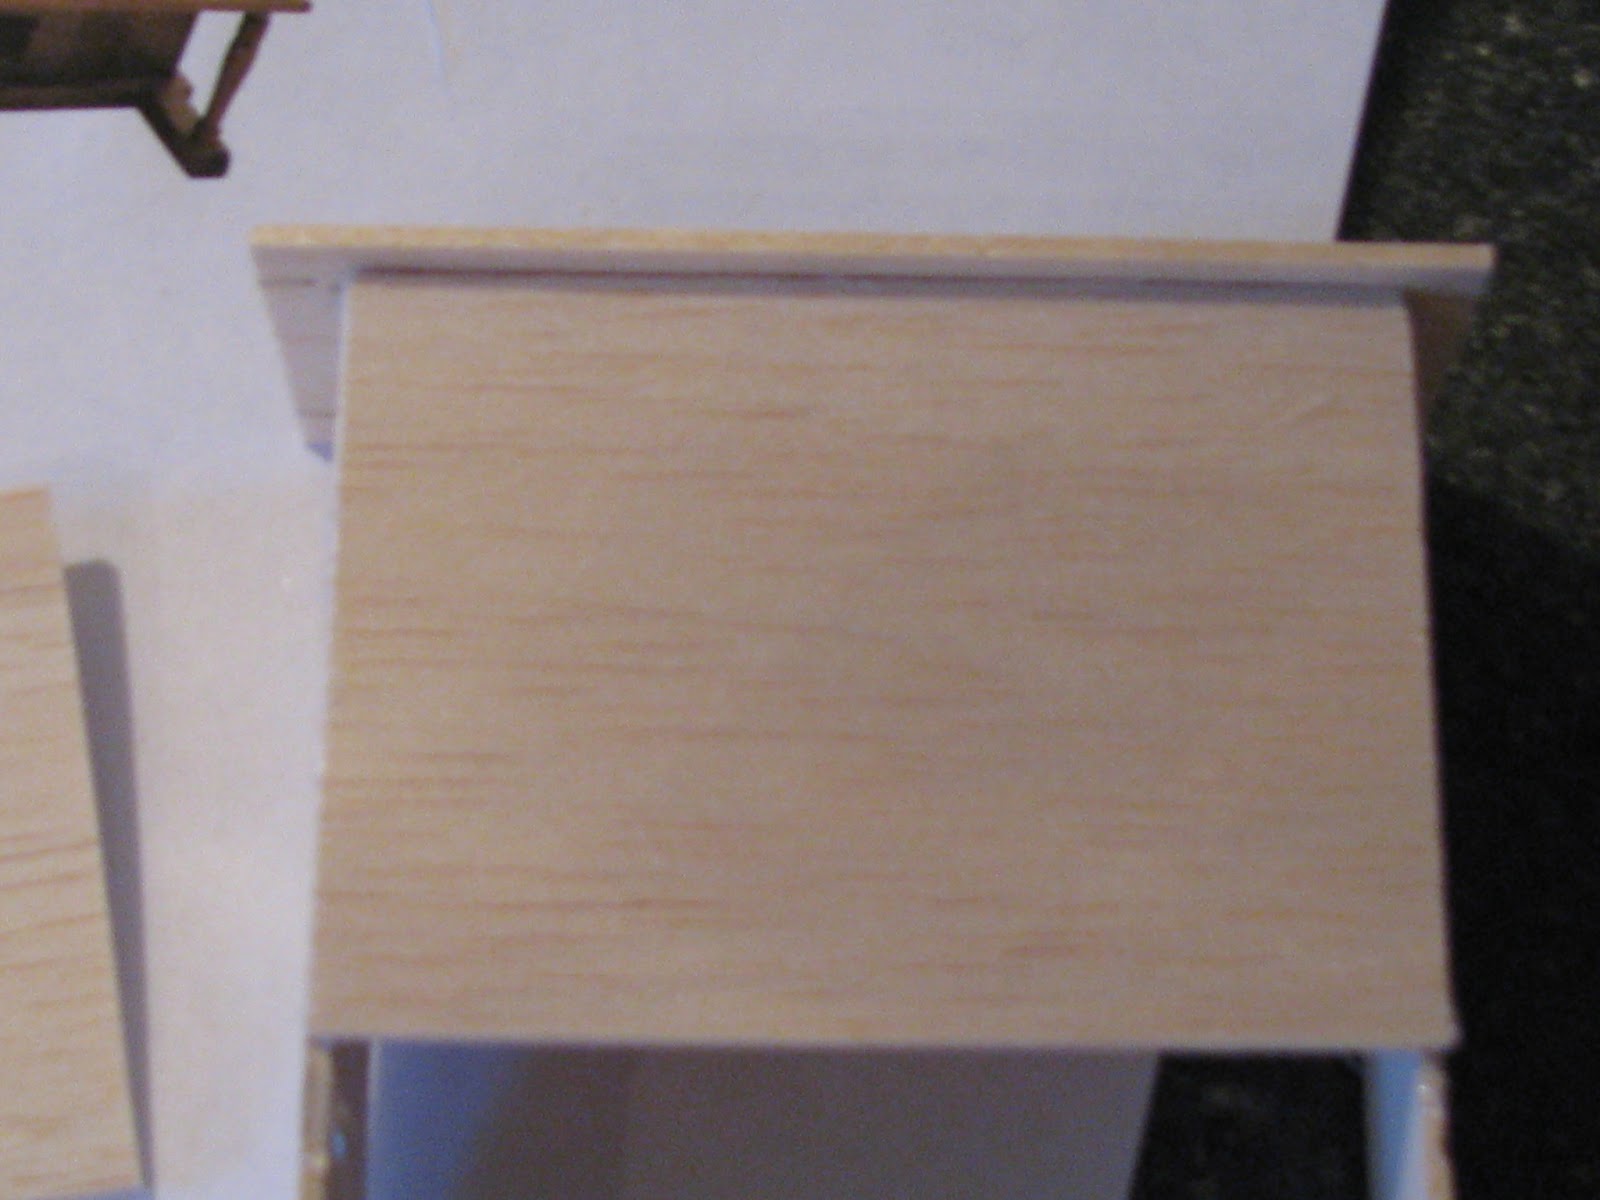
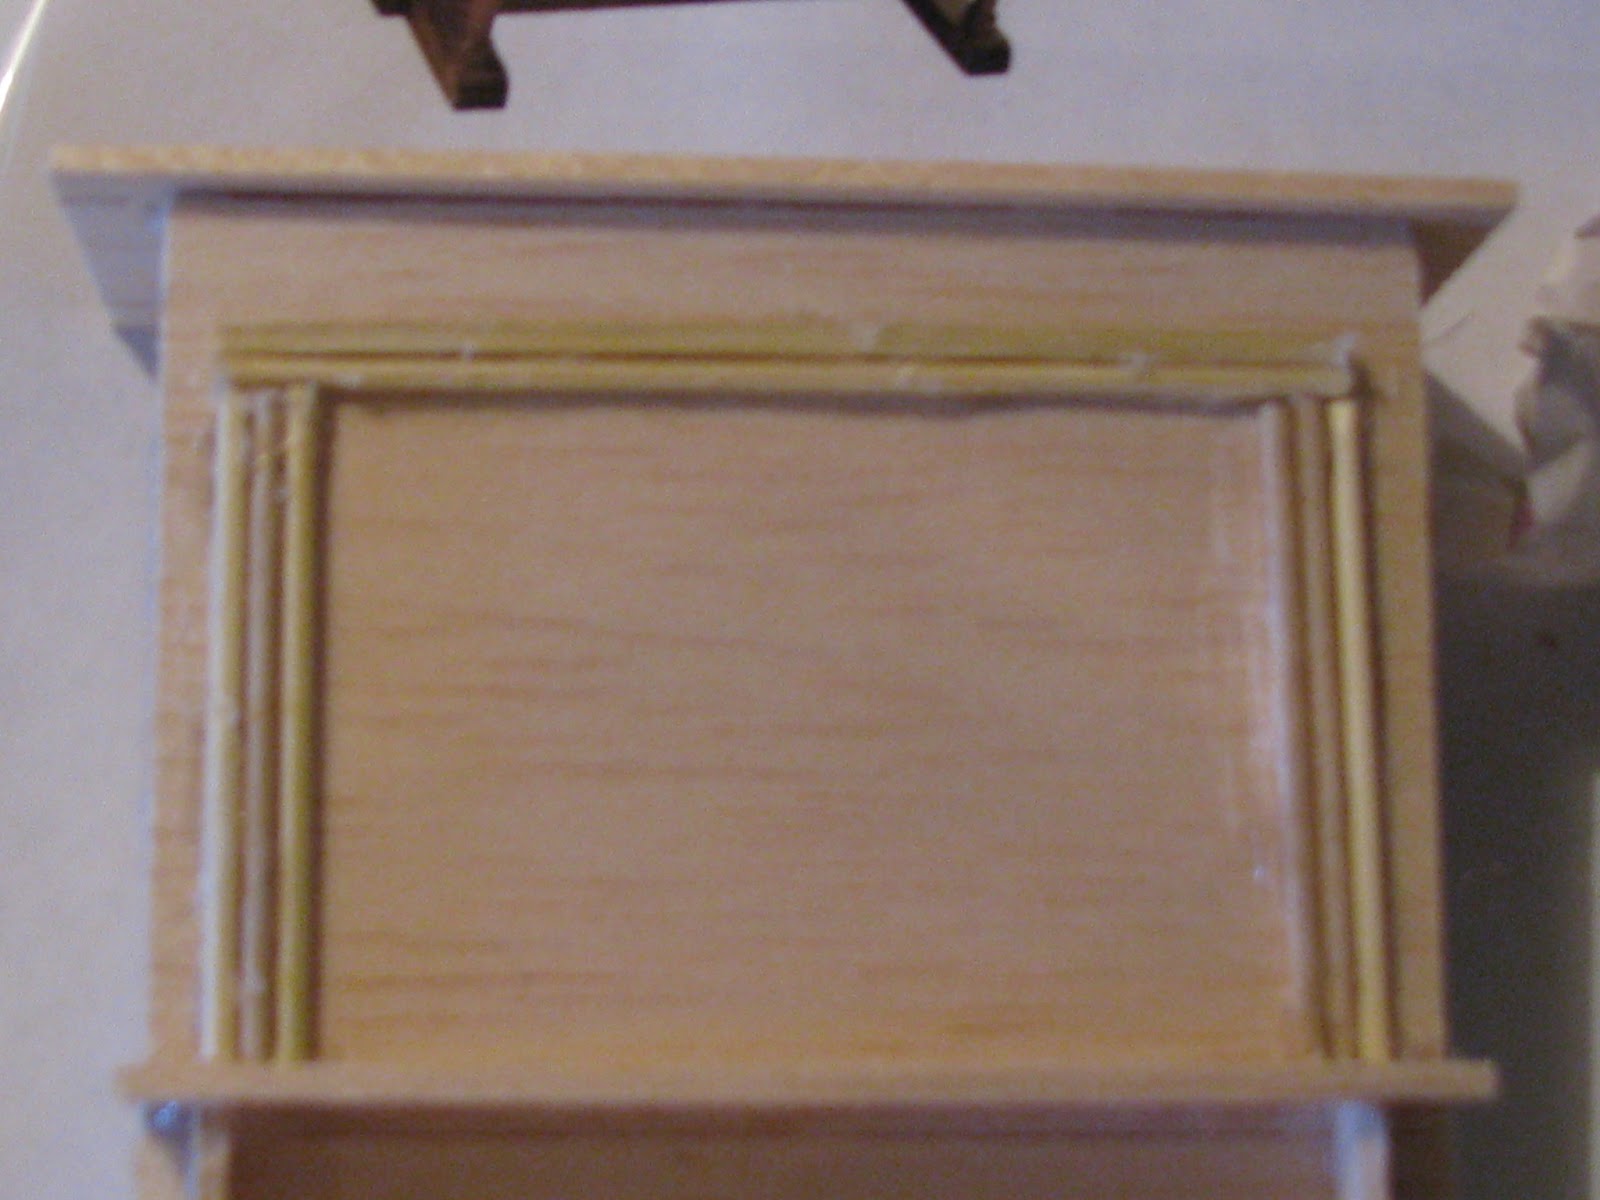
I needed a door on the house, so I cut wood to match the door opening and added some wood for the detailing and painted it.

This is what the bed looks like now, I added a piece of a towel I cut up. and added a little decorative piece to the head board.

Well after making the bed I needed a hope chest. So I decided this piece of furniture which I purchased from Michaels would be good to use. I'm cutting it into two pieces. One of the pieces will be a hope chest and the other piece will be a cabinet on the kitchen wall which will hold dishes and cups.

This is what it looked like when I cut them apart. I put a new bottom on the top cabinet.

This is what the hope chest looked like when I was finished.

This is the hope chest again.

This is another piece of furniture I'm using in this home which I purchased from the dollar store.

This is another of the cabinets which I painted brown and it's going to be used in the dining room area.

Well I had to get going on the crib for the babies room. I took the top off one of the little wooden boxes you buy in michaels to use it for the bottom of the crib.

I also cut this decorative piece in half to use it for the crib.

I made a little mattress made of wood with batting glued on top. I also added some square legs.

This is what the top of the crib looked like at this point.

This is looking down into the crib. I put a board across the back.

I then added a top shelf over the sides and then glued on half of the decorative wood piece for the head board area.

I had to add some railings so the baby doesn't fall out.

This is what the railings looked like. I used coffee stirrer sticks and popsicle sticks for the cross bars. Keep reading you will see what the finished crib looks like.

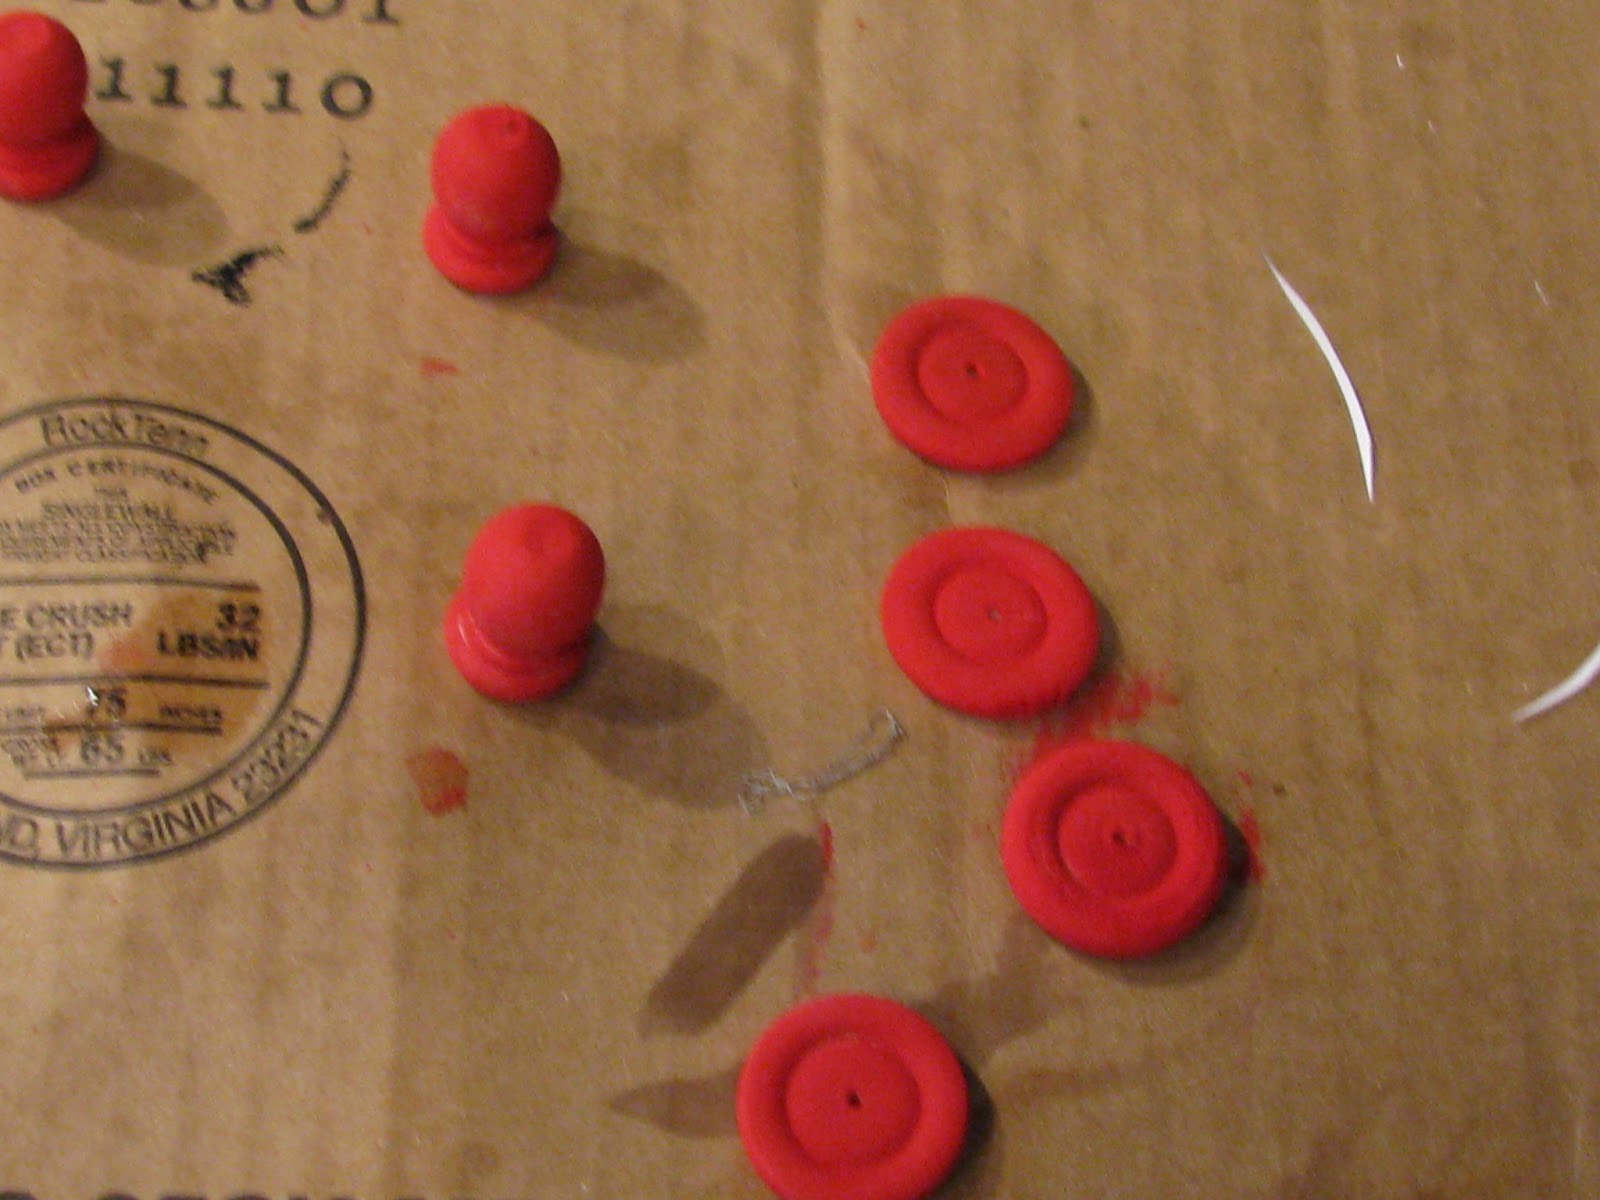
I need some plates to put across the wall in the kitchen above the cabinets. I had these plastic discs I knew I would need them for something sooner or later. Well I took them outside and spray painted them black.

I went on the internet and printed out pictures of plates, I had to shrink the size so they would fit into the plastic black discs.

I needed dishes for inside the cabinet that I'm putting on the wall in the kitchen. I got these pieces of wood from michaels they look like plates and cups. I painted them red.
I cut out some wall paper and glued it to the inside of each one, now they look like a plate.

Here's what the crib looks like. I added a lot of detailing.

This is the side of the crib.

I had a table for the dining room that I purchased from a garage sale but no chairs. Let's make them. In this picture you will see a decorative piece which I think is made of brass. I will show you the drape holder this came from. I put this piece on a piece of wood and glued two pieces of wood to both sides.

This is the drape holder piece I got it from. I kept the rest of it for a future project.

I measured how large I wanted the chairs and cut the wood to that size. and added a stick under the two side pieces and added more to the bottom the whole length.

I then added another piece of wood across the front so you couldn't see the decorative piece bottom

I needed a seat, so I cut a piece of wood the size that I needed for the chair and added three popsicle stick pieces to it.

I added the seat to the main part. I also cut a piece of metal trim and added it to the bottom of the chair. The legs I used dowels cut to size.

These are what the chairs look like.

I decided this home was coming out so nice I wanted to light it up with solar lights. I got this from a garage sale. I cut all the wires off the items.

This is what one of the them looks like.

I put on a top of a solar light on top of it and presto a lamp that is solar.

Well now I had to do the mother's bed, I decided on a Canopy. I glued the frame together the same way as the other bed.

This is the frame.

This is with the wood slates.

This will be the mattress.


I glued the legs to the bottom of the bed. First I cut square pieces for each corner then glued on the legs.

I had to make side rails to hold up the curtain over top of the canopy. So you can see the side boards.

I added some cross beams.

Then I added cross beams which are coffee stirrers.

Here's what the canopy looked like at this point.

This is the finished project. I added side pieces of wood and small knobs to the top. I also added some of the decorative metal pieces and a blanket from a towel.


I decided this house needed a piano so here we go!!

I cut a piece of wood for across the top of the piano and added some side pieces also.

This is what it looked like at this point.

I cut a back for the piece and also a top piece as you can see in this photo.
This is what it looked like from the front.

I had to make the bottom of the front by cutting another board and taking out a rectangular shape which is for the foot pedals.

I added tops and bottoms to both front and back.

The piano has side decorative pieces on it so hand drawn a shape for the side pieces and cut them from the wood.

These are the pieces I cut out of the wood that I need to the area where the keyboard goes.

At this point this is what the front looks like.

Now I added the foot looking things and the shelf that holds the keyboard.

This is the back of the piano looked like

I added some small round dowels around the front top to give it some detail.


I had to make a bench to, so I put some dowels and wood together. On the sides are coffee stirrers.

This is what the piano looks like after painting it brown and adding a photo off the internet. I got a picture of a keyboard and attached it. I also added some of the metal trim piece.

This is a close up of the pictures.

This is the canopy bed.

I needed curtains for the windows I cut up the lace off the top of a curtain and got a lot of curtains out of it. Over top of it I put a popsicle stick.

This is a view of the kitchen area.

This is another view of the kitchen area.

You can see the plates over top of the cabinets in the kitchen.

You can see the color of the wrapping paper I put on the walls.

This is the babies room one half. On the wall in the back I took a small frame and added a picture off the internet of humpty dumpty.

This is the other side of the babies room.

This is the bathroom area.

This is the piano.

This is the couch I made for this house.

I have to tell you about this TV. I made the TV out of the balsa wood and cut out a square on the top portion so you could watch TV and also a square out of the bottom so I could add screen for the sound area. I added buttons for the knobs. However, the picture in the TV is attached on the inside and also has plastic over top of it. I went to the back of the TV and drilled a hole in it right across from the picture area and inserted the top of a cheap solar light. You should see it light up at night, they have to watch the same program every night but how cute it is!

I made this fireplace out of different wood pieces and added tiles and painted it brown.

This is the hallway.

This is one of the bedrooms.

This is a close up of the bed in this bedroom.

This is the hope chest.

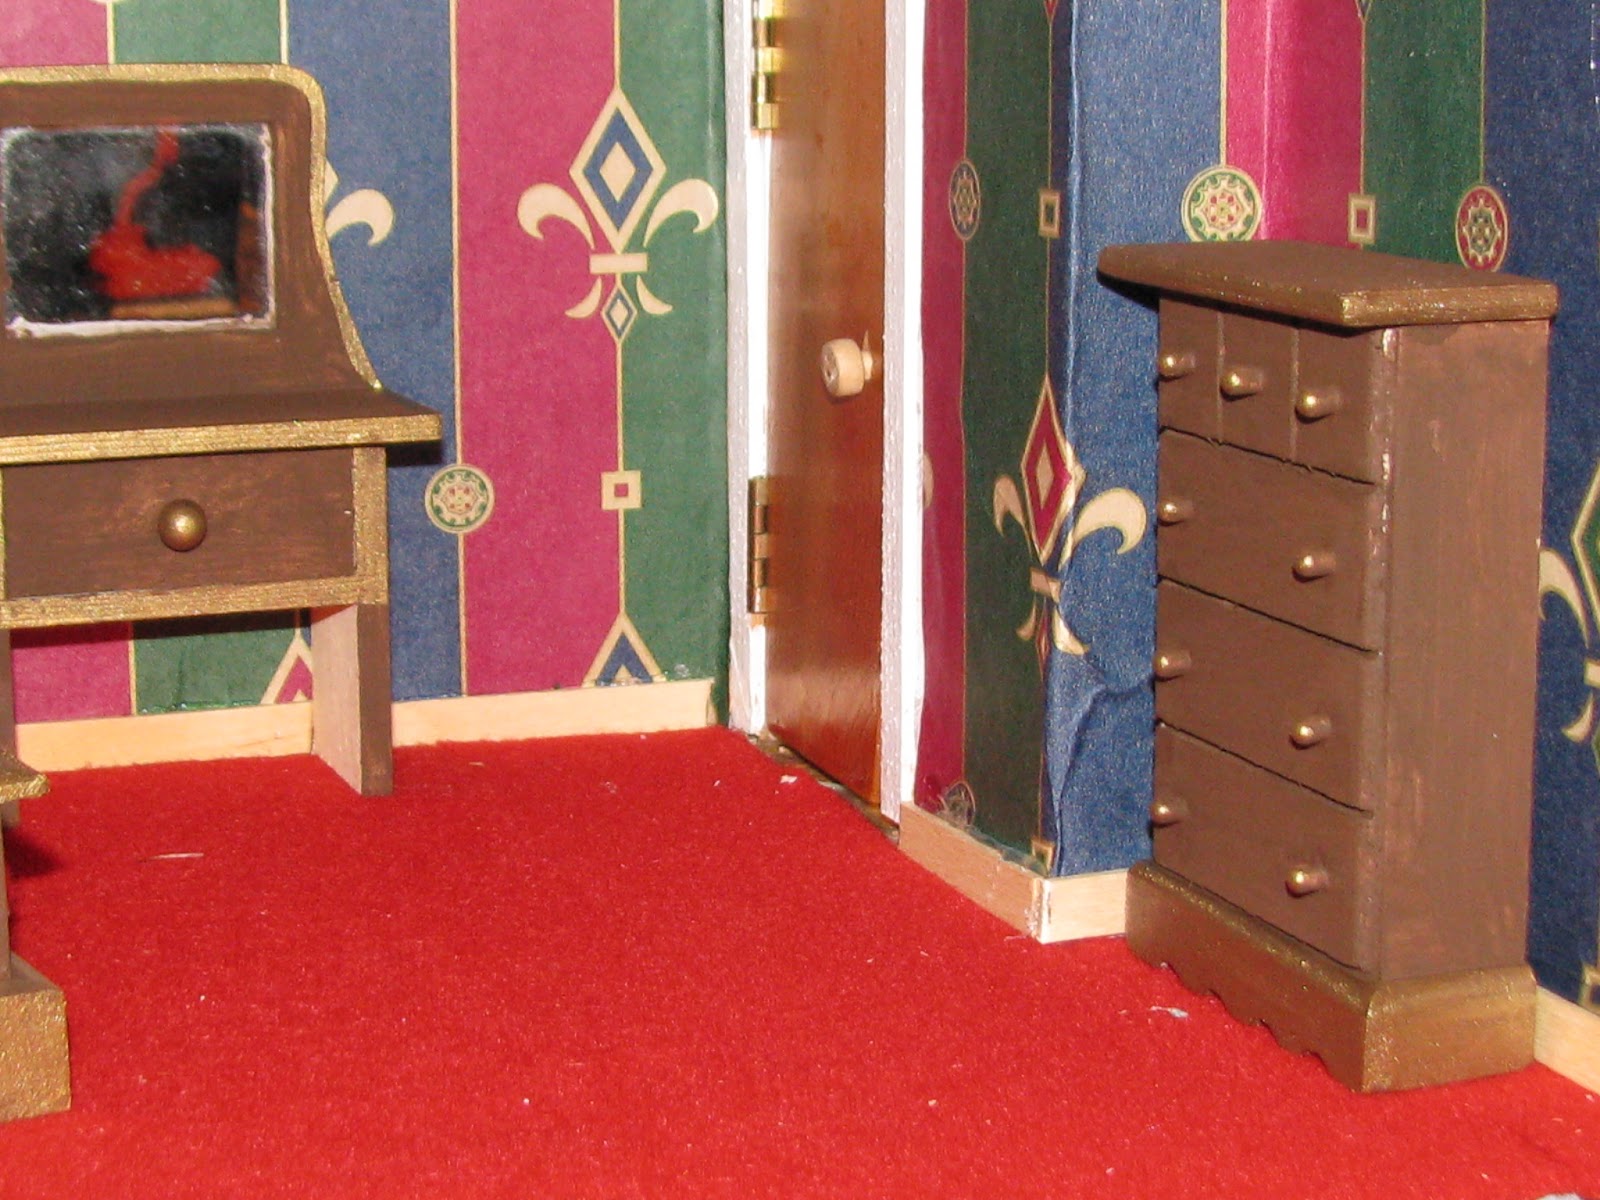
This is the other side of this bedroom.
This is the dining room area.

This is a close up of one of the chairs.

This is another view of the dining room. There is a Thomas Kinkade picture on the wall that use to be a night light.

This is a view of the bedroom that the canopy bed is in.

this is the parlour. I also have a dog in a bed in front of the fireplace and also a harp that plays music.

This is the other end of the parlour. I have the piano and music stand that has music on it.


this is another view of the inside front.

This is the house what I looks like now. I made solar lights for all the windows it all lights up in the windows at night. Each window has a candle stick in the window. I showed you the lights above.

This is the front porch, it has a beautiful door that opens and closes. I put a railing around the porch which is made of dowels.

This is the other side of the porch.

This is another view of the porch, see the curtains in the windows.

This is what the back looks like.

I painted the chimney to look like bricks. I hope this gave you some ideas of what you can do with a dollhouse. Remember you don't need electric for the dolls to watch TV or to have lights on inside the house at night.

This is what the house looks like at night with all the solar lights lit.

I had to show you this, this is what the TV looks like with the solar light lit up.

No comments:
Post a Comment