This is from the back of the dollhouse what it looks like at this point, I still need to add curtains.
This is the bedroom area.
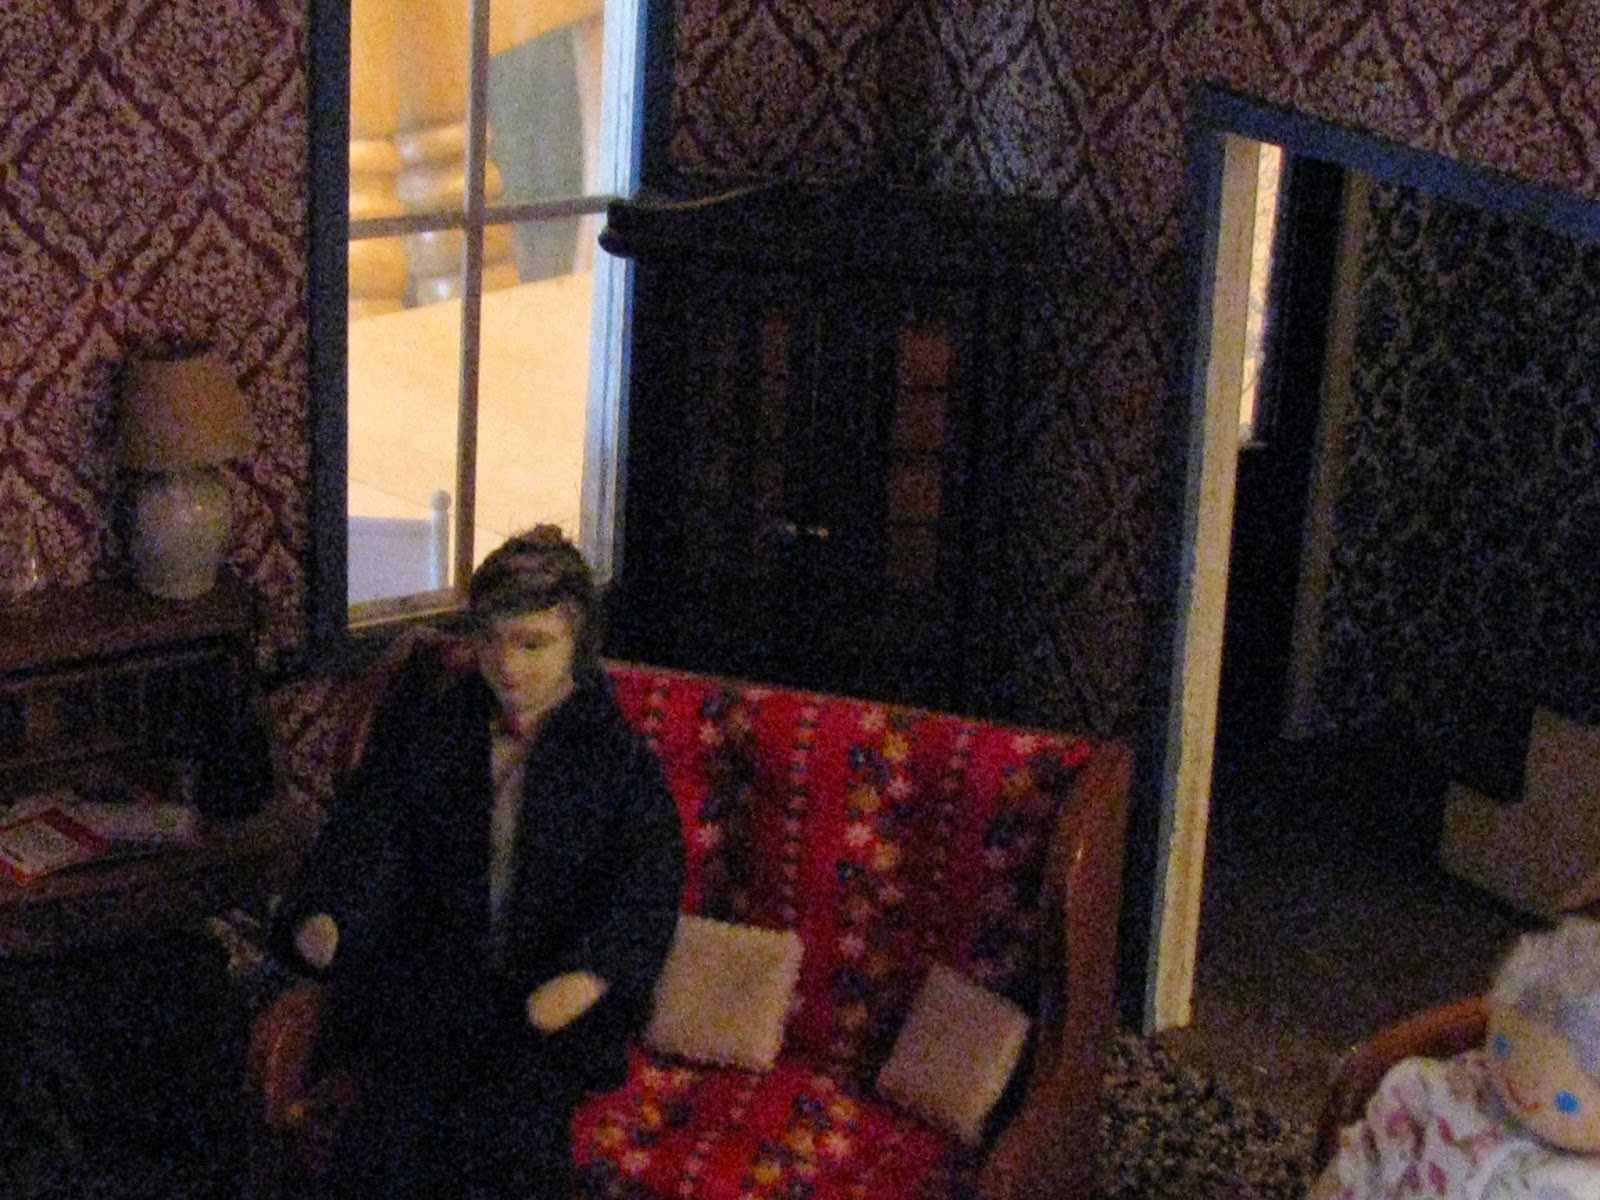
This is the parlour area.
This is the babies room/ hallway area.
This is the bathroom area.
This is the kitchen area, I still haven't done the floor all the way yet, at the end of these photos you will see the finished floor.
This is the hallway coming in the front door.
This is the area that goes into the kitchen on the side.
This is the front of this home.
Another photo of the front of this home.
This is another view of the side door which goes into the kitchen area.
This is another view.
This is a closeup of the bedroom area.
This is also a view of the bedroom area.
Looks like the babies up, this is another view of the bedroom. Who put the dog on the bed?
Another view of the babies room. Notice Donald Duck on the wall over the dressing table. This Donald Duck is a magnet. It looks just like a framed photo on the wall.
This is a closeup inside the bathroom area. You can make a bar of soap with a piece of wood paint it white and add a picture of the soap bar ( shrink the soap bars wrapper down to size on the printer and add it to the top of the wood)
This is another closeup of the bathroom. The rug on the floor is a coaster.
This is a closeup of the kitchen area.
This is another closeup in the kitchen area.
This is another view of the kitchen area.
If you notice on the top of the wall is a shelf with wine bottles in it, this is a magnet. Magnets work very good in a dollhouse they have all different kinds.
Here is another view of the hallway.
This is a closeup of the parlour area.
This is another view of the parlour.
Another view of the parlour area.
Another view of the parlour area.
This the front door of this home.
This is another view in the front of this home.
This is a view of the front leading to the side area.
This is a view of the kitchen floor, I used contact paper which I found at the dollar store, they have great contact paper that's good for dollhouses. I will be posting just one more post on this dollhouse, when I put in the curtains and add two fake climbing rose bushes on trelises I made from a barbie doll bed and small clay pots. I just added some benches on them. You will see them in my last post on this house.