Ad sense auto

Google analytics

Thursday, January 28, 2016

Another dollhouse I finished


This is what the dollhouse looked like when I got it.


This was the other side.


In this picture I installed rugs and wall paper (I use scrapbooking paper) I also painted it a neutral color.


In this picture you can see the bedroom, and the parlour.


In this picture you can see the upstairs hallway.


In this picture you can see the bathroom.


In this picture you can see the downstairs hallway.


You can see the kitchen area. When I do the blank wall of this house I will post it.


Making a kitchen counter from cardboard

This is the piece of cardboard I used.


I cut off a piece of cardboard and added sides to the cardboard.


I bought this little dish from the dollar store, I cut a hole in the cardboard to fit the dish.


I then painted it black


I added some rubberized white mat around the one side and also on the front of the sink area.


This is the back.


I glued down the dish inside the hole.  I added some Popsicle sticks.  I used a bead for the knob.  I also added a piece off a shower curtain holder.


Another curtain made from scrapbooking paper


I used a blue color paper and folded it like an accordion, I'm also using a blue Popsicle stick, I'm attaching to curtain to the blue stick first.


I glued the paper on two Popsicle sticks,one on the back one on the front.


I added some lace to the top, it's ready for gluing over top of the window.


Making some curtains for your dollhouse from scrapbooking paper


I started with this piece of material and thin Popsicle sticks.


I added some lace to the bottom.


I turned the sides up and installed Popsicle sticks to hold up the sides. 


I took the scrapbooking paper and folded it like an accordion.  I then glued it to the back.


Solar powered TV set for a dollhouse


I used a drawer from a broken jewelry box for the tv cabinet.  I also used wide Popsicle sticks


First thing I did was add Popsicle sticks to the opening to make a size for a tv screen.  I also wanted a wide enough spot on the bottom for a speaker and knobs for the tv.  I took off the jewelry knob off the draw also.


This is another view of the tv cabinet.


In this picture I cut a little piece of wood and covered the hole on top and also made rabbit ears for the top out of square match sticks.  With the hole in the front I printed out a picture of Peter Pan and glued it to the front.  I then put Popsicle sticks around the picture to frame the picture.  On the bottom I took a piece of rubberized mat and made a speaker.  I also used 4 beads for the tv knobs.


I then drilled a hole in the back of the tv for a solar light.


This is the solar light, I'm using the top.


After installing the solar light this is what it looks like a tv.


This is the back.


This is what it looks like inside the dollhouse.


Making a bed for your dollhouse,using dyer lint and dryer sheets.


These are some of the items I'm using for this doll bed.a bottom of a small wooden box, lint, dryer sheet, a piece of cardboard the size of the bottom of the box, and a decorative piece.  I also used some blue material.


As you can see in this photo the first thing I did was take the piece of cardboard put the lint on it and glued the dryer sheet around it and attached it to the back of the cardboard.


This is what the back looked like.


I then added some material to cover the mattress cover, so it looks like a fitted sheet.


This is what the back looked like.


I then glue the cardboard onto the small wooden box.


I then took a cork and cut it to the size I needed for the legs of the bed.


I attached them to the other side.


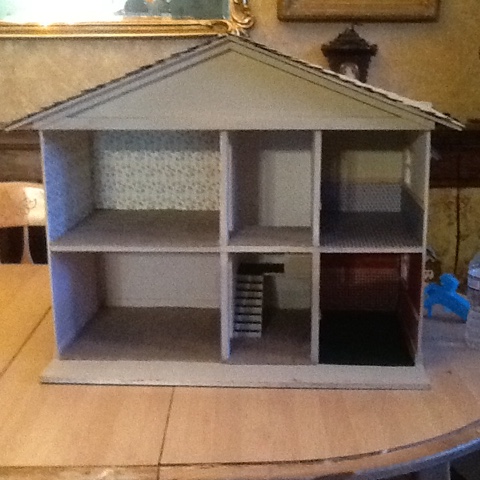
I'm showing you in this picture why I only needed two legs for this bed.  The top of the bed will be glued to the little shelf on this piece.


I then glued the bed frame to the ledge area.


This is another view.


I then made a blanket for the bed from a piece of the blue material and glued on trim.


I also made a pillow out of the same material.  I hot glued two sides and stuffed the pillow with lint then I glued down the open edge.  I then glued on trim around both sides.


Here is the finished bed.


Sunday, January 24, 2016

Perfume bottles, tray for dollhouse


These are the beads I'm putting together to make a perfume bottle.  I took one of the silver circles and glued it to the bottom of the green bead then I glued another circle on top of the green bead.  I then glued the clear bead that you see on the bottom on top of the circle and then the little gold bead on top.


I'm also putting these pieces together to make a taller perfume bottle.  I took a piece of plastic that came from a container.  As you can see in the photo I traced the circle off the bottom of the plastic piece on the right.  The piece on the right came from a pump insides.  After cutting the circle out I used antibacterial stuff to get off the black mark.  I then glued it to the bottom of the larger piece.  Then I took the red bead and glued it to the top and then glued a small bead on top of that.


My son in law used all his razor blades this was the holder for them, I painted it with gold nail polish.  I painted the inside with silver nail polish.  This I'm using for a perfume tray.


This is what they look like all together.  I cut a piece from a pink mat for the placemat.


Aluminum foil box sofa for your dollhouse.


I'm going to show you how to make this sofa for your dollhouse, don't throw out that aluminum foil box!


This is the back, now on to show how to make it!


This is an empty aluminum foil box, if you look closely you will see a black line showing how long I want to make this couch.  You can make it any length you want.  The box gets cut all the way around it.


After cutting the box that size then you need to cut the same size on the other side of the box.  Both of these pieces should slide right into each other to form a sofa.  I then cut the back of the sofa for the height I what.  This is the area you lean back on.  As you can see in the photo I am making two sofas.  Then I cut a piece of cardboard to cover up the back of the sofa.  Do not glue this piece to the back, it is going to need to be covered with felt, which you will see in these photos.


I then cut a piece of cardboard that will be the seat.  I then cut that piece in half for two cushions. This piece needs to fit the seat area.  I cut the pieces alittle bit shorter, once the felt and batting are on this cardboard it makes it a little larger.


I cut two pieces of batting material to cover the cardboard for the seat.


After gluing on the batting I cut two pieces of felt which I will be gluing on top of the batting.


This is what the front and back of the seat cushions will look like.


Next thing you need to do is cut two pieces of small dowels and glue them on the sides of the sofa for the arm rest areas.


I then started gluing a piece of felt around the inside arm rest area, it gets glued from the inside and around the dowel and down the side.  You will find you need to cut some off as you go around the arm rest areas.


After the arm rests are covered, you need to cover the piece of cardboard that is for the area you lean back on on the sofa.  You then glue the back piece on, glue in the two seat cushions.  I also added some trim on my sofa.


I had bought these a while back from the dollar store I'm going to use them today.


I cut off the fork parts and glued some on the back part.


In the back I didn't want to see the forks so I glued on a piece of felt over them, and added trim. In areas where you can see the box you can cut some felt and glue it down in those areas.