Ad sense auto

Google analytics

Thursday, March 28, 2019

Making cotton ball holder out of something from dollar store

These are very small storage containers that I purchased from the dollar store.  I will be using these for the containers, I’m taking off the plastic cap and putting them away for a future project.


I used buttons for the lids. If you look in this picture I filled each of the containers with something.  I took q-tips and pulling off the cotton on the ends and made small cotton balls.  I also use scissors to cut the tips off the q-tips and use them by themselves for the cotton balls also.  I also put some baby powder in one of them. I glue buttons to the tops of the containers and write on the containers what is in them.  You can put anything in them for the dollhouses, use your imagination and it will soar!


Wednesday, March 27, 2019

Making a frame for an antique metal photo

This is the type frame you start with, a cheap wooden one. You can find them at most craft supply stores.


Here’s the antique metal picture, I need a nice frame it so I can put it in a dollhouse.


The first thing you do is paint the whole frame including the back with black paint.  Then you take some copper colored paint and using your finger smear on copper paint over the black. You also need to be taking some of the copper paint off as your putting it on.


This is a belt I bought from a dollar store, I like using these types of belts for different projects.  I’m using pieces off it for the corners of the frame.


Here is the frame with the corner pieces which I glued on with tacky glue.


I then added some metallic gold paint around the edges and also used some black paint for different areas.


Here is what the frame looks like with the photo framed. It makes this beautiful photo stand out now.  You could add some more details to the sides if you want or any other designs.  Use your imagination and it will soar!


Tuesday, March 26, 2019

Making a nice shelf for your dollhouse


You will need to cut two pieces of wood, one for the back wall and one for the shelf.  The wood that I’m using came from a white wooden blind.  Just because the blind doesn’t work anymore doesn't mean you can't use the wood, you can use it for crafts.


I love this magazine, you can get so many pictures out of it. I’m going to cut some pictures out of this magazine.  Best of all the company will send you one of these catalogs for free all you need to do is ask for one. The request catalog button is just on the bottom of their site.


I saw this picture of pink flowers and thought, "I will use that".


In this picture you can see that using mod podge I glued the picture onto the back wall, then I used a black permanent marker to draw some black designs and a border around the picture.


Next thing you do is glue the shelf onto the back wall piece.


I glued on some small glass jars which you can find in the nail polish area of a store.  Inside the jars are sprinkles for your nails.  I also use these jars for making "spices" for in my dollhouses.  I have a post on how to make them in my blog too. In the middle is a small bunny glued down for Easter. 


Here is the shelf on the wall, I glued it to the wall.  The mirror above it used to be part of a cheap cameo necklace I took off the cameo, which I use for another project and use the back piece for a mirror.  Don’t pass up those cheap cameo necklaces, you can use them like this.  Use your imagination and it will soar!


Monday, March 25, 2019

Making a beautiful table for a dollhouse using Melissa and Doug wood container


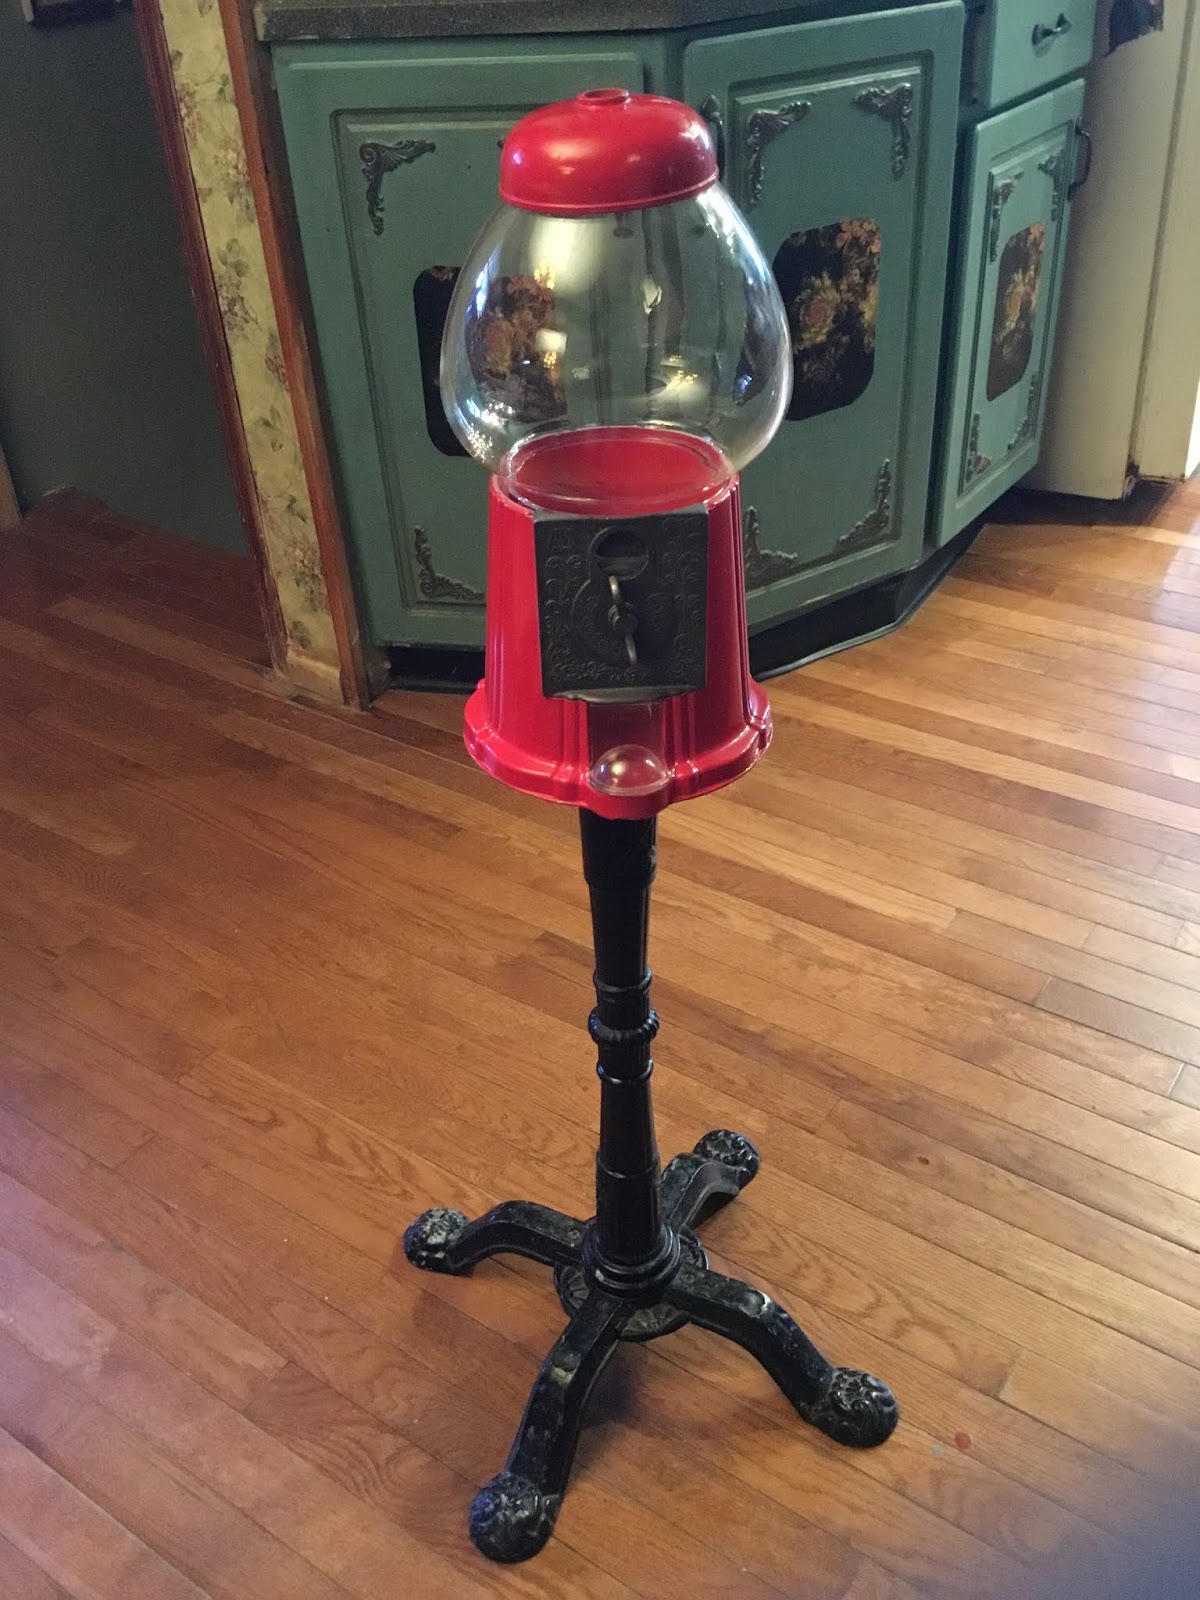
My daughter bought something for her son, it came in this wooden crate.  She didn’t want to throw it out, she knew I could use it.  Well I needed a table for a dollhouse so here it goes.


The first thing you do is take out two rows of the wooden sticks on the sides, don’t take out the last row that is left for your table.


Here’s what it looks like after you take out the two rows of sticks.


You can put a border around the edge of the table, I used this. The next picture you see will be with this border on it.


In this picture you can see the border, which I glued into place around the table.


Here’s what the side looks like.


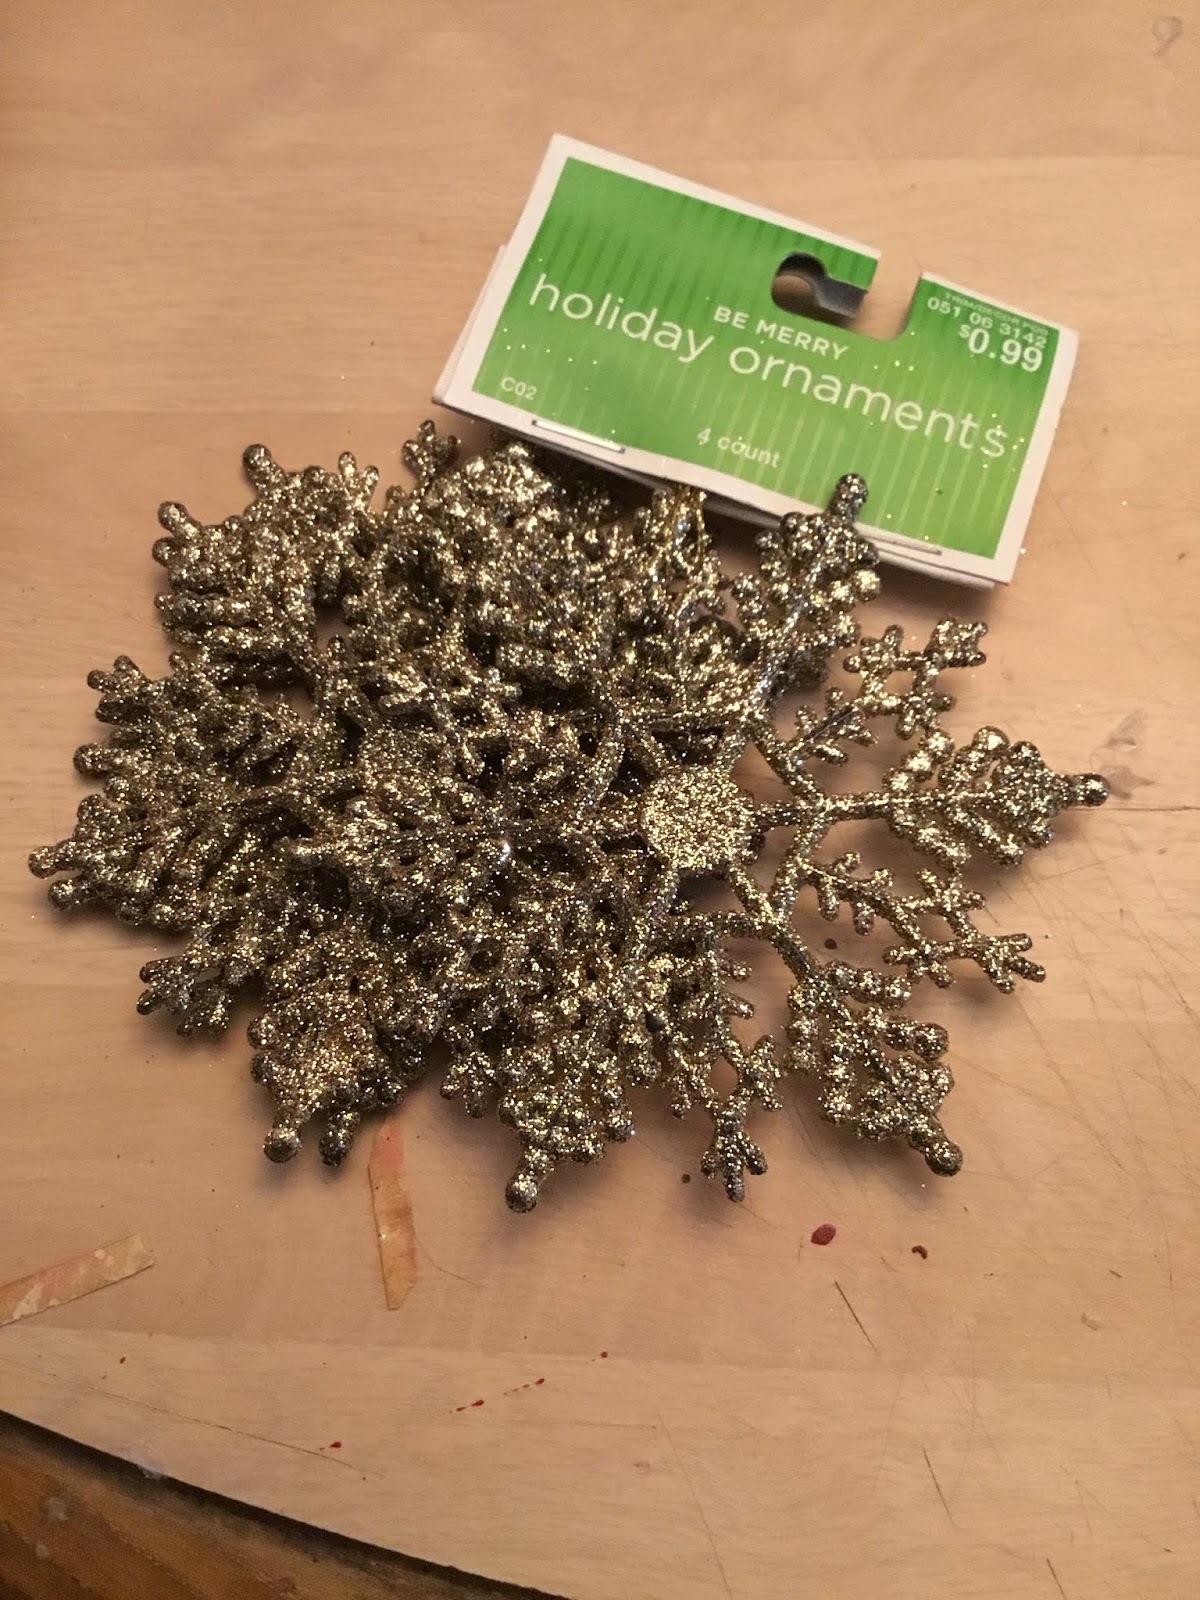
I wanted some decorative pieces on the legs so I used these ornaments which I got from Michael's craft store during Christmas time.  You can also find them sometimes at thrift stores and garage sales. I’m going to cut pieces off them.


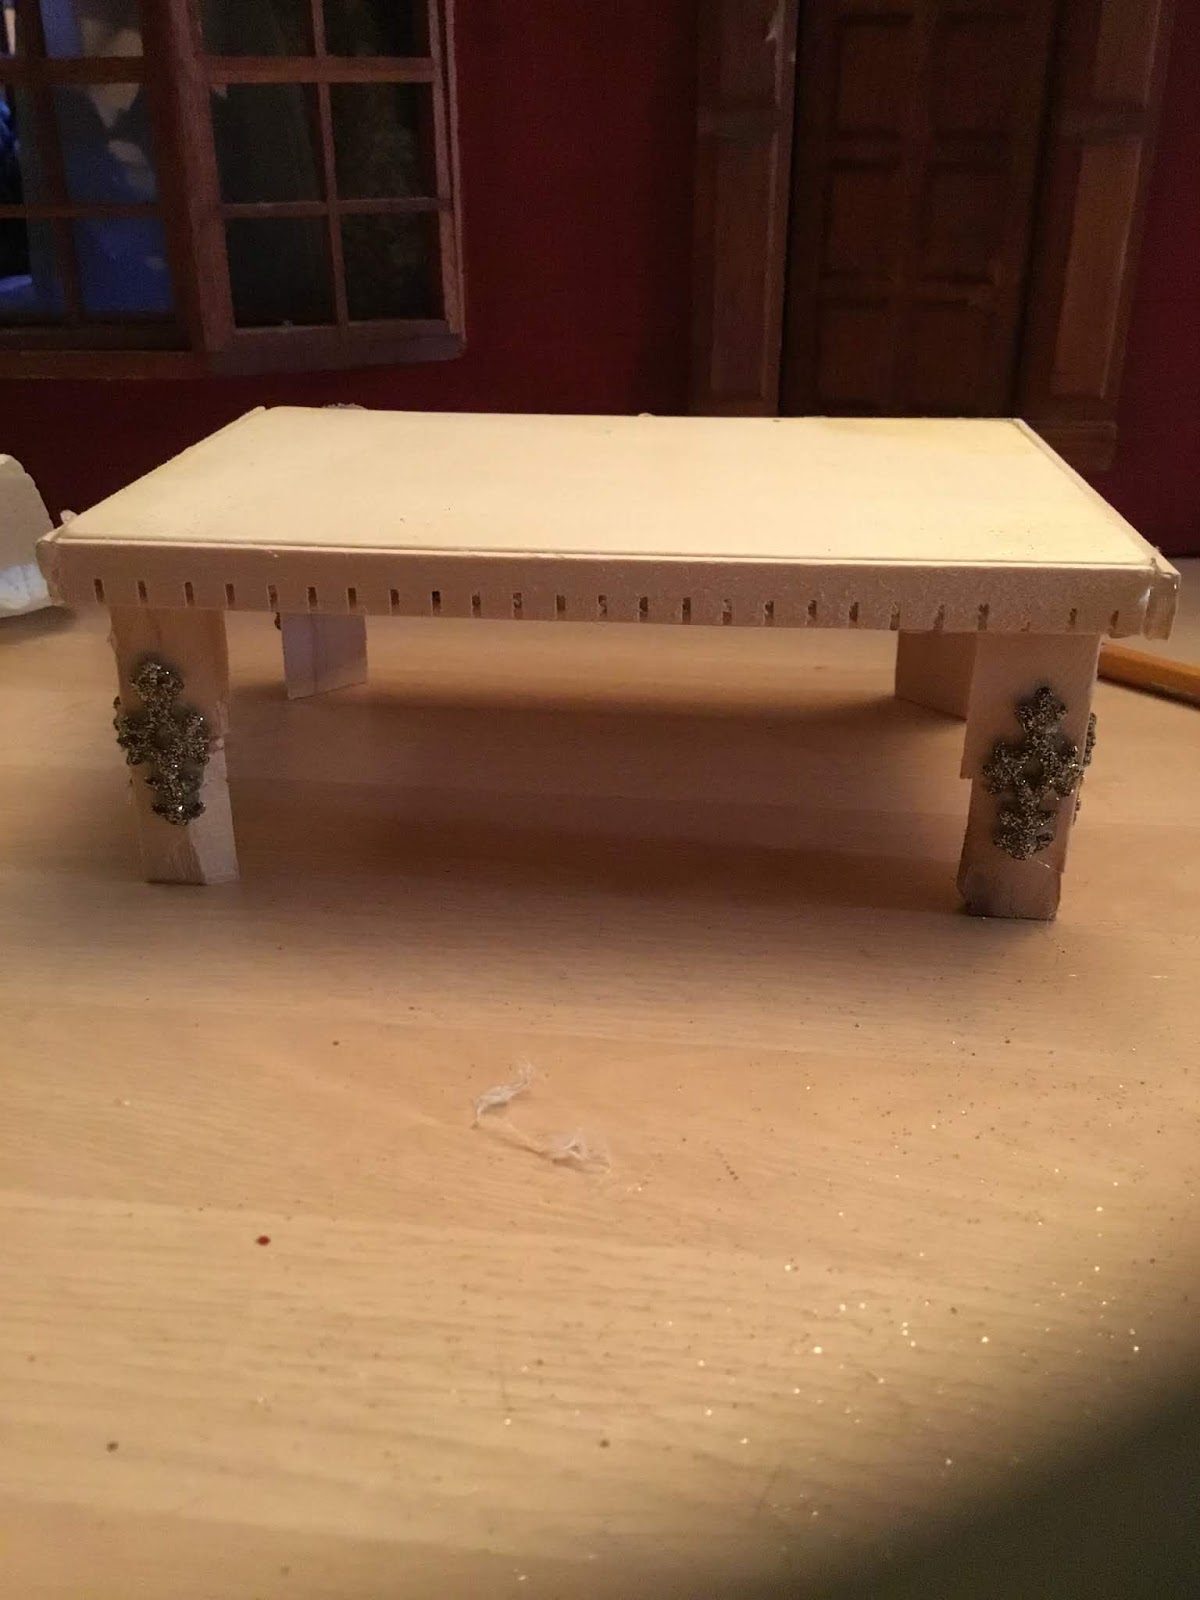
You can see on the legs of the table the pieces that I used.


Another view.


After looking at the table, I decided to add some trim around the top where I glued on the other wood trim.  You can leave the trim on only or add some other trim to it.


At some dollar stores they sell plastic in rolls that have pictures on them, I bought 2 feet worth off the big roll.  Then I cut the pictures separately, this is one of the pieces I will be using this for the top of the table.


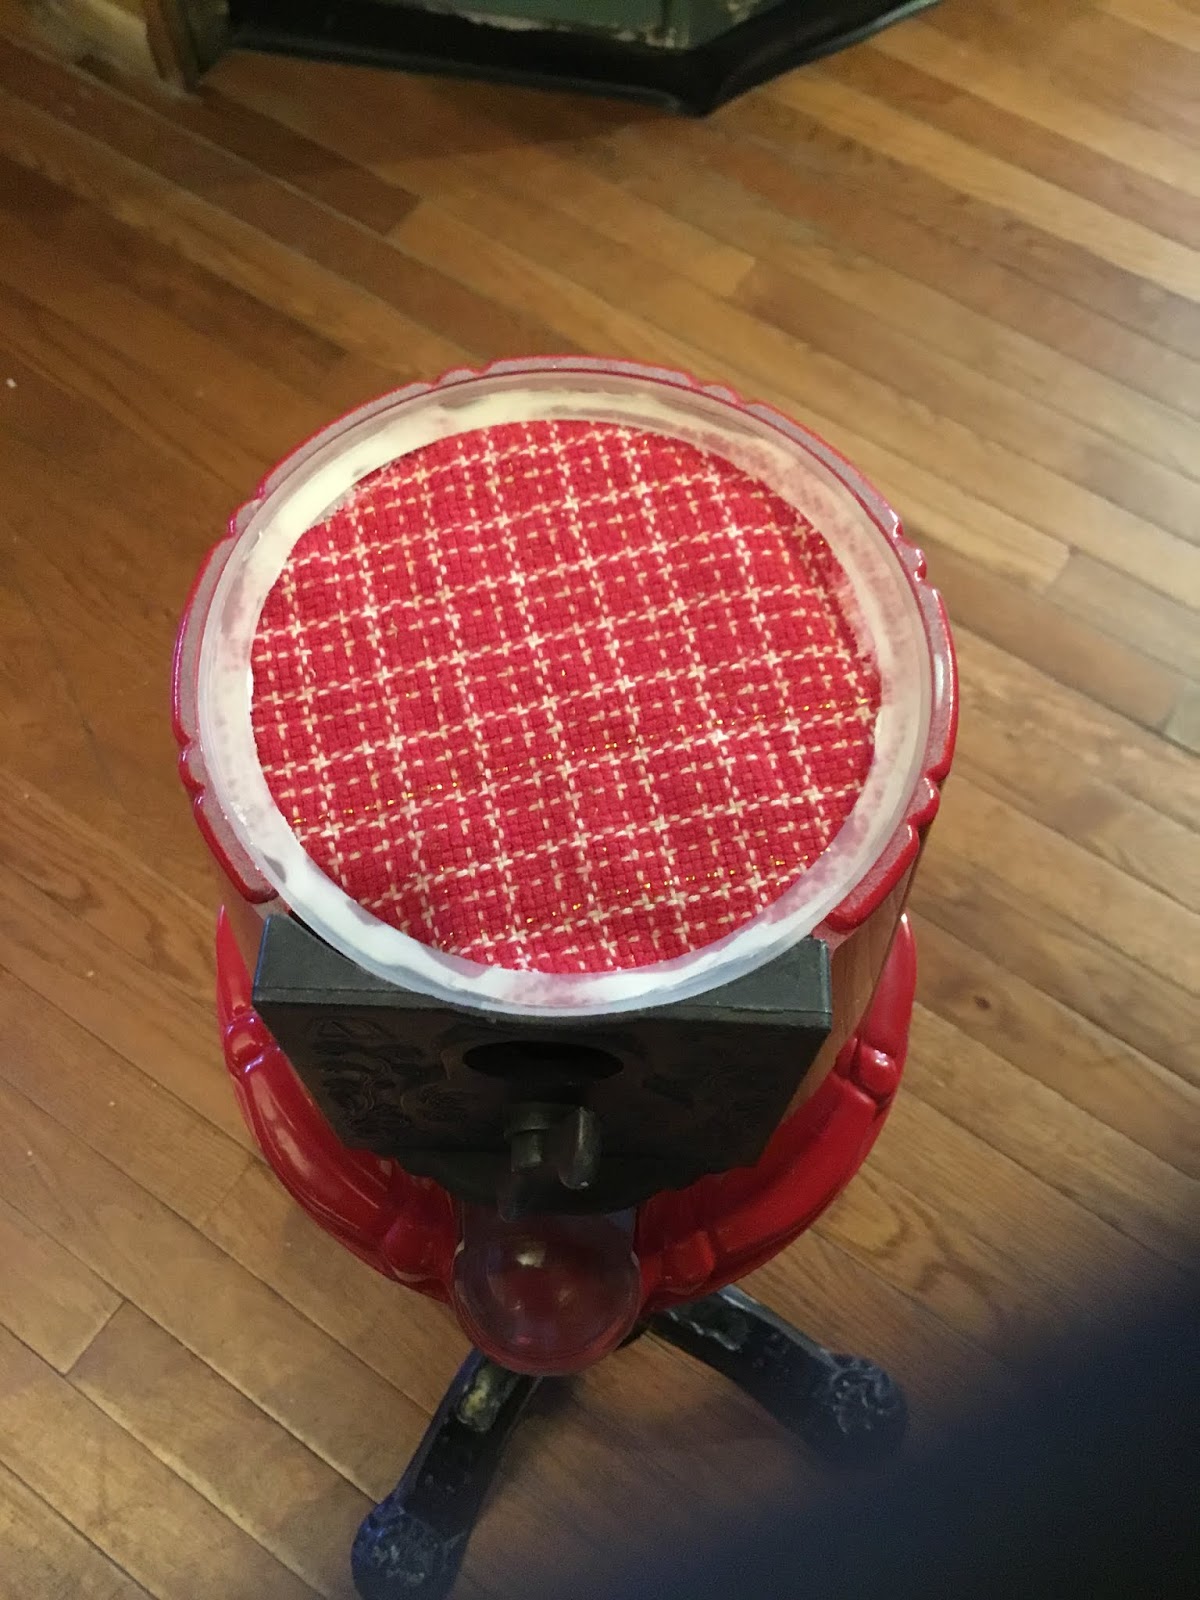
I then took some metallic gold paint and with my finger rubbed it all over the table top. Next is to glue on the plastic picture using mod podge.


Here it is with the plastic piece glued on with mod podge.  I know you can see the white glue under it but the best thing is, it dries clear.


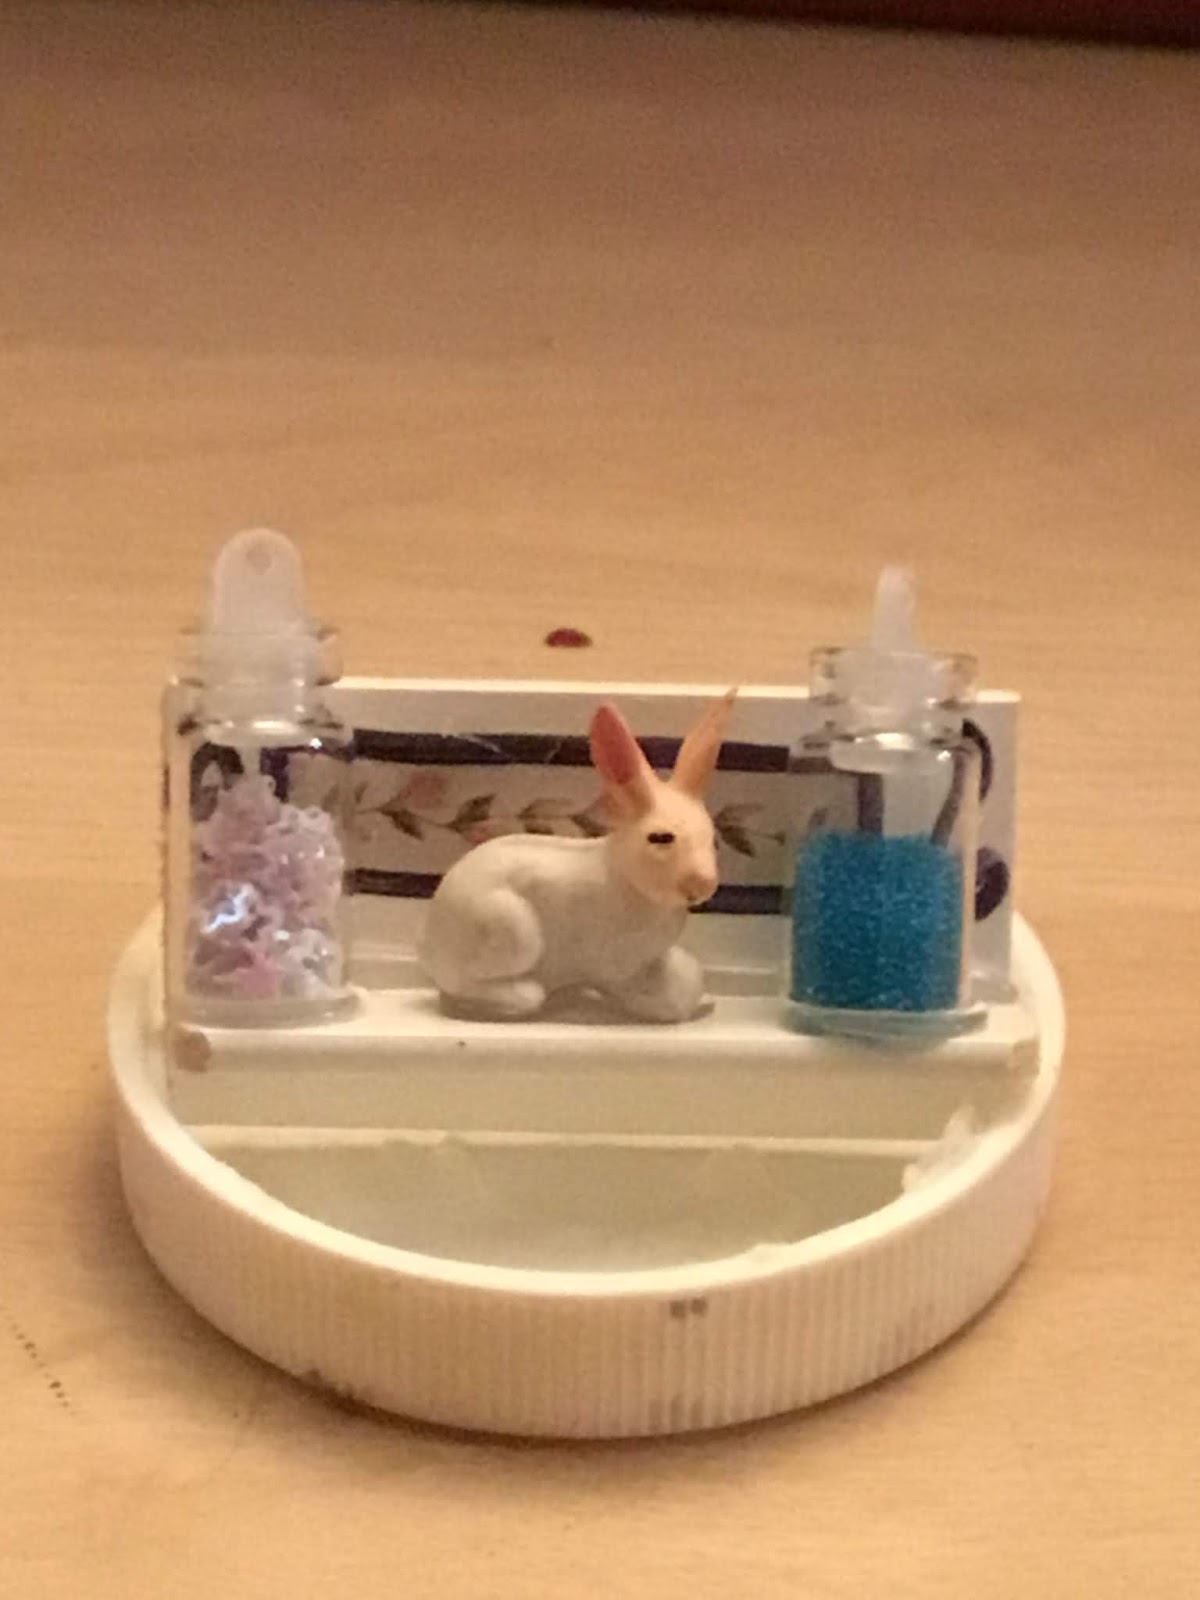
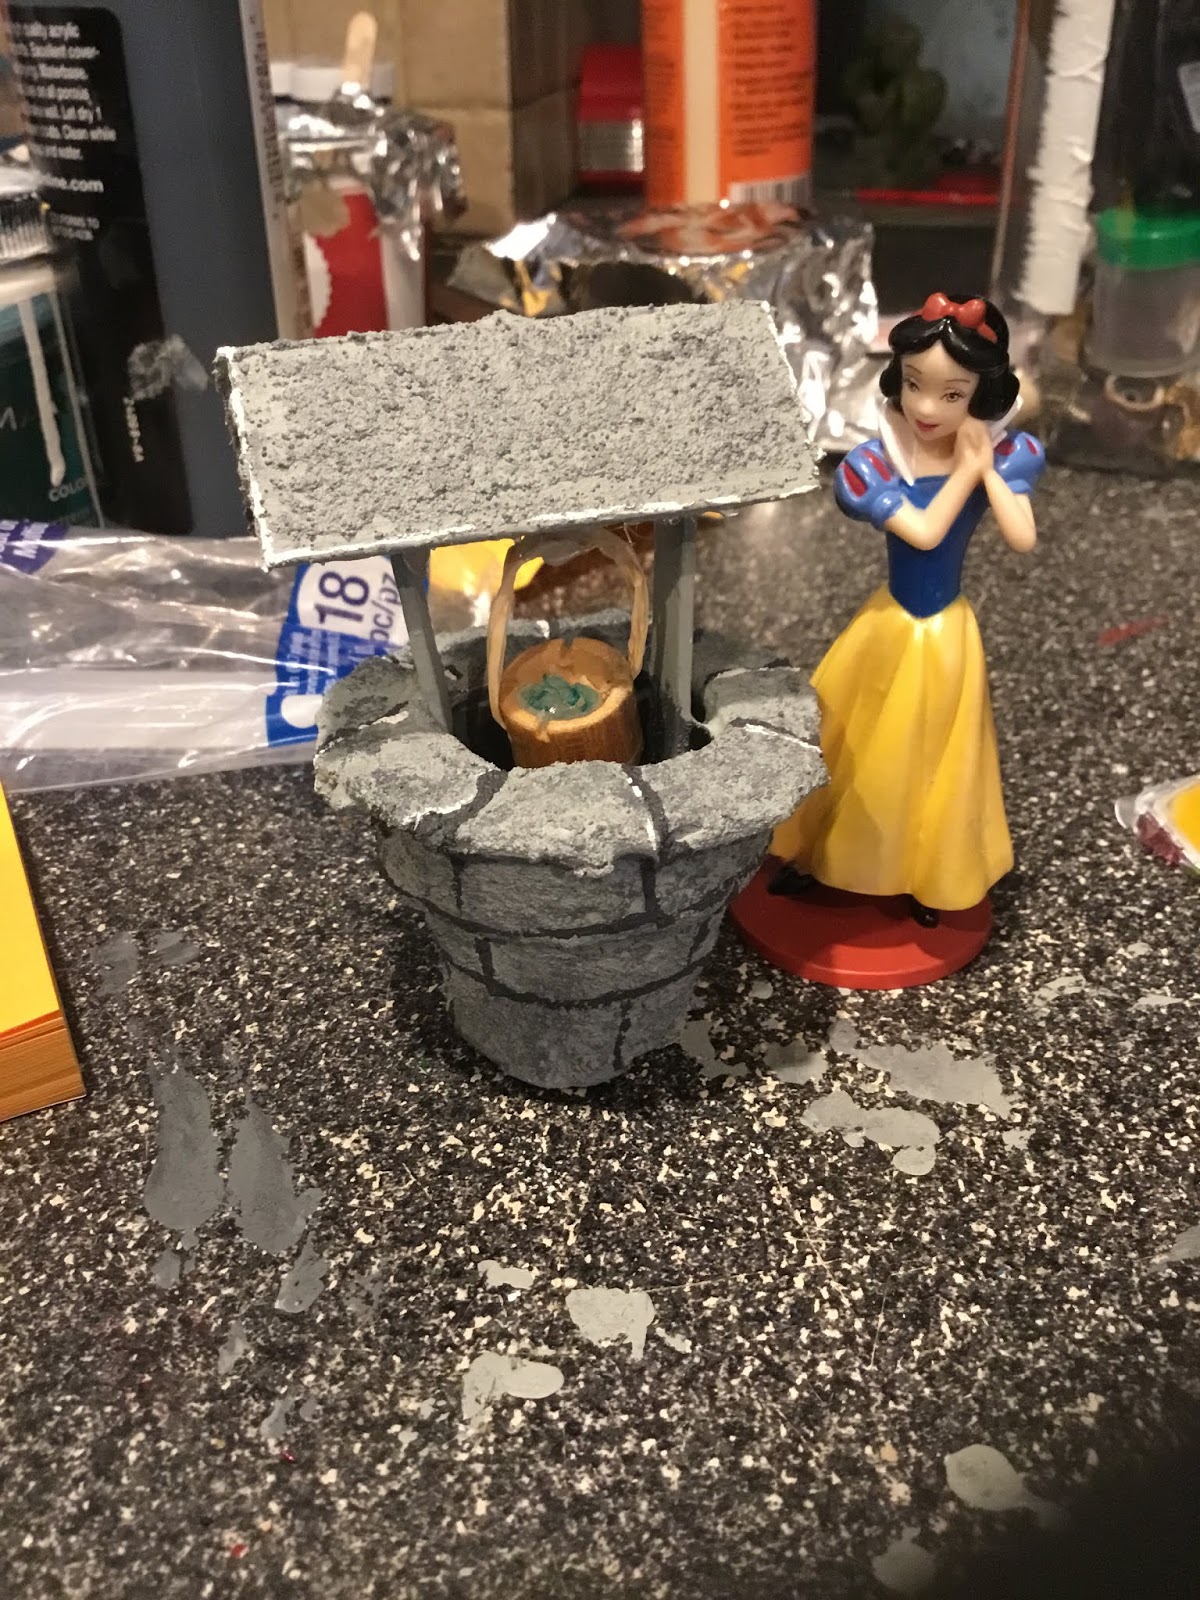
I thought I would show you how beautiful it looks set up with items.


Here is the table inside the dining room in the dollhouse. The rug under the table is made from a placemat. You too can make a beautiful table with your imagination, and it will soar!


Friday, March 22, 2019

Making a quilters themed solar light using a bubble gum machine


I love these bubblegum machines they make great displays for that special item in your garden or house.  Today I’m going to make a quilters display for the garden using this bubblegum machine. First, you need to take out all the pieces on the inside (this bubblegum machine didn’t work).


I had my son cut off the metal nub on the inside of the lid with his Dremel.  You need to do this for the solar light, so the light shines into the display instead of concentrating light in one spot.


After taking out all the pieces, this is what it looks like on the inside.


Next I used a Styrofoam sheet to make a floor for the inside.  I had to cut two pieces which I glued together.


I needed to cut a hard piece of cardboard to use for the floor on top of the Styrofoam. I used a piece from a checker board. It was bought at a garage sale for cheap (missing pieces).


I then glued a piece of material to glue on top of the cardboard to give it a finished look. Next I glued the whole thing down onto the Styrofoam.  Finally I glued down the plastic sealer that came with the bubblegum machine.  It holds the glass dome in place.


First, picked out the items I wanted in the glass dome.  I ended up picking out two quilters sitting at a table, a dog and two little candlesticks. Which were made from two buttons for the base, two blue beads and two pieces of stiff white wire material for the wicks.  I glued these all together to make the candles.  Remember a lot of times quilters work till all hours of the night they need candles.


I made sure I hot glued down all the different items I used for the theme.  Then I hot glued down the globe to the top and the red cap. Now, for the light.


In Walmart they sell 97 cent solar lights and all you need is this piece off the top. This is where the LED is and the solar panel.  Make sure you put a little hot glue to hold it down into place.


This is what it looks like lit up.  These type of lights are unique and look beautiful in a garden, and best of all no electric bill! Use your imagination and it will soar!


Tuesday, March 19, 2019

How to make decorative lights for a dollhouse


I bought these hair accessories from a flea market today.  Any round hair items can be turned into nice lights for a dollhouse.  The first I did was cut the balls off the elastics and I drilled a hole in the middle of the ball so I can glue in led lights that I bought from the dollar store.


Here are what the led lights look like.  They work on batteries.  The ball will have the led lights glued into the holes that you drilled into them.


Here are what the lights look like glued into the holes in the balls.  These can put onto the front porch of a dollhouse or around the top of a ceiling area in a dollhouse.  Use your imagination and it can soar!


Saturday, March 16, 2019

Making a bamboo floor for your dollhouse


In this picture you will see a bamboo placemat. They are also sometimes advertised as sushi mats. When using a placemat like this, after measuring for the size you need. Tape on both sides of the mat, you will be cutting it else the placemat will fall apart.  So in the picture you will see the tape. I leave this tape on the item you won't be able to see it. It will be on the underside.  You can cut this with regular scissors.  Placemats make beautiful flooring and a lot of them look like real wood floors in a dollhouse.


In this picture you can see what it looks like once you glue it down with tacky glue.


Wednesday, March 13, 2019

Making a wishing well for a Dollhouse


You are going to start with a mini clay pot.  Start cutting out square pieces of an egg carton.


This is one of the egg cartons that I will cut square pieces out of.  Next you need to glue the squares around the top ring of the clay pot.  You will see what it looks like in the photo above.  After you do one layer around the top, you then put pieces another layer between each of the first pieces.  I glued down these pieces with a mixture of wood glue mixed with flour.  This makes a very thick paste and this the glue you will be using. When it dries, it will be harder than a rock.


You will then coat the whole clay pot with the wood glue and flour mixture, add some gray paint to the wishing well.  You will then cut two popsicle sticks for the side pieces that will hold up the roof.  On the top of the popsicle sticks you will cut angles on them, so the roof pieces will lay on them. Also cut two pieces for the roof and glue them in place.


Then make a mixture of gray paint mixed with craft sand which you see at a flea market etc. Paint the whole thing with this paint.  Then add some black paint to this mixture and using your paint brush dab on some of this darker gray shade.


With a thin brush paint brush, paint lines around the top like lines you would see from the spacing in the brick.  Then take some white paint and highlight some areas. Do the same for the bottom.


You will need a rook from a chess set.  You will be cutting off the top of it for a pail.


In this picture you can see the top piece cut off of the rook which is going to be the pail.  If you don't have this chess piece you can use a toothpaste cap in its place.


You then need to drill a hole through the pail from side to side so you can run a string through it.


In this picture you can see the string I used.


In this picture I took the small dowel and put the string over top of it and then glued in the dowel from one side of the popsicle sticks to the other, holding the pail in place.  I then put some hot glue in the pail and took a blue marker to make it look like water.


This is what it looks like finished. I am using this for a room in a dollhouse. I'm working on the themed room that is Snow White and the seven dwarfs inspired.  Use your imagination and it will soar!