Ad sense auto

Google analytics

Showing posts with label Doll House. Show all posts

Sunday, June 9, 2019

How to make molding around a window for dollhouse


First you need large popsicle type sticks. Here’s what they look like.  Now we are going to make some strips of wood out of it.


The window on the right is the window that we are making the trim for.  If you look on the sides of the window I made some lines with a marker to show you the length that you need for the sides of the siding to be from top to bottom.


You will also need some regular size popsicle sticks, on the left is what they look like.  You need to cut the top and bottom curve areas off the large stick so both top and bottom are flat.  Next you need to use a regular popsicle stick to make some wood pieces that are the same width that you will need.  Use the stick for a template. Once you make the lines cut out the strips of wood using a razor knife.


These are the pieces cut out.


You need to take these two pieces you just cut and measure from the bottom of the window to the top area that I showed you in a prior picture, both pieces need to be cut the same length. Now you can glue these pieces on both sides of the window.


Next take another regular popsicle stick and cut the length to fit under the window it will be glued down as a window sill put the glue on the outer area of the stick.


Next take another regular popsicle stick and cut it the same width as the window side by side.  If you look at the picture it explains better.  This popsicle stick gets glued down under the sill.


Next is the top piece which you use another popsicle stick cut to size and glued down.


Here it is painted white.  It's much cheaper to make your own this way than to buy them.  Use your imagination and it will soar.


Wednesday, April 24, 2019

Making a decoration around a mosaic window on a dollhouse


In this picture you can see a small square window on a dollhouse.  The first thing I did was make this window look like a fake stained glass window using nail polish, it is transparent when it dries and looks great and the lines for the lead look I use black paint pens to make the lines.


In this picture I did all my stained glass looking windows. Next to add to the square window, I don’t like how it gets lost on the house.


I’m sure you have seen these folding fans at garage sales, flea markets etc.  I will be using pieces off it.


In this picture you can see the pieces I cut off the fan blades, don’t throw any of the other pieces out they can be used for other projects.

In this picture you can see that square window now sticks up for itself.  Use your imagination with the stained glass look, the decorations and you can change the look of any window. I made another blog that shows you how I make fake stained glass windows. Check out my other blogs. Use your imagination and it will soar!


Saturday, April 20, 2019

Making dollhouse planters from closet door slats


Just in case someone out there doesn’t know what the closet door looks like that I’m talking about (referring to other blog posts), here it is.  I picked these two doors off the garbage last night, they have great wood.  So I busted the doors apart for the slats.


Here’s the slats you get from those doors.


Here’s the dollhouse I need planters for, under the front windows.


I decided to work on the larger windows first.  So I measured to see how long I wanted the planter to be which was outside width of the windows.  I also measured for the depth I wanted the planters to be.  After cutting the pieces from the wood slats I glued them together.


Here the wood is glued together.  For the floor in the planter, I am using a scrap piece of wood.  I just place the planter onto the wood and draw lines around the base for the piece I need cut.


Here is the scrap piece of wood that I used.


Here is the piece cut out for the floor.  I glue this piece on the planters bottom.


I then glue in some of the green Styrofoam material that holds in fake flowers so I can add flowers. 


This is what they look like on the house with decorations and flowers.  If you want to see how I put the decorations on and flowers check out my blog on decorating a flower box.


Wednesday, April 3, 2019

Making a decorative floral piece for a dollhouse

Do you remember when you were small your mom always had this round globe that had a rose in it and you didn’t know what it was or the question... Why? Well this is what I decided to make, now the dolls can say why oh why.

We are using these glass globes which I will be putting a flower in each.


I cut off one globe from the batch.


I’m using these buttons for the project.


These are the flowers I will be putting in the globe.


This gold globe will be the base, these came from a light set.


In this picture I glued the button onto the base.


I then put one rose into the glass globe. Next is to glue the base and globe together.


Here they are with everything glued together.  Now you can say why oh why. You can put anything in the glass globe, use your imagination and it will soar!


Thursday, March 28, 2019

Making cotton ball holder out of something from dollar store

These are very small storage containers that I purchased from the dollar store.  I will be using these for the containers, I’m taking off the plastic cap and putting them away for a future project.


I used buttons for the lids. If you look in this picture I filled each of the containers with something.  I took q-tips and pulling off the cotton on the ends and made small cotton balls.  I also use scissors to cut the tips off the q-tips and use them by themselves for the cotton balls also.  I also put some baby powder in one of them. I glue buttons to the tops of the containers and write on the containers what is in them.  You can put anything in them for the dollhouses, use your imagination and it will soar!


Wednesday, March 27, 2019

Making a frame for an antique metal photo

This is the type frame you start with, a cheap wooden one. You can find them at most craft supply stores.


Here’s the antique metal picture, I need a nice frame it so I can put it in a dollhouse.


The first thing you do is paint the whole frame including the back with black paint.  Then you take some copper colored paint and using your finger smear on copper paint over the black. You also need to be taking some of the copper paint off as your putting it on.


This is a belt I bought from a dollar store, I like using these types of belts for different projects.  I’m using pieces off it for the corners of the frame.


Here is the frame with the corner pieces which I glued on with tacky glue.


I then added some metallic gold paint around the edges and also used some black paint for different areas.


Here is what the frame looks like with the photo framed. It makes this beautiful photo stand out now.  You could add some more details to the sides if you want or any other designs.  Use your imagination and it will soar!


Tuesday, March 26, 2019

Making a nice shelf for your dollhouse


You will need to cut two pieces of wood, one for the back wall and one for the shelf.  The wood that I’m using came from a white wooden blind.  Just because the blind doesn’t work anymore doesn't mean you can't use the wood, you can use it for crafts.


I love this magazine, you can get so many pictures out of it. I’m going to cut some pictures out of this magazine.  Best of all the company will send you one of these catalogs for free all you need to do is ask for one. The request catalog button is just on the bottom of their site.


I saw this picture of pink flowers and thought, "I will use that".


In this picture you can see that using mod podge I glued the picture onto the back wall, then I used a black permanent marker to draw some black designs and a border around the picture.


Next thing you do is glue the shelf onto the back wall piece.


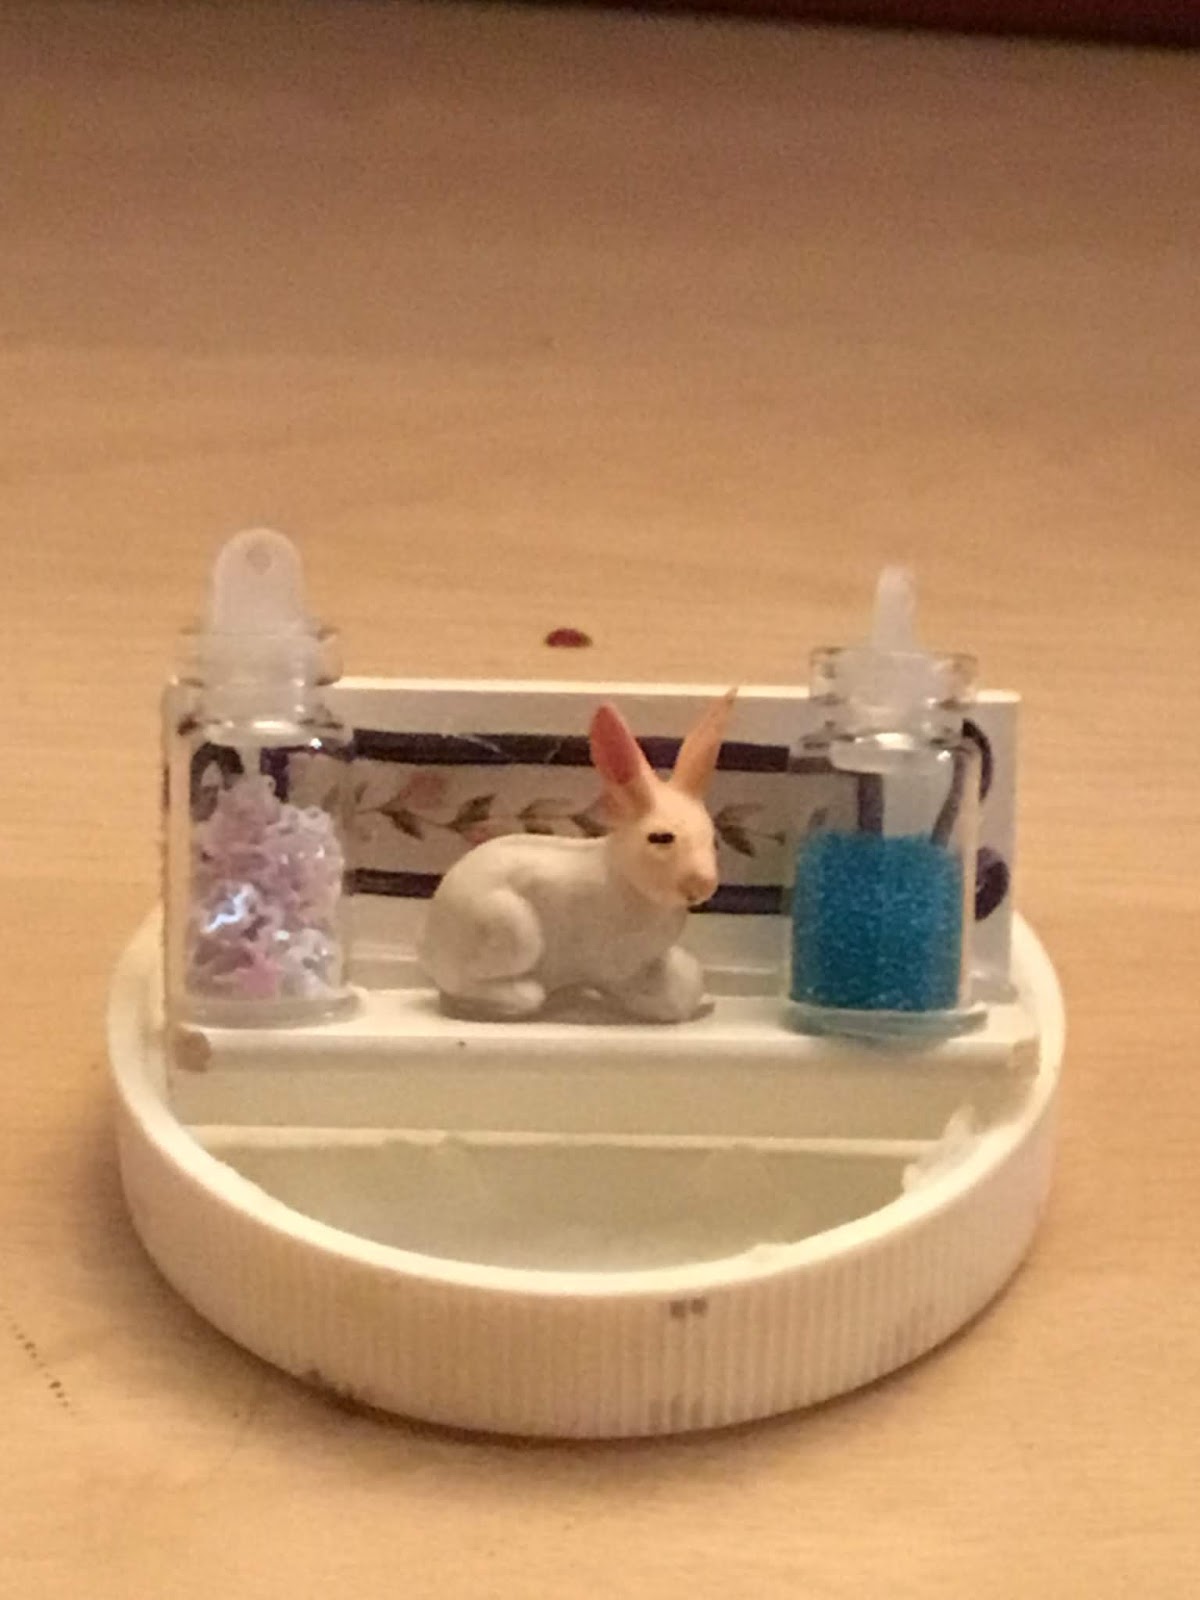
I glued on some small glass jars which you can find in the nail polish area of a store.  Inside the jars are sprinkles for your nails.  I also use these jars for making "spices" for in my dollhouses.  I have a post on how to make them in my blog too. In the middle is a small bunny glued down for Easter. 


Here is the shelf on the wall, I glued it to the wall.  The mirror above it used to be part of a cheap cameo necklace I took off the cameo, which I use for another project and use the back piece for a mirror.  Don’t pass up those cheap cameo necklaces, you can use them like this.  Use your imagination and it will soar!


Monday, March 25, 2019

Making a beautiful table for a dollhouse using Melissa and Doug wood container


My daughter bought something for her son, it came in this wooden crate.  She didn’t want to throw it out, she knew I could use it.  Well I needed a table for a dollhouse so here it goes.


The first thing you do is take out two rows of the wooden sticks on the sides, don’t take out the last row that is left for your table.


Here’s what it looks like after you take out the two rows of sticks.


You can put a border around the edge of the table, I used this. The next picture you see will be with this border on it.


In this picture you can see the border, which I glued into place around the table.


Here’s what the side looks like.


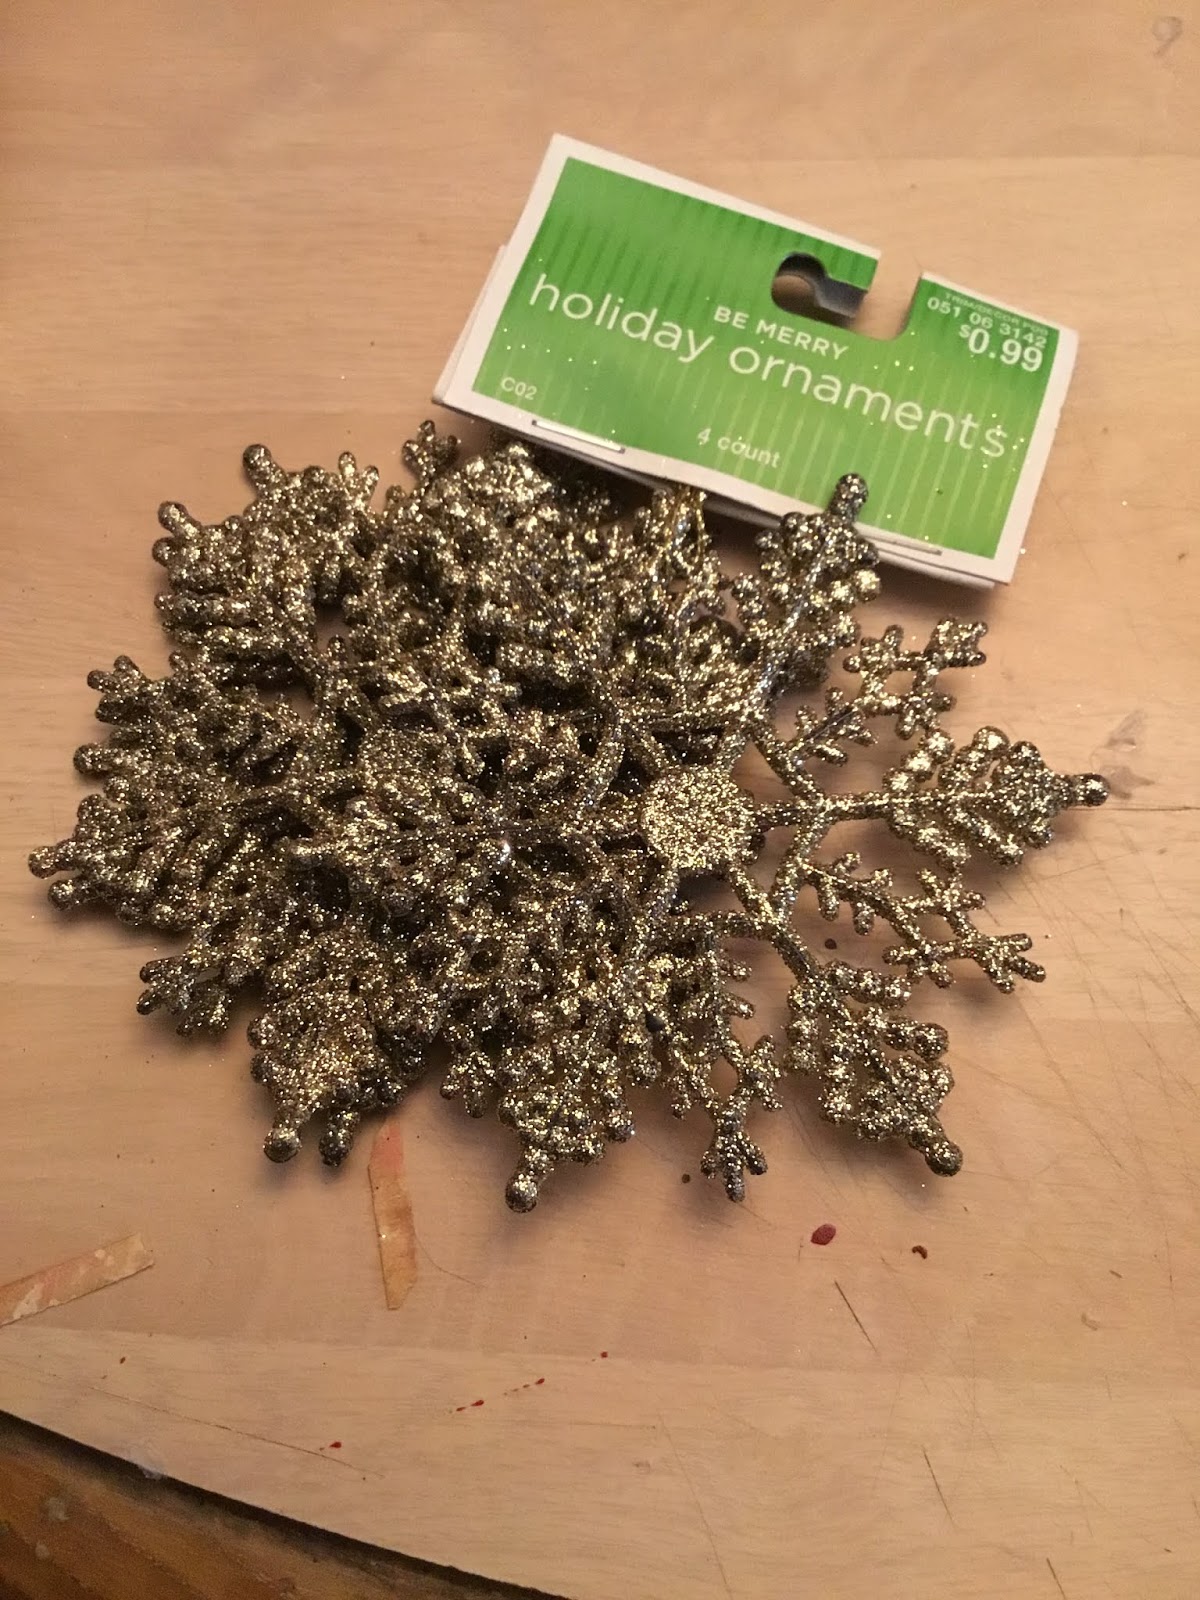
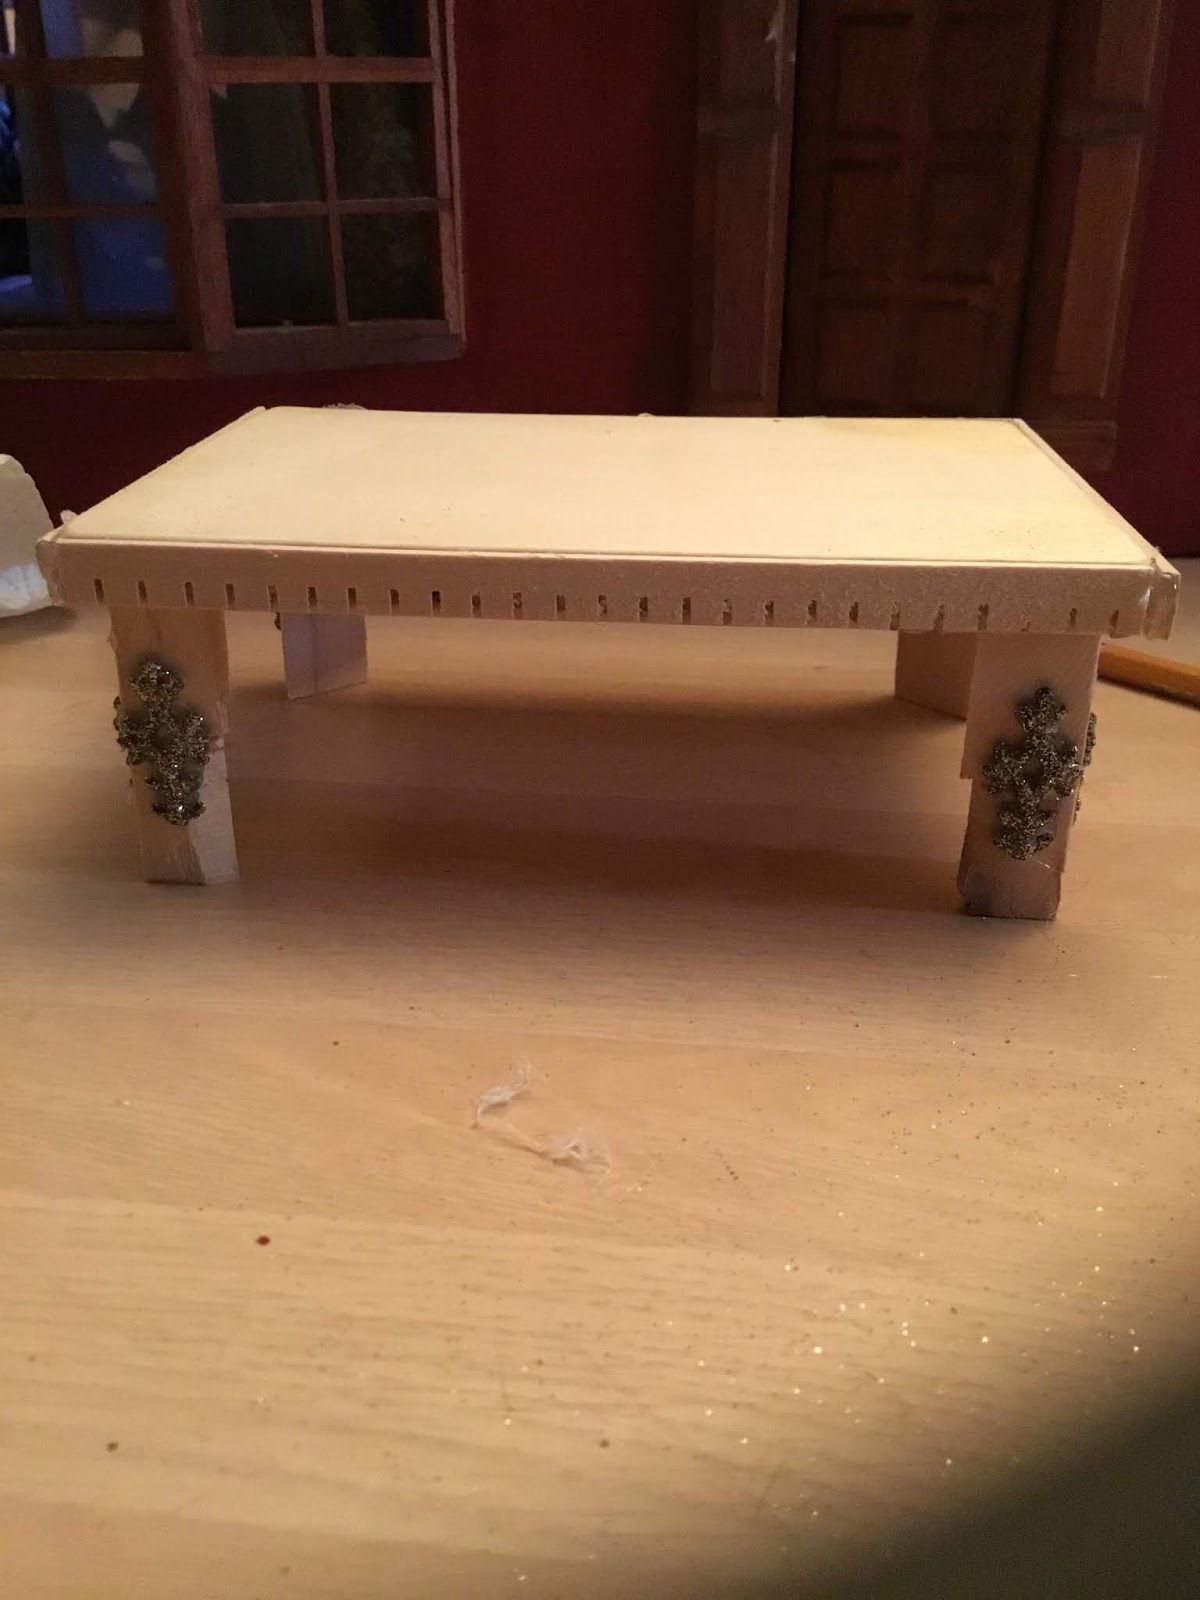
I wanted some decorative pieces on the legs so I used these ornaments which I got from Michael's craft store during Christmas time.  You can also find them sometimes at thrift stores and garage sales. I’m going to cut pieces off them.


You can see on the legs of the table the pieces that I used.


Another view.


After looking at the table, I decided to add some trim around the top where I glued on the other wood trim.  You can leave the trim on only or add some other trim to it.


At some dollar stores they sell plastic in rolls that have pictures on them, I bought 2 feet worth off the big roll.  Then I cut the pictures separately, this is one of the pieces I will be using this for the top of the table.


I then took some metallic gold paint and with my finger rubbed it all over the table top. Next is to glue on the plastic picture using mod podge.


Here it is with the plastic piece glued on with mod podge.  I know you can see the white glue under it but the best thing is, it dries clear.


I thought I would show you how beautiful it looks set up with items.

Here is the table inside the dining room in the dollhouse. The rug under the table is made from a placemat. You too can make a beautiful table with your imagination, and it will soar!