Ad sense auto

Google analytics

Showing posts with label Metallic Paint. Show all posts

Thursday, April 18, 2019

Making a beautiful scene using a wooden clock shell with solar lite

This is the clock shell I will be using.  You could use any clock shell for this project.


To cover the hole in the back wall of the case you need a piece of hard cardboard, this piece I’m using I got off a cardboard placemat.


This is a picture of the circle I cut out to fit the hole in the back of the shell.


I needed to bring the inside bottom up so I used a Styrofoam material to bring it up.


The last piece of Styrofoam I cut, I glued on a piece of indoor/outdoor grass looking carpeting.


This is what it looks like on top of the Styrofoam.


For two of the items that I will be gluing down on the inside, I used a disco looking Christmas ball and the base of this cheap candle stick.


I glued the ball on top of the candlestick base.  I need to make two of these.


I will also be using this angel figurine.


Here I'm showing you the two pictures I got off the internet that I will be using.  The background picture which is a stairway to heaven and a saying I typed out, "Angels here on earth". I glued them down with tacky glue.


I painted the inside of the clock shell the same blue I painted one side of the cardboard circle I cut out from the cardboard earlier. Now I am gluing this piece into the back hole opening.


In this picture I glued in the two disco ornaments that I made earlier and the angel figurine.  I also glued in some small fake flowers.  You will also see some lace trim I glued around the opening.  The crown on the top was a piece I cut out of a playing card.


I had this very small piece of decorative trim lying around and I thought this is the perfect time to use it.


In this picture I did some detail painting using metallic gold paint from folk art collection.  I also glued on the trim and added some jewels to the bottom.


This is what the back of the clock shell looks like.  You can see the picture part of the cardboard I made so you can see it in the back, the other side has the picture of the stairway to heaven glued down onto it.  I drilled a hole in this circle for a solar light cap.  You will see what it looks like on the inside. As you can see on the clock case box it used to be a clock.  When I bought this at a garage sale it was just the case no clock was in it so I got it cheap.


Here is the solar light I’m using.  I bought it from Walmart, they sell single solar lights and it costed me 97 cents.


This is what it looked like lit up.


I used a piece I got from something I took apart, I put it around the solar light on the inside of the clock case.


Now this is what it looks like.


This is what the back looks like with the solar light.  Use your imagination and it will soar!


Wednesday, March 27, 2019

Making a frame for an antique metal photo

This is the type frame you start with, a cheap wooden one. You can find them at most craft supply stores.


Here’s the antique metal picture, I need a nice frame it so I can put it in a dollhouse.


The first thing you do is paint the whole frame including the back with black paint.  Then you take some copper colored paint and using your finger smear on copper paint over the black. You also need to be taking some of the copper paint off as your putting it on.


This is a belt I bought from a dollar store, I like using these types of belts for different projects.  I’m using pieces off it for the corners of the frame.


Here is the frame with the corner pieces which I glued on with tacky glue.


I then added some metallic gold paint around the edges and also used some black paint for different areas.


Here is what the frame looks like with the photo framed. It makes this beautiful photo stand out now.  You could add some more details to the sides if you want or any other designs.  Use your imagination and it will soar!


Monday, March 25, 2019

Making a beautiful table for a dollhouse using Melissa and Doug wood container


My daughter bought something for her son, it came in this wooden crate.  She didn’t want to throw it out, she knew I could use it.  Well I needed a table for a dollhouse so here it goes.


The first thing you do is take out two rows of the wooden sticks on the sides, don’t take out the last row that is left for your table.


Here’s what it looks like after you take out the two rows of sticks.


You can put a border around the edge of the table, I used this. The next picture you see will be with this border on it.


In this picture you can see the border, which I glued into place around the table.


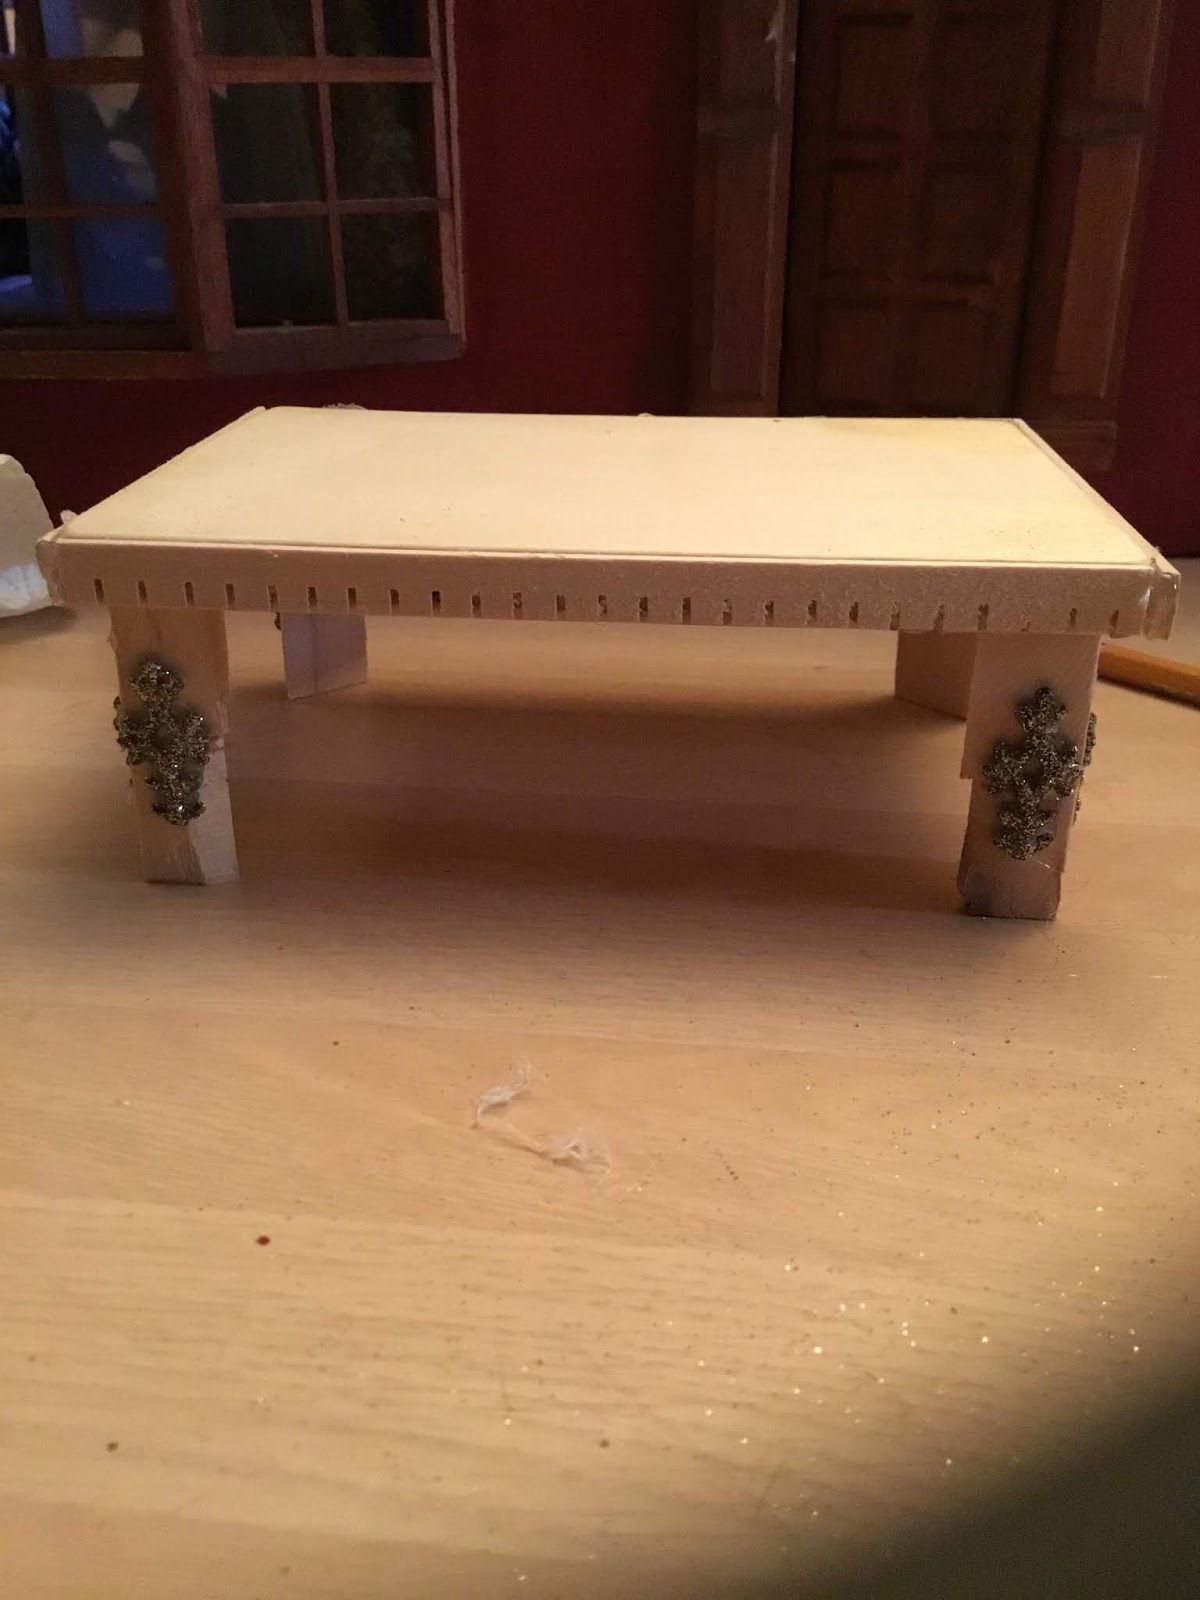
Here’s what the side looks like.


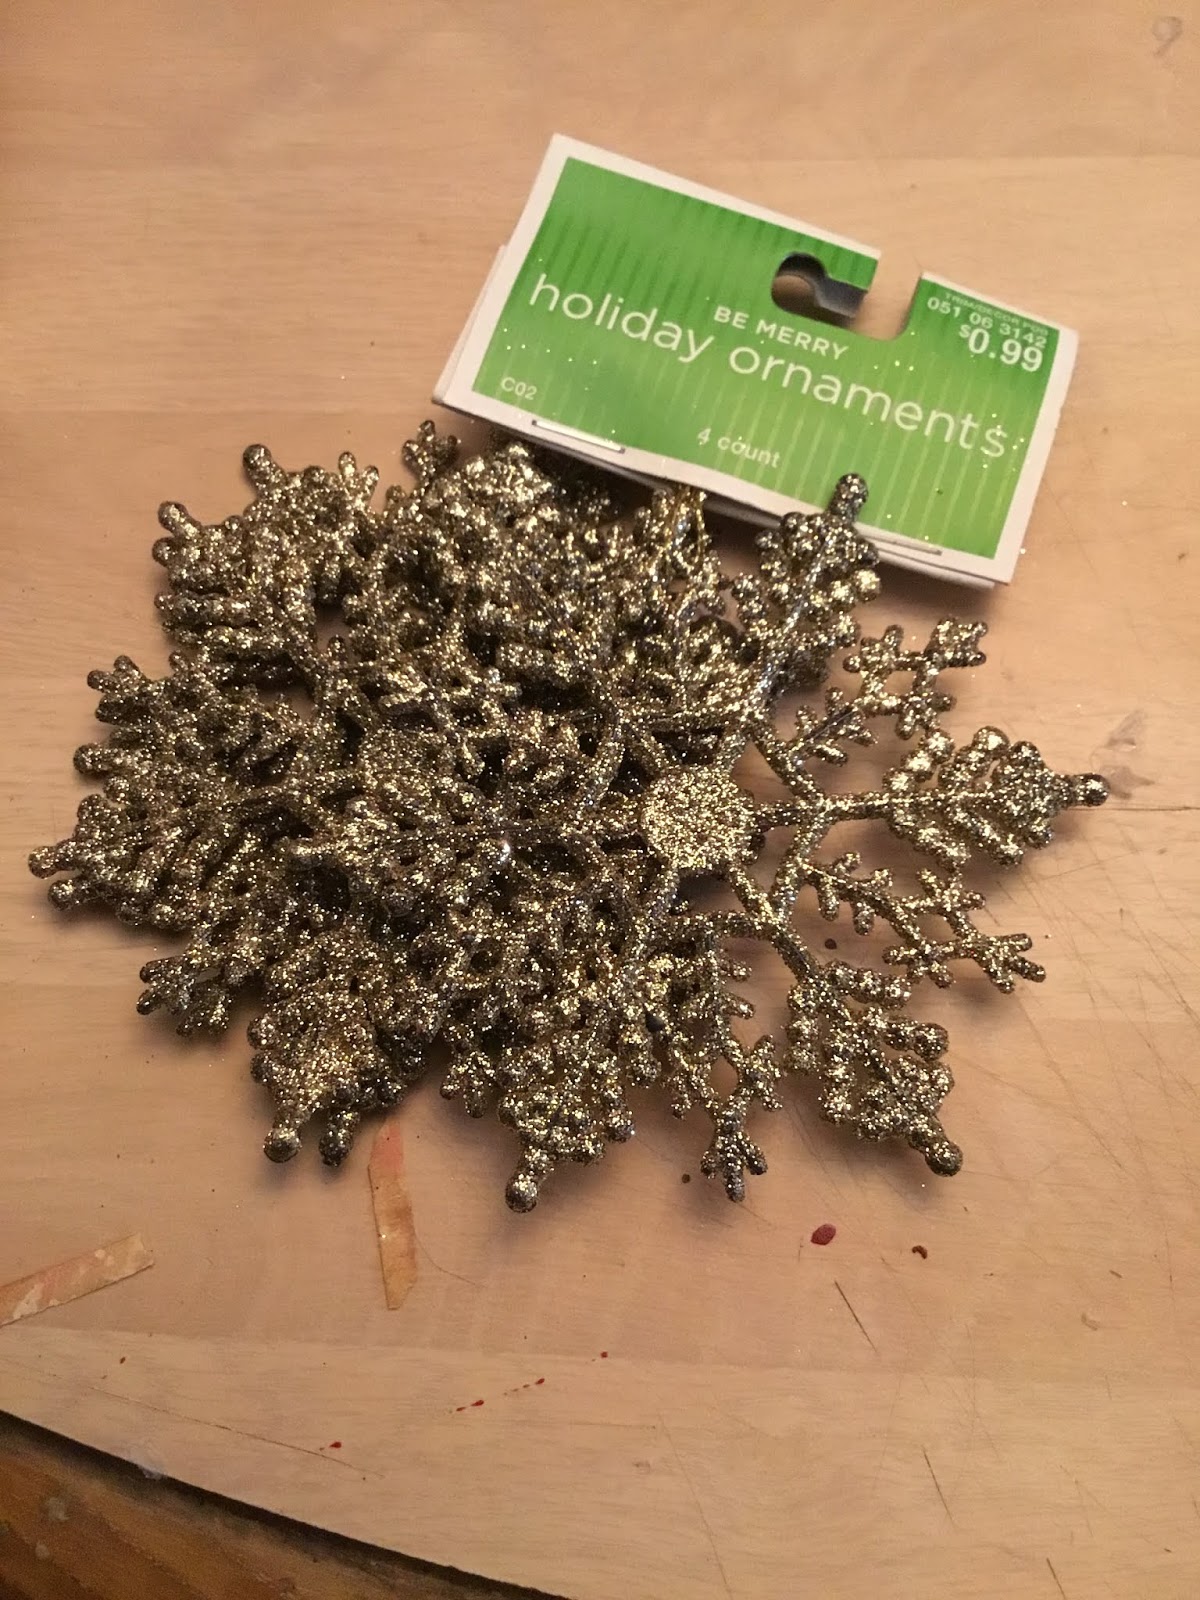
I wanted some decorative pieces on the legs so I used these ornaments which I got from Michael's craft store during Christmas time.  You can also find them sometimes at thrift stores and garage sales. I’m going to cut pieces off them.


You can see on the legs of the table the pieces that I used.


Another view.


After looking at the table, I decided to add some trim around the top where I glued on the other wood trim.  You can leave the trim on only or add some other trim to it.


At some dollar stores they sell plastic in rolls that have pictures on them, I bought 2 feet worth off the big roll.  Then I cut the pictures separately, this is one of the pieces I will be using this for the top of the table.


I then took some metallic gold paint and with my finger rubbed it all over the table top. Next is to glue on the plastic picture using mod podge.


Here it is with the plastic piece glued on with mod podge.  I know you can see the white glue under it but the best thing is, it dries clear.


I thought I would show you how beautiful it looks set up with items.


Here is the table inside the dining room in the dollhouse. The rug under the table is made from a placemat. You too can make a beautiful table with your imagination, and it will soar!