Ad sense auto

Google analytics

Showing posts with label Plastic. Show all posts

Wednesday, April 10, 2019

Making a solar tv for dollhouse from vintage coaster holder


This is a vintage coaster holder. You can use any coaster cabinet for the tv. 


This is what the inside looks like with the doors open.


This is plastic I got from a throw away container, I like to use these for a lot of my projects.


You need to cut a piece of the plastic to fit the size of the opening. Remember you need to have the doors to be able to close.


You will also need two pieces of wood.  They will be on the front plastic area. You will see in the pictures.


I had this picture which was part of a card that had a kitty on it. It's made of transparent plastic so I had to also cut a piece of paper for in back of the picture. So you need a piece of the plastic, a piece of white paper and the picture.  They all need to be the same size.


First is the plastic piece from container, on top of that you glue down the piece of white paper and then the kitty. In another blog I show you how to make a solar tv out of a picture you would download off the computer, you can check that one out also.  Let’s get back to this one.


Now you need to glue the two pieces of wood on the piece you just put together, you can see this in the photo.


Next, go on the internet to find images. Print out a picture of a tv panel, you will be using this next.


On the one piece of wood, you will be cutting the tv panel out of the printout and gluing it to the wide piece of wood.  On the thinner piece of wood, cut out a piece of the brown area on the picture and glue it down using tacky glue.


On the panel I cut a piece of wood dowel making a circle that could make the dial 3D, I covered it with aluminum foil or you can paint it silver I then glued it over the picture of the tv knob.  The line on top of the knob is a piece of a round toothpick which I also glued down and drew a black mark on it.  I then glued this whole piece to the inside of the coaster holder as you can see in the photo.  To make it easier what I do with my projects is put tacky glue in different areas of the piece and then putting dots of hot glue in the areas that don’t have tacky glue on it.  The tacky glue keeps the piece in its spot while the glue is setting.


Here’s what it looks like with the doors shut.  Next is the solar light getting installed to light it up.


In the back of the cabinet you need to drill a hole the size of the LED on the solar light so it can slide right in and be held into place.  If the solar light keeps sliding out use some black electrical tape to make it tighter.


In Walmart and the dollar tree you can buy cheap single solar lights. All you need is the top part of the light, with the solar cell and the LED.  But remember don’t throw out the other piece you need to recharge the solar panel for it to light up.


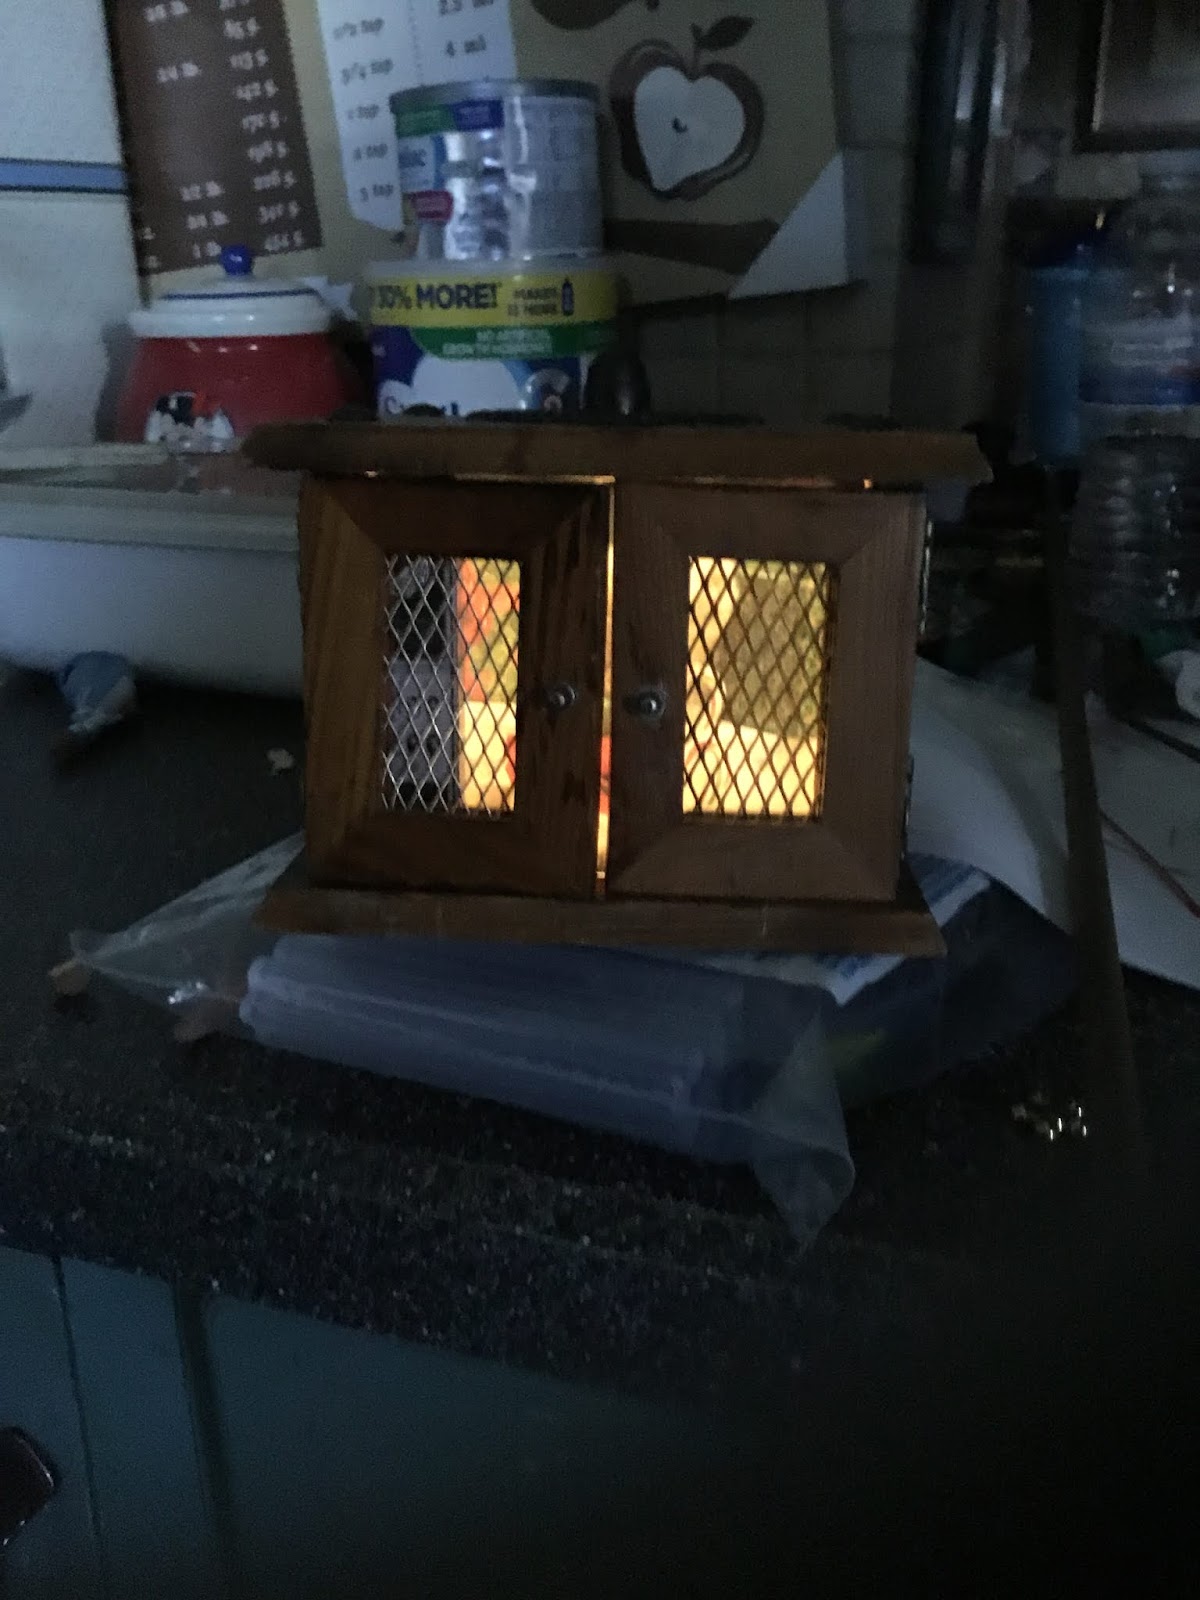
After putting the solar light into the hole in the back, this is what it looks like with the doors opened.


This is what it looks like with the doors shut. Use your imagination put in any picture maybe use a picture of a family member etc.. Use your imagination and it will soar!

Monday, March 25, 2019

Making a beautiful table for a dollhouse using Melissa and Doug wood container


My daughter bought something for her son, it came in this wooden crate.  She didn’t want to throw it out, she knew I could use it.  Well I needed a table for a dollhouse so here it goes.


The first thing you do is take out two rows of the wooden sticks on the sides, don’t take out the last row that is left for your table.


Here’s what it looks like after you take out the two rows of sticks.


You can put a border around the edge of the table, I used this. The next picture you see will be with this border on it.


In this picture you can see the border, which I glued into place around the table.


Here’s what the side looks like.


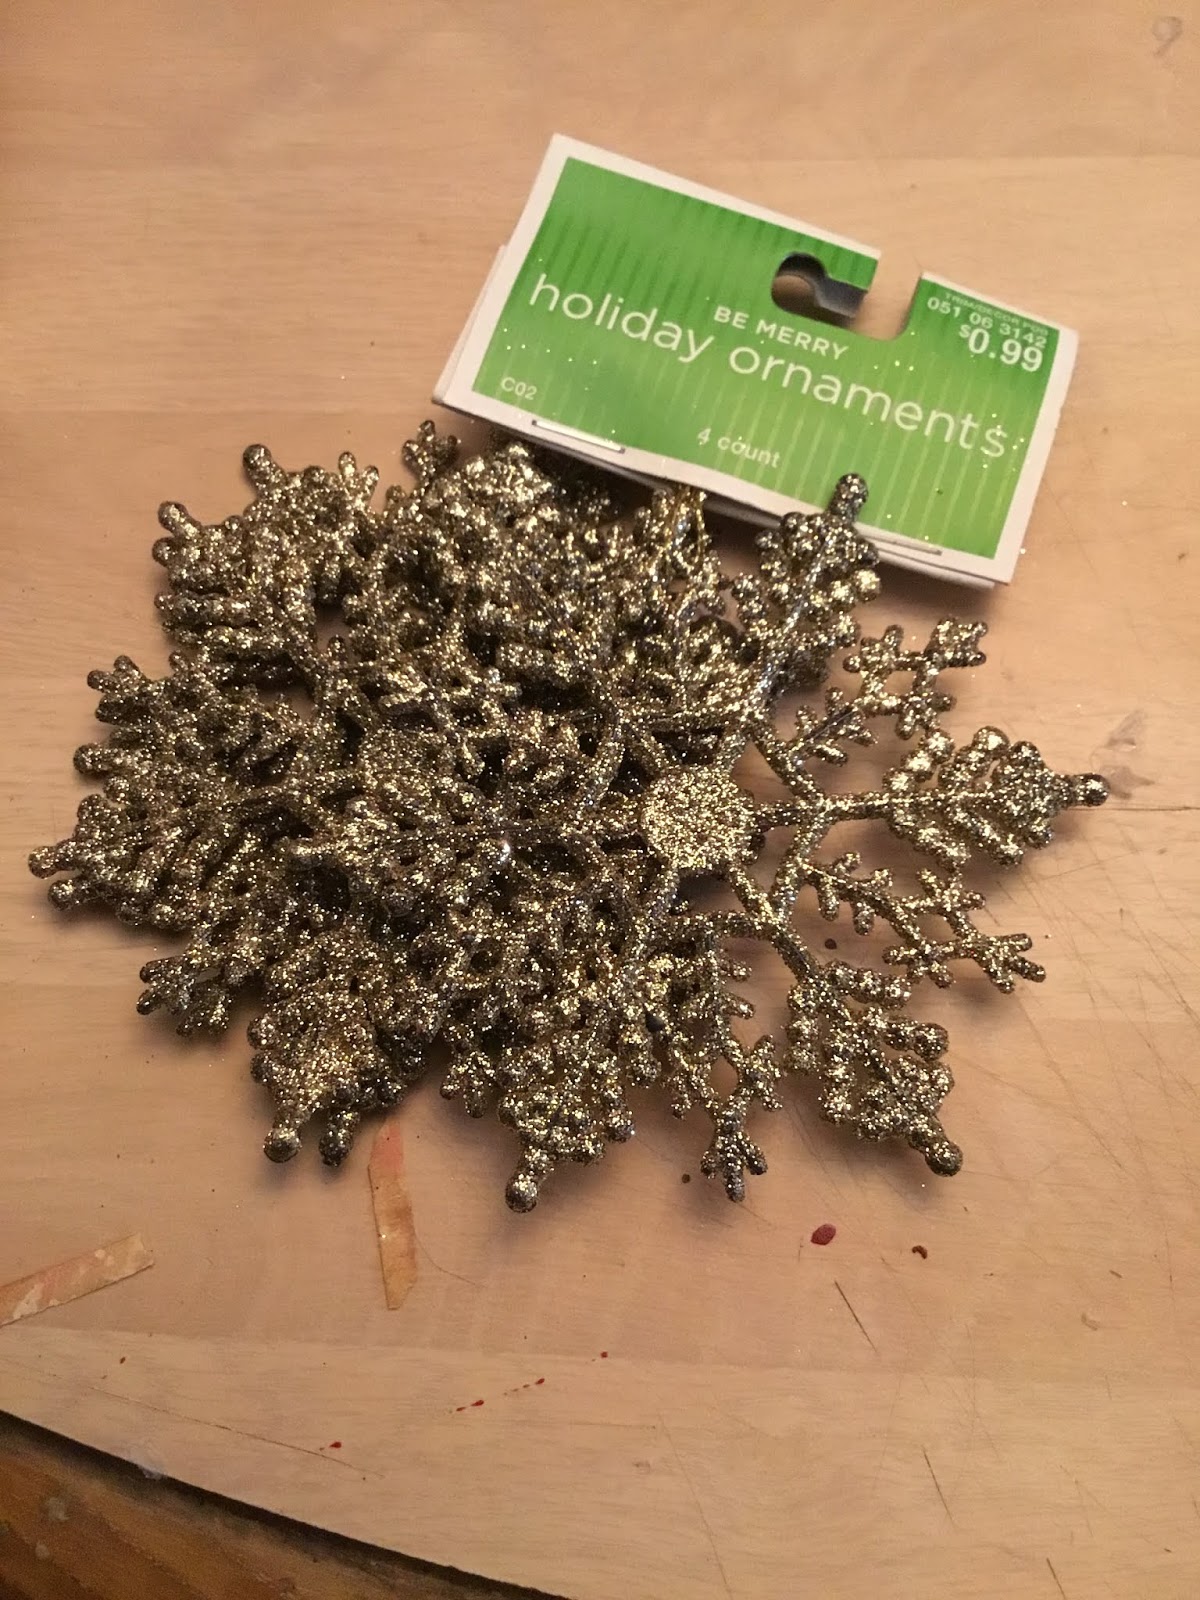
I wanted some decorative pieces on the legs so I used these ornaments which I got from Michael's craft store during Christmas time.  You can also find them sometimes at thrift stores and garage sales. I’m going to cut pieces off them.


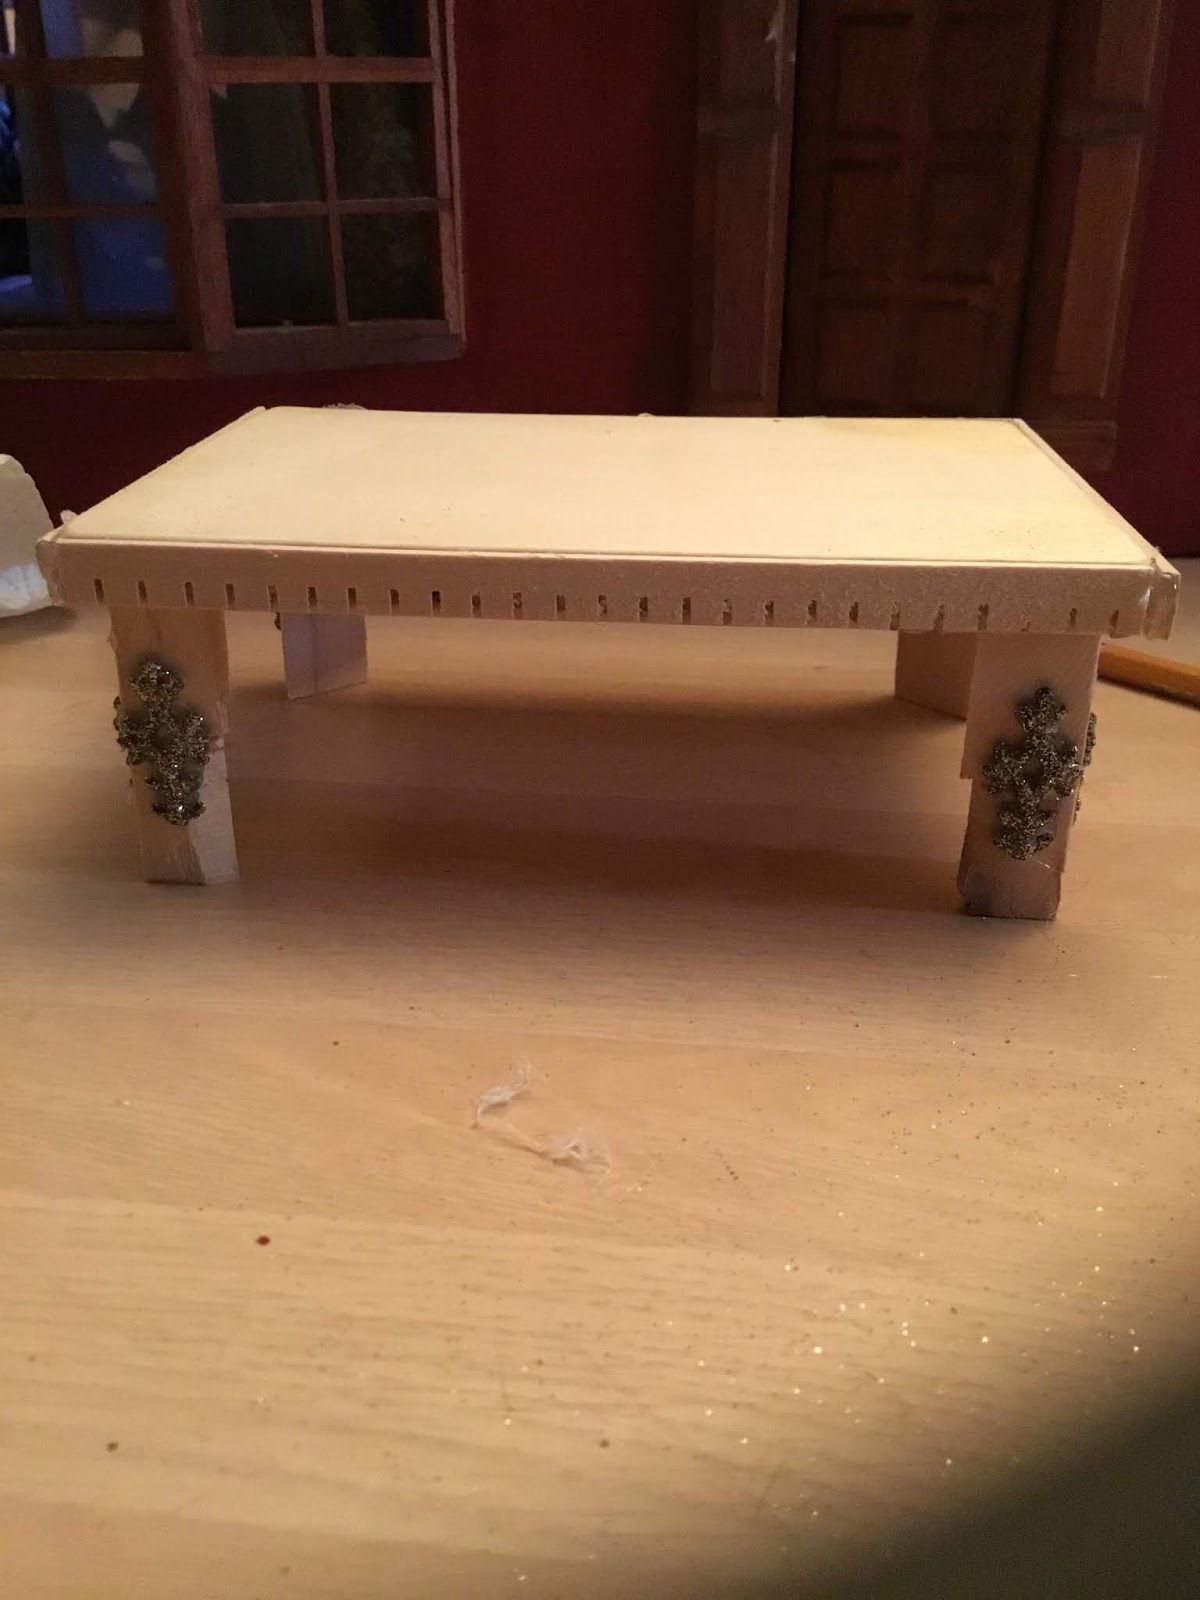
You can see on the legs of the table the pieces that I used.


Another view.


After looking at the table, I decided to add some trim around the top where I glued on the other wood trim.  You can leave the trim on only or add some other trim to it.


At some dollar stores they sell plastic in rolls that have pictures on them, I bought 2 feet worth off the big roll.  Then I cut the pictures separately, this is one of the pieces I will be using this for the top of the table.


I then took some metallic gold paint and with my finger rubbed it all over the table top. Next is to glue on the plastic picture using mod podge.


Here it is with the plastic piece glued on with mod podge.  I know you can see the white glue under it but the best thing is, it dries clear.


I thought I would show you how beautiful it looks set up with items.


Here is the table inside the dining room in the dollhouse. The rug under the table is made from a placemat. You too can make a beautiful table with your imagination, and it will soar!


Saturday, March 9, 2019

Making a dollhouse nightstand


You will need two small square blocks. I hot glued the two blocks together.


You will then cut a piece of wood for the top of the table and hot glue it down.  You will also need to cut a piece of wood for the front to make it look like a drawer.


This is a top view of the table.


You then need to paint it white or whatever color you want.


I used plastic toothpicks that I cut down four pieces for the legs. I glued them on with a glue mixture that I make.  I mix wood glue with flour and make a thick paste, this is the glue I use.  I use this in a lot of my crafts. You can see other things in my blog like how to make stone walls etc..


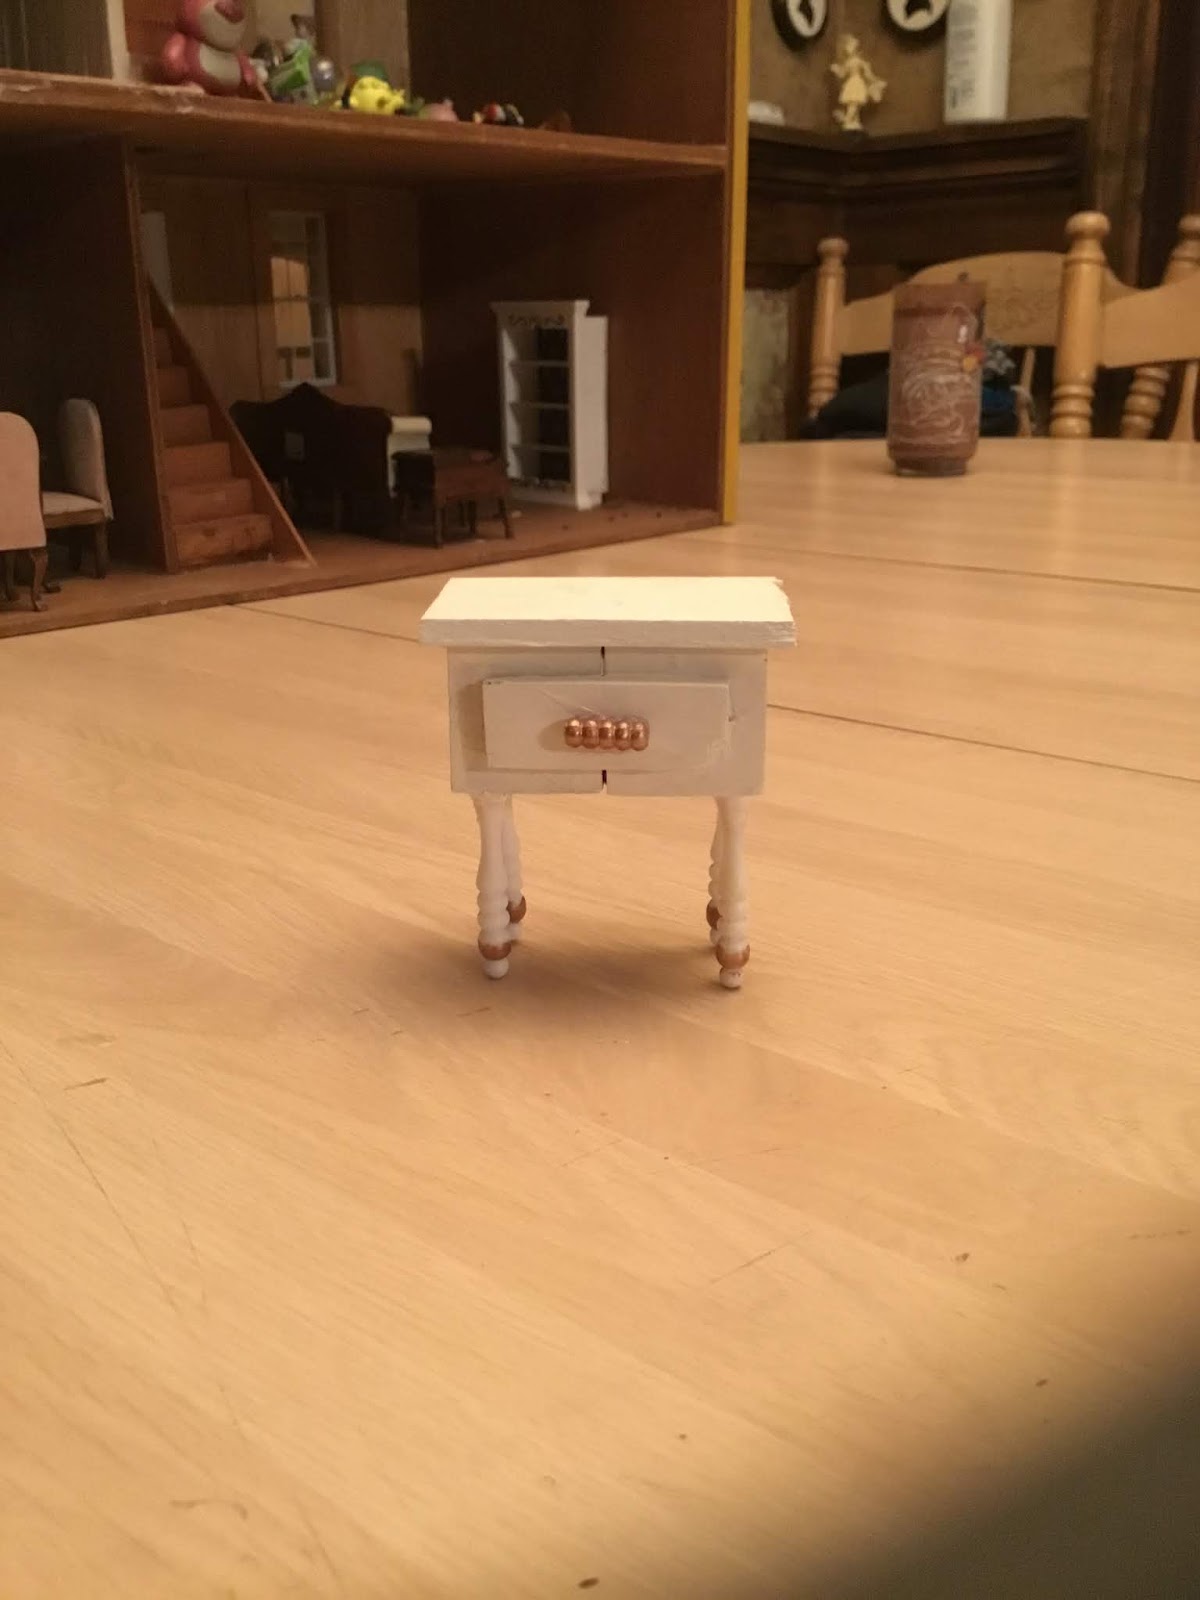
This is a front view of the table.  The drawer pull is a piece from the plastic toothpick that I painted with gold nail polish and hot glued on.  Have fun, use your imagination and it can soar!


Wednesday, February 27, 2019

How to make miniature records

First you will need some plastic, I will cut it to the size I need.  I like the plastic that you get pastry items in at ShopRite. The plastic can be seen in the photo.


I then use a poker chip to make circles for the records out of the plastic.  The picture shows a poker chip that I made perfume bottles on it.  I used it just to make the circles so I didn’t have to go to my craft room.


I am showing you the tool I used to make scratch marks on the records.  You can use anything that you can make scratch marks with.


Next you will see the plastic circle with the scratch marks I made on it.


I then painted it black, and after it dried I painted a circle in the middle with red paint.  Then you add a small black circle in the middle for where the record gets put onto the record player.


I used these records for on a wall in a music room I made in a dollhouse, it can be seen in this photo.


Just use your imagination and it will soar!