Ad sense auto

Google analytics

Showing posts with label TV. Show all posts

Wednesday, April 10, 2019

Making a solar tv for dollhouse from vintage coaster holder


This is a vintage coaster holder. You can use any coaster cabinet for the tv. 


This is what the inside looks like with the doors open.


This is plastic I got from a throw away container, I like to use these for a lot of my projects.


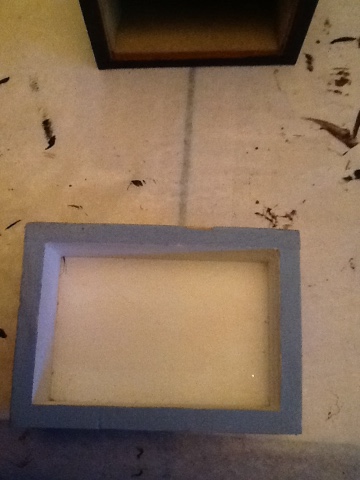
You need to cut a piece of the plastic to fit the size of the opening. Remember you need to have the doors to be able to close.


You will also need two pieces of wood.  They will be on the front plastic area. You will see in the pictures.


I had this picture which was part of a card that had a kitty on it. It's made of transparent plastic so I had to also cut a piece of paper for in back of the picture. So you need a piece of the plastic, a piece of white paper and the picture.  They all need to be the same size.


First is the plastic piece from container, on top of that you glue down the piece of white paper and then the kitty. In another blog I show you how to make a solar tv out of a picture you would download off the computer, you can check that one out also.  Let’s get back to this one.


Now you need to glue the two pieces of wood on the piece you just put together, you can see this in the photo.


Next, go on the internet to find images. Print out a picture of a tv panel, you will be using this next.


On the one piece of wood, you will be cutting the tv panel out of the printout and gluing it to the wide piece of wood.  On the thinner piece of wood, cut out a piece of the brown area on the picture and glue it down using tacky glue.


On the panel I cut a piece of wood dowel making a circle that could make the dial 3D, I covered it with aluminum foil or you can paint it silver I then glued it over the picture of the tv knob.  The line on top of the knob is a piece of a round toothpick which I also glued down and drew a black mark on it.  I then glued this whole piece to the inside of the coaster holder as you can see in the photo.  To make it easier what I do with my projects is put tacky glue in different areas of the piece and then putting dots of hot glue in the areas that don’t have tacky glue on it.  The tacky glue keeps the piece in its spot while the glue is setting.


Here’s what it looks like with the doors shut.  Next is the solar light getting installed to light it up.


In the back of the cabinet you need to drill a hole the size of the LED on the solar light so it can slide right in and be held into place.  If the solar light keeps sliding out use some black electrical tape to make it tighter.


In Walmart and the dollar tree you can buy cheap single solar lights. All you need is the top part of the light, with the solar cell and the LED.  But remember don’t throw out the other piece you need to recharge the solar panel for it to light up.


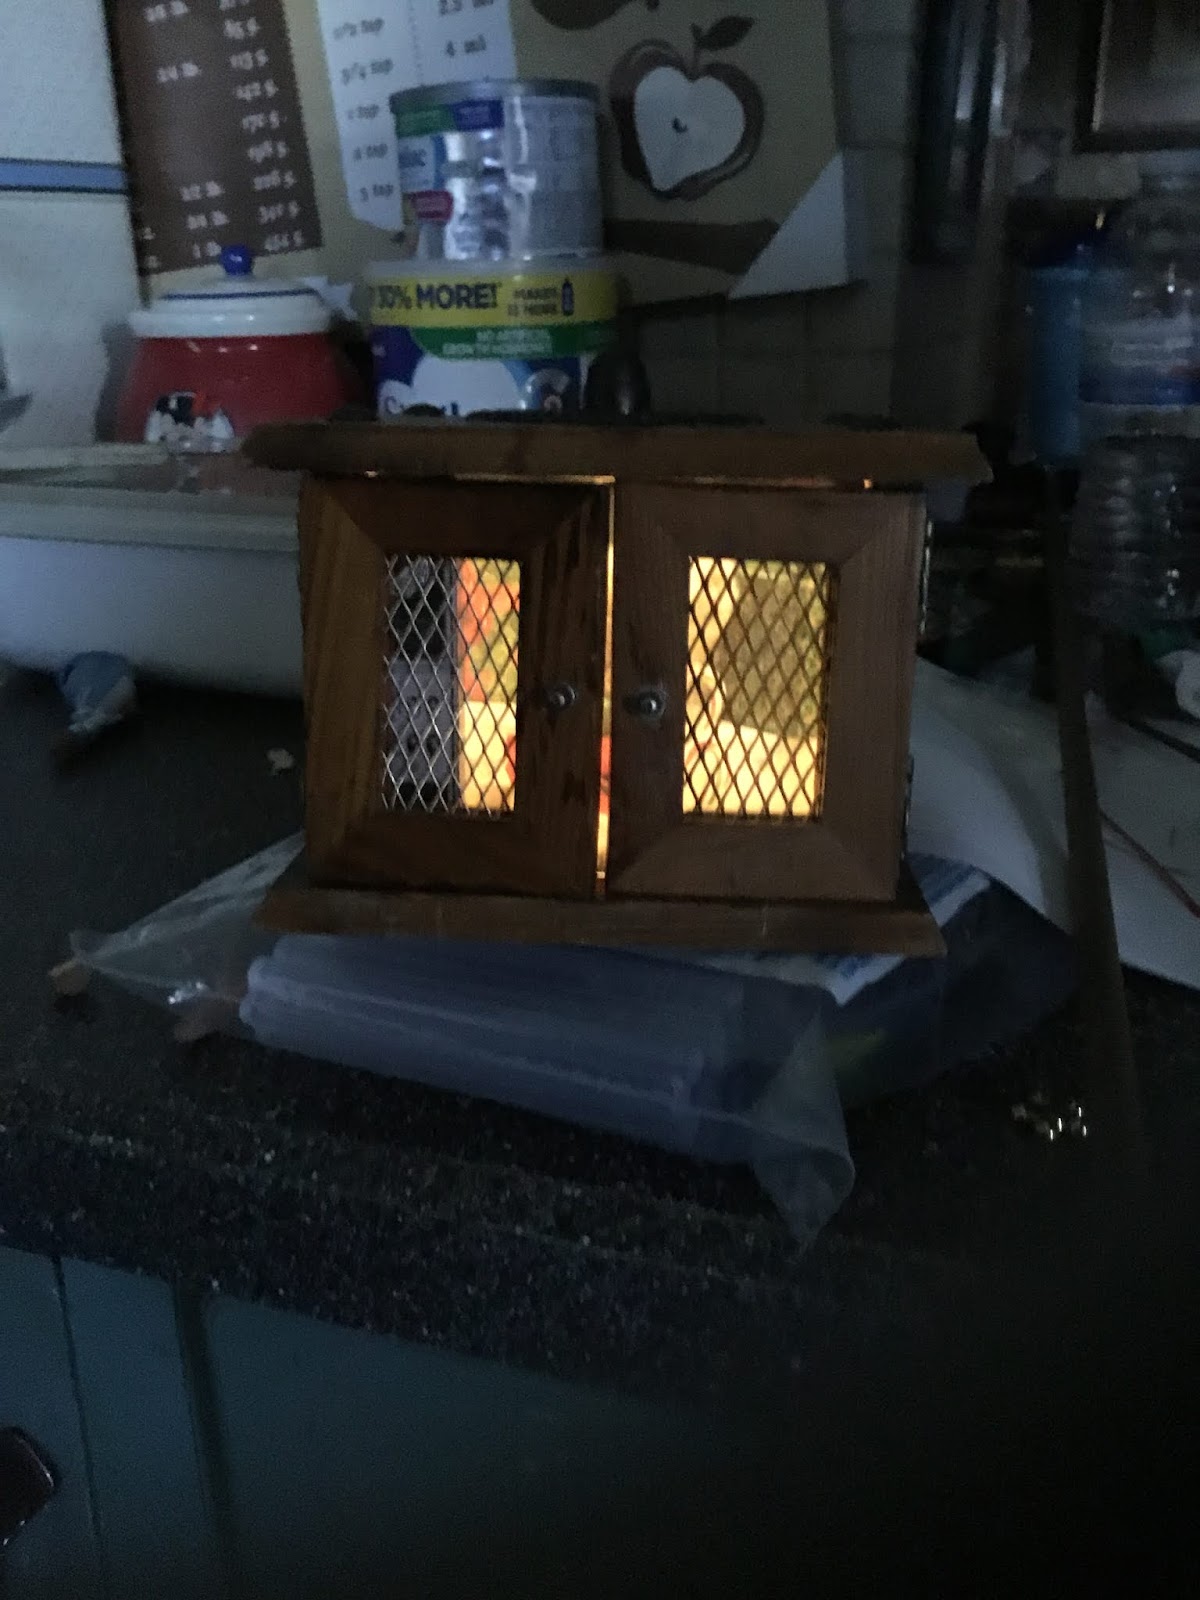
After putting the solar light into the hole in the back, this is what it looks like with the doors opened.


This is what it looks like with the doors shut. Use your imagination put in any picture maybe use a picture of a family member etc.. Use your imagination and it will soar!

Tuesday, April 3, 2018

How to make a older console solar light TV set for your dollhouse

This is what I am going to show you how to make.  At the end of the blog post, you will see it lit up with a solar light.


The body of the tv is the older wooden box that holds the older coasters which protect your table from water damage.  You will see that item in the next photo.  In this picture I needed a picture of some movie that I printed the image off the computer and made it the size I needed.  I know this doesn't make sense right now but when you see the next picture it will start making sense.  I also needed to cut three pieces of wood to make dividers inside the tv.


As you can see in the photo the wooden case that wooden coasters came out of.  I used two pieces of the wood I cut to the size of the areas you can see I needed them in.  A wall coming down on the left and a line going across from the wall to the outside wall.  You will see why I did them in the areas I installed them.  They are glued into place.


In this picture I glued down the Disney picture for the tv screen.  I also glued down the third piece of wood to finish off the side and I need this area to put tv knobs on for changing the channel and the column.


Next I decided to use this material for the screen for the area the sound would be coming out on a tv.


Next in this picture I glued down the material over the open space on had on the bottom of the tv, I lifted up the board on the left that I had glued down already to also have the material under it.  I then used thin strips of coffee stirrer type wood to make trim around different areas to make it look finished off.  You can see the thin strips of wood.


For the tv knobs which I remember well when I was a child being asked to get up and change the channels so dad could see what was on tv.  I'm sure a lot of you remember this type of service we provided for changing the channels.  Well I used two wooden buttons and hot glued two small strips of wood to them.  The strips of wood don't go to both sides as you can see they have to look like a real knob.


Now for some paint.  You can see the areas that I painted black.  I'm going to add silver also you will see it in the other pictures.


These are the button knobs which I painted first before hot gluing them down.


Now in this picture you can see some areas that I painted some silver to make it stand out better.  I also took lottery tickets that of course were not winners and cut of the squiggly lines in the back and used them on the tv.  You can see them on the left side.  I also took a piece of material and covered the top to look like a Dollie and hot glued something on top of the tv.


I also needed a tv antenna as you know we didn't have internet when we were little.  The antenna is made of a scrabble letter piece and two pieces of thin dowel which I hot glued together.  I then painted it and glued it down to the tv in back of the decorative display piece.  As you know no antenna no tv.


I just added pieces off a hand fan just to make it nice on the side.  I'm coming up to the solar.


In back of the tv I drilled a hole that would fit the knob and solar light into it. Don't glue this in, if you want the light to work you have to put it back on the stake it came with and put it in the sunlight to recharge.  This makes a great night light for a child.  It looks as if her dolls are watching tv.  Next is the photo of the tv lit up.


Here you go.  This makes a great piece and unique for your dollhouse. Instead of getting a picture off the internet you could use a family portrait, or a picture your child has made in school and shrink it down for the tv screen.  Check out my other blogs and get some ideas that took me time to come up with.  Use your imagination!  Be a child again!


Below are the tools and items I used to make this.
  1. Easy Cutter (For cutting wood pieces)
  2. E6000 (Craft Glue)
  3. Buttons (For TV Knobs) 
As an Amazon Associate I earn from qualifying purchases


Wednesday, March 21, 2018

How to make an entertainment center and a solar light tv for dollhouse


I use wooden jewelry boxes for the bookcases next to the entertainment center.  This is what I use for making bookcases also.  In this picture are two drawers out of a jewelry box.  I took off the pulls.


I use wallpaper or scrapbooking paper for wallpaper for the back wall.


I cut pieces of scrap wood for the size of the shelves for inside the bookcases.


In this picture you can see I covered the shelves tops with the same paper.  Now for gluing in the shelves I use tacky glue.


Here are the shelves in the bookcases, however I paint the bookcases the colors I want them to be before I glue in the shelves.


This is what it looks like after painting it and gluing in the shelves.


These are pieces off of a cheap elastic bracelet and little pieces off a chain belt.  I will be using them towards the end as you will see.


I also need this little box made of wood that will be turned into a tv.  This is the bottom of a wooden box that had hinges on it which they sell in the craft store.  I'm painting this black also to match.


This gives you an idea of what they all look like at this point.


I printed out a picture off the internet of the lion king for the screen of the tv.  I cut out this picture the size I need.


I then drilled a hole in the back of the wooden box this is where I will be putting the solar light top into.


This is the top of the solar light I need just the light part to fit through the hole.  I buy them from Walmart for 97 cents.


I glue the lion king picture over the opening area on the box.  I then need to put pieces of trim around the picture.


This is where I get thin wood trim from.  I find them all over you can see the small slats of wood.


This is what it looked like after pieces were glued together and trim around the picture screen.  I even put trim in the areas where the bookcases meet up with the tv, more finished look.


If you look on the top of the bookcases I glued on the pieces I showed you earlier from a cheap bracelet and a belt.  I also added a little decorative piece on top of the tv.  I buy these from flea markets in my area.


Here's a better look of the piece on top of the tv.


This is how it looks in the back, now to put in the solar light.  This solar light does not get glued in you need to recharge it with the sun in order for it to work.  I keep the whole light stake so I can stick it in the ground outside to charge it.


I tried to get a picture of it lit up on the tv screen, it looks nicer in person.  You can see what the doll is watching on tv.  You can also make a copy of a family picture on the copier and use that for in the tv so you child can see the family light up at night.


Here it is in the dollhouse.  Check out my other ideas for a dollhouse and use your imagination it can take you anywhere.