Ad sense auto

Google analytics

Showing posts with label Light. Show all posts

Wednesday, April 10, 2019

Making a solar tv for dollhouse from vintage coaster holder


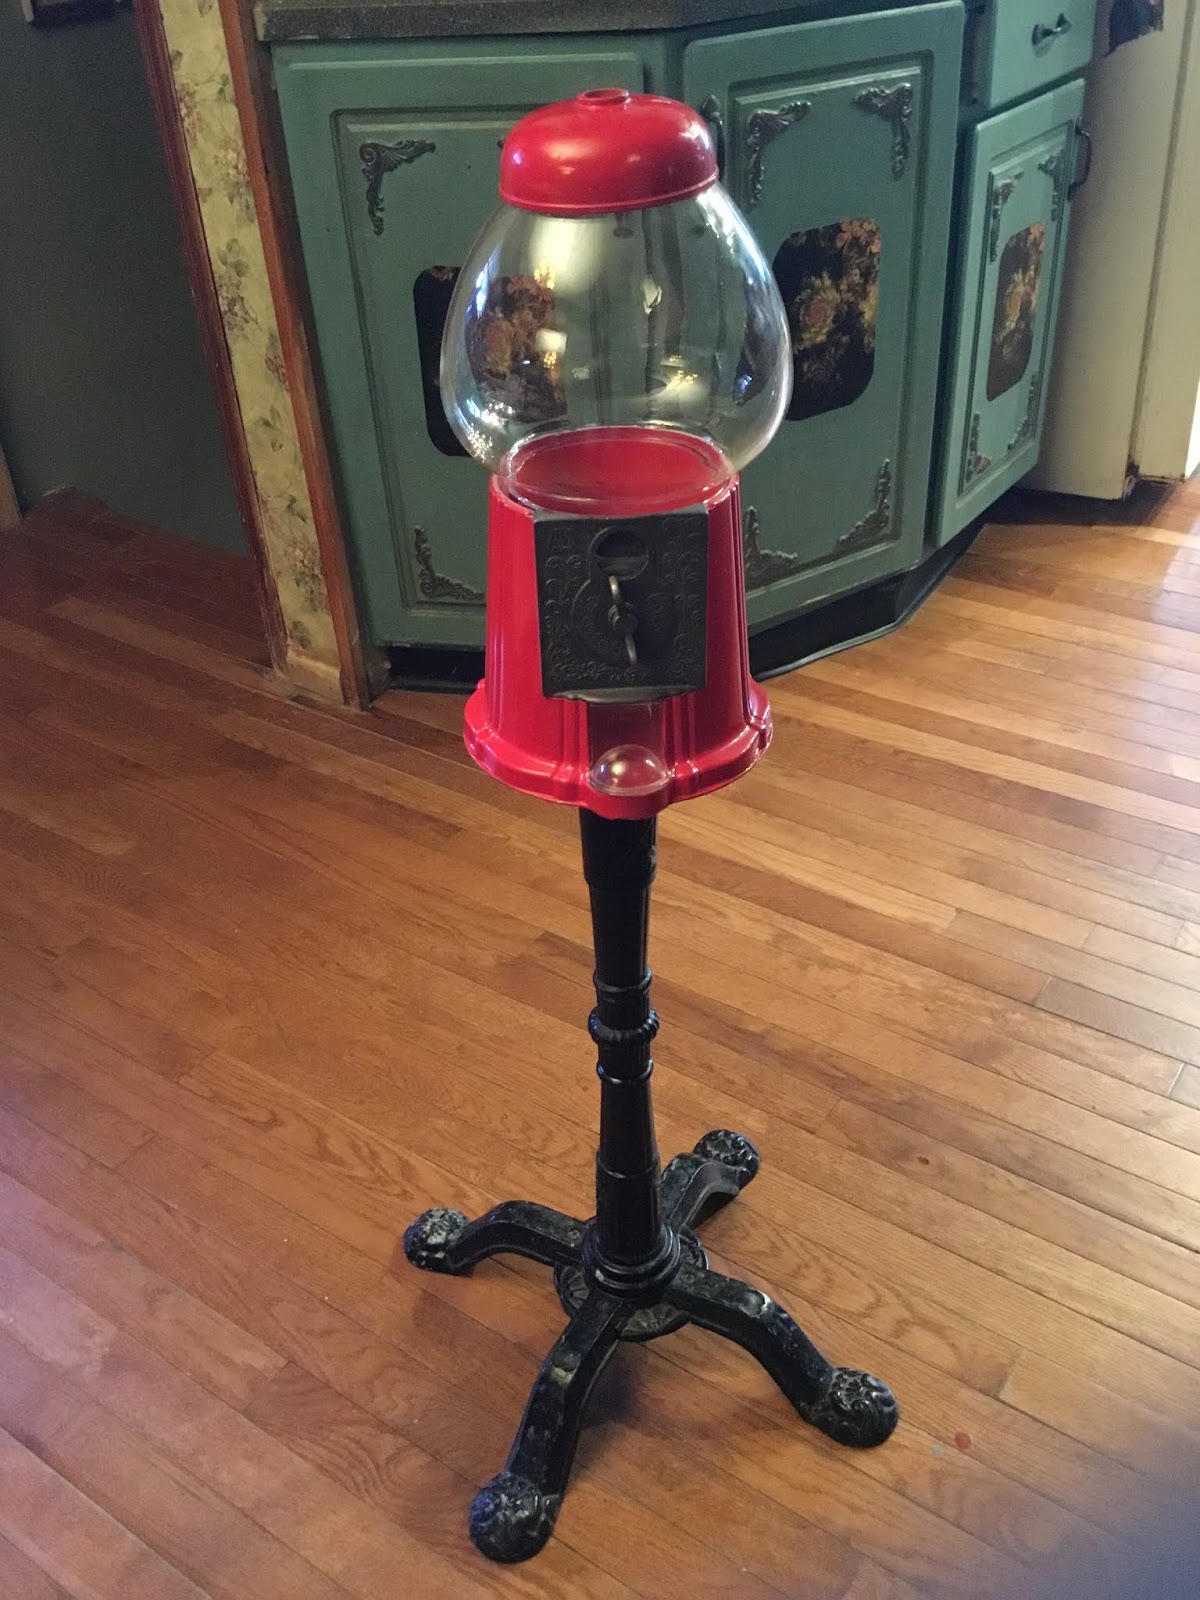
This is a vintage coaster holder. You can use any coaster cabinet for the tv. 


This is what the inside looks like with the doors open.


This is plastic I got from a throw away container, I like to use these for a lot of my projects.


You need to cut a piece of the plastic to fit the size of the opening. Remember you need to have the doors to be able to close.


You will also need two pieces of wood.  They will be on the front plastic area. You will see in the pictures.


I had this picture which was part of a card that had a kitty on it. It's made of transparent plastic so I had to also cut a piece of paper for in back of the picture. So you need a piece of the plastic, a piece of white paper and the picture.  They all need to be the same size.


First is the plastic piece from container, on top of that you glue down the piece of white paper and then the kitty. In another blog I show you how to make a solar tv out of a picture you would download off the computer, you can check that one out also.  Let’s get back to this one.


Now you need to glue the two pieces of wood on the piece you just put together, you can see this in the photo.


Next, go on the internet to find images. Print out a picture of a tv panel, you will be using this next.


On the one piece of wood, you will be cutting the tv panel out of the printout and gluing it to the wide piece of wood.  On the thinner piece of wood, cut out a piece of the brown area on the picture and glue it down using tacky glue.


On the panel I cut a piece of wood dowel making a circle that could make the dial 3D, I covered it with aluminum foil or you can paint it silver I then glued it over the picture of the tv knob.  The line on top of the knob is a piece of a round toothpick which I also glued down and drew a black mark on it.  I then glued this whole piece to the inside of the coaster holder as you can see in the photo.  To make it easier what I do with my projects is put tacky glue in different areas of the piece and then putting dots of hot glue in the areas that don’t have tacky glue on it.  The tacky glue keeps the piece in its spot while the glue is setting.


Here’s what it looks like with the doors shut.  Next is the solar light getting installed to light it up.


In the back of the cabinet you need to drill a hole the size of the LED on the solar light so it can slide right in and be held into place.  If the solar light keeps sliding out use some black electrical tape to make it tighter.


In Walmart and the dollar tree you can buy cheap single solar lights. All you need is the top part of the light, with the solar cell and the LED.  But remember don’t throw out the other piece you need to recharge the solar panel for it to light up.


After putting the solar light into the hole in the back, this is what it looks like with the doors opened.


This is what it looks like with the doors shut. Use your imagination put in any picture maybe use a picture of a family member etc.. Use your imagination and it will soar!


Friday, March 22, 2019

Making a quilters themed solar light using a bubble gum machine


I love these bubblegum machines they make great displays for that special item in your garden or house.  Today I’m going to make a quilters display for the garden using this bubblegum machine. First, you need to take out all the pieces on the inside (this bubblegum machine didn’t work).


I had my son cut off the metal nub on the inside of the lid with his Dremel.  You need to do this for the solar light, so the light shines into the display instead of concentrating light in one spot.


After taking out all the pieces, this is what it looks like on the inside.


Next I used a Styrofoam sheet to make a floor for the inside.  I had to cut two pieces which I glued together.


I needed to cut a hard piece of cardboard to use for the floor on top of the Styrofoam. I used a piece from a checker board. It was bought at a garage sale for cheap (missing pieces).


I then glued a piece of material to glue on top of the cardboard to give it a finished look. Next I glued the whole thing down onto the Styrofoam.  Finally I glued down the plastic sealer that came with the bubblegum machine.  It holds the glass dome in place.


First, picked out the items I wanted in the glass dome.  I ended up picking out two quilters sitting at a table, a dog and two little candlesticks. Which were made from two buttons for the base, two blue beads and two pieces of stiff white wire material for the wicks.  I glued these all together to make the candles.  Remember a lot of times quilters work till all hours of the night they need candles.


I made sure I hot glued down all the different items I used for the theme.  Then I hot glued down the globe to the top and the red cap. Now, for the light.


In Walmart they sell 97 cent solar lights and all you need is this piece off the top. This is where the LED is and the solar panel.  Make sure you put a little hot glue to hold it down into place.


This is what it looks like lit up.  These type of lights are unique and look beautiful in a garden, and best of all no electric bill! Use your imagination and it will soar!


Tuesday, March 19, 2019

How to make decorative lights for a dollhouse


I bought these hair accessories from a flea market today.  Any round hair items can be turned into nice lights for a dollhouse.  The first I did was cut the balls off the elastics and I drilled a hole in the middle of the ball so I can glue in led lights that I bought from the dollar store.


Here are what the led lights look like.  They work on batteries.  The ball will have the led lights glued into the holes that you drilled into them.


Here are what the lights look like glued into the holes in the balls.  These can put onto the front porch of a dollhouse or around the top of a ceiling area in a dollhouse.  Use your imagination and it can soar!


Wednesday, June 12, 2013

Wedding Solar Lamp

Here's another new project.  As you can see in the picture this is an old outside fixture with rounded glass inserts.  This is one of the fixtures I will be using.


Here is the other item I will be using, an old brass lamp.


After I took apart the old brass lamp these are the parts that I have to work with.  I took out all the electric from the lamp.


This is the long bar which you find inside of lamps when you take them apart, it holds the parts of the lamp together.  These are the bars I reuse to put different parts together, they have threads on both ends with bolts.


As you can see in the picture I've added a couple of new items which I will be using.  A globe from a light fixture, two pieces located in the front from other light fixtures that I kept from past projects.  Also you will see on the end the old light fixture without the glass, which I took out to clean up.  The brass lamp was put together a little differently with the bar, to the way I wanted it and bolted into place on both ends.


These are the two pieces from other fixtures that I am using with this project.


After hot gluing them both together this is what they look like installed on top of the lamp.


Here is another view of what they look like on top of the lamp.


I've been waiting along time to use this decorative piece for one of my projects.  As you can seen it is an egg with a bride and groom on the inside which is decorated beautifully.  I love this piece.


As you can see I hot glued this item on top of the two pieces that I already installed on top of the lamp.  It makes a great looking stand.


I then put the glass pieces back into the old light fixture and put it on top of the lamp, you would think they both were together to start with they matched up perfectly!  I also added some fake white beads.  The bride and groom are now inside a glass in dome.


This is what the project looked like at the end.  I installed the other light fixture on top of the glass dome with hot glue, I love hot glue.  I also added some fake white beads as you can see in the photo.  I topped it off with a top off a solar light, at night it lights up the glass fixture.  Just remember you need to let the solar light get the rays from the sunlight so it can light at night.   This piece would be great for someone that just got married, or if your having a bridal shower and need a center piece for the bride and grooms table.  Or even an anniversary that you just don't know what to give them.  I hope you enjoyed this one!!


Saturday, June 8, 2013

 
This is what the finished project looks like.
The fixture itself is great for indoor use as a night light, or a decorative piece. Also looks Victorian for any of you that love the style, like I do.
 
Supplies:
  1. Solar light
  2. Lamp bottom
  3. Decorative piece off of another lamp
  4. Another piece off of a hanging light fixture
  5. Steel Nipples (1/8th thread, 6" Length)
  6. Steel Hex Nuts from Westinghouse (Insert funny joke here)


When all of these pieces come together, it should create the finished project that you saw in the first picture. However you can mix and match light fixture pieces to create your own design.


Once all of the light fixture pieces are put together this is what they look like. The different lamp pieces were spray painted prior to the project.


This is the light globe that was selected for this project, and again the top of the solar light was spray painted prior. (NOTE: DO NOT PAINT THE SOLAR PANEL ON THE TOP)


As you can see, I had put a piece of cardboard over the solar panel on the top of the unit to prevent it from getting painted so it can function properly.

 
This is what the lamp looks light once the pieces are put together. Obviously without the solar light which is what you can see is on the bottom left of the picture.

 
This is the top of the solar lamp. Also fake pearls were hot glued to create a more of a Victorian feel to the project, and to make it look more unique.

 
Pearls were also added to the bottom of the second piece of the solar light lamp.

 
In the end, you should end up with something that looks both good for inside the home and outside. As per usual the solar panel needs to be exposed to sunlight during the day so it can work sufficiently.
ENJOY!

Thursday, June 6, 2013

Paris themed solar light display

This post will include a list of necessary items to complete the project, as well as a step by step instructional on how to construct this wonderful solar powered display unit. (Photos included)


This project includes the following items-
  1. An old lamp base
  2. Top part of an old lamp fixture
  3. Solar light top
  4. Mirror disk from Michaels Craft supply store
  5. A Paris themed snow globe (Small)
  6. Black Spray Paint


This is the old lamp base as well as the top part of a light fixture.
This piece was spray painted black (NOT THE GLASS) to give it more of a rustic feeling.
This mirror disk bought from Michaels is what we are going to be inserting through the top of the old lamp unit to create a reflection of light when the solar light is installed.

This piece is the top of a solar light purchased from WalMart. This piece was also spray painted black in order to match the lamp fixture. (Solar light top must fit the top, and cover the hole on the top of the lamp fixture)

After installing the disk mirror (From Michaels) this is what it should look like from the top. This piece is also going to be hot glued to the bottom of the light fixture inside of the glass display. As you can see it is a mirror which will increase the amount of light that will be given off by the solar light we are going to be installing next.

This is a Snow Globe bought from a garage sale. It will be shortly installed on top of the mirrored disk with hot glue.

After installing the Paris themed globe, it should resemble something like this.

Next you are going to install the solar light top inside of the hole on the top of the light fixture. NOTE: DO NOT glue the solar light on the light fixture, as the batteries inside of the light may need replacing after a period of time.

Once the project is complete, when it get dark; it should light up, and give off extra light due to the mirror plate. Which will also light up the Paris themed snow globe inside of the light fixture, which will enhance the ability to see the Eiffel tower.
NOTE: Any snow globe or small figure can be installed in place of the snow globe.

 
This project is perfect for anyone that wants to light up their yard at night, a walk path, or to be displayed inside as decorative piece inside your home. Also can be used as a night light for a child. However you do need to make sure that the solar light top get enough light to charge through the day so it can function properly at night.
 
To all blog followers:
New projects, tutorials, finished crafts will be posted often.