Ad sense auto

Google analytics

Showing posts with label LED. Show all posts

Wednesday, April 10, 2019

Making a solar tv for dollhouse from vintage coaster holder


This is a vintage coaster holder. You can use any coaster cabinet for the tv. 


This is what the inside looks like with the doors open.


This is plastic I got from a throw away container, I like to use these for a lot of my projects.


You need to cut a piece of the plastic to fit the size of the opening. Remember you need to have the doors to be able to close.


You will also need two pieces of wood.  They will be on the front plastic area. You will see in the pictures.


I had this picture which was part of a card that had a kitty on it. It's made of transparent plastic so I had to also cut a piece of paper for in back of the picture. So you need a piece of the plastic, a piece of white paper and the picture.  They all need to be the same size.


First is the plastic piece from container, on top of that you glue down the piece of white paper and then the kitty. In another blog I show you how to make a solar tv out of a picture you would download off the computer, you can check that one out also.  Let’s get back to this one.


Now you need to glue the two pieces of wood on the piece you just put together, you can see this in the photo.


Next, go on the internet to find images. Print out a picture of a tv panel, you will be using this next.


On the one piece of wood, you will be cutting the tv panel out of the printout and gluing it to the wide piece of wood.  On the thinner piece of wood, cut out a piece of the brown area on the picture and glue it down using tacky glue.


On the panel I cut a piece of wood dowel making a circle that could make the dial 3D, I covered it with aluminum foil or you can paint it silver I then glued it over the picture of the tv knob.  The line on top of the knob is a piece of a round toothpick which I also glued down and drew a black mark on it.  I then glued this whole piece to the inside of the coaster holder as you can see in the photo.  To make it easier what I do with my projects is put tacky glue in different areas of the piece and then putting dots of hot glue in the areas that don’t have tacky glue on it.  The tacky glue keeps the piece in its spot while the glue is setting.


Here’s what it looks like with the doors shut.  Next is the solar light getting installed to light it up.


In the back of the cabinet you need to drill a hole the size of the LED on the solar light so it can slide right in and be held into place.  If the solar light keeps sliding out use some black electrical tape to make it tighter.


In Walmart and the dollar tree you can buy cheap single solar lights. All you need is the top part of the light, with the solar cell and the LED.  But remember don’t throw out the other piece you need to recharge the solar panel for it to light up.


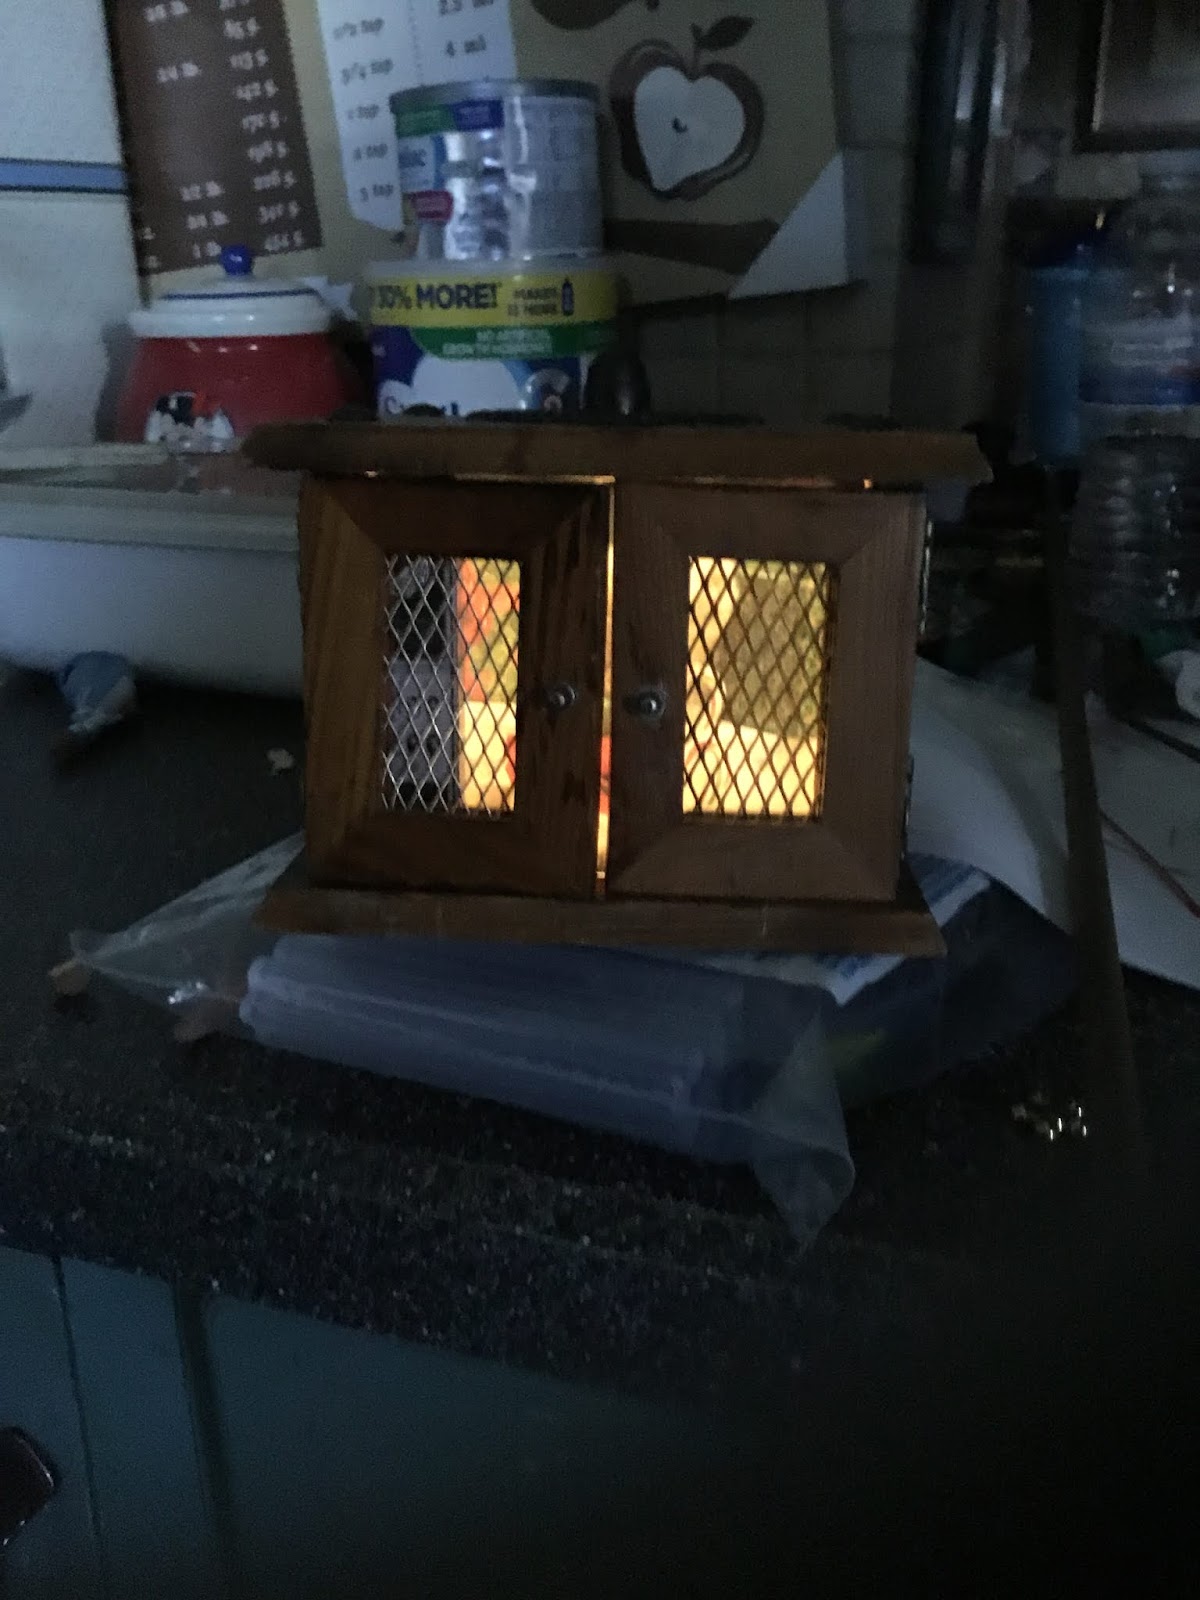
After putting the solar light into the hole in the back, this is what it looks like with the doors opened.


This is what it looks like with the doors shut. Use your imagination put in any picture maybe use a picture of a family member etc.. Use your imagination and it will soar!

Friday, March 22, 2019

Making a quilters themed solar light using a bubble gum machine


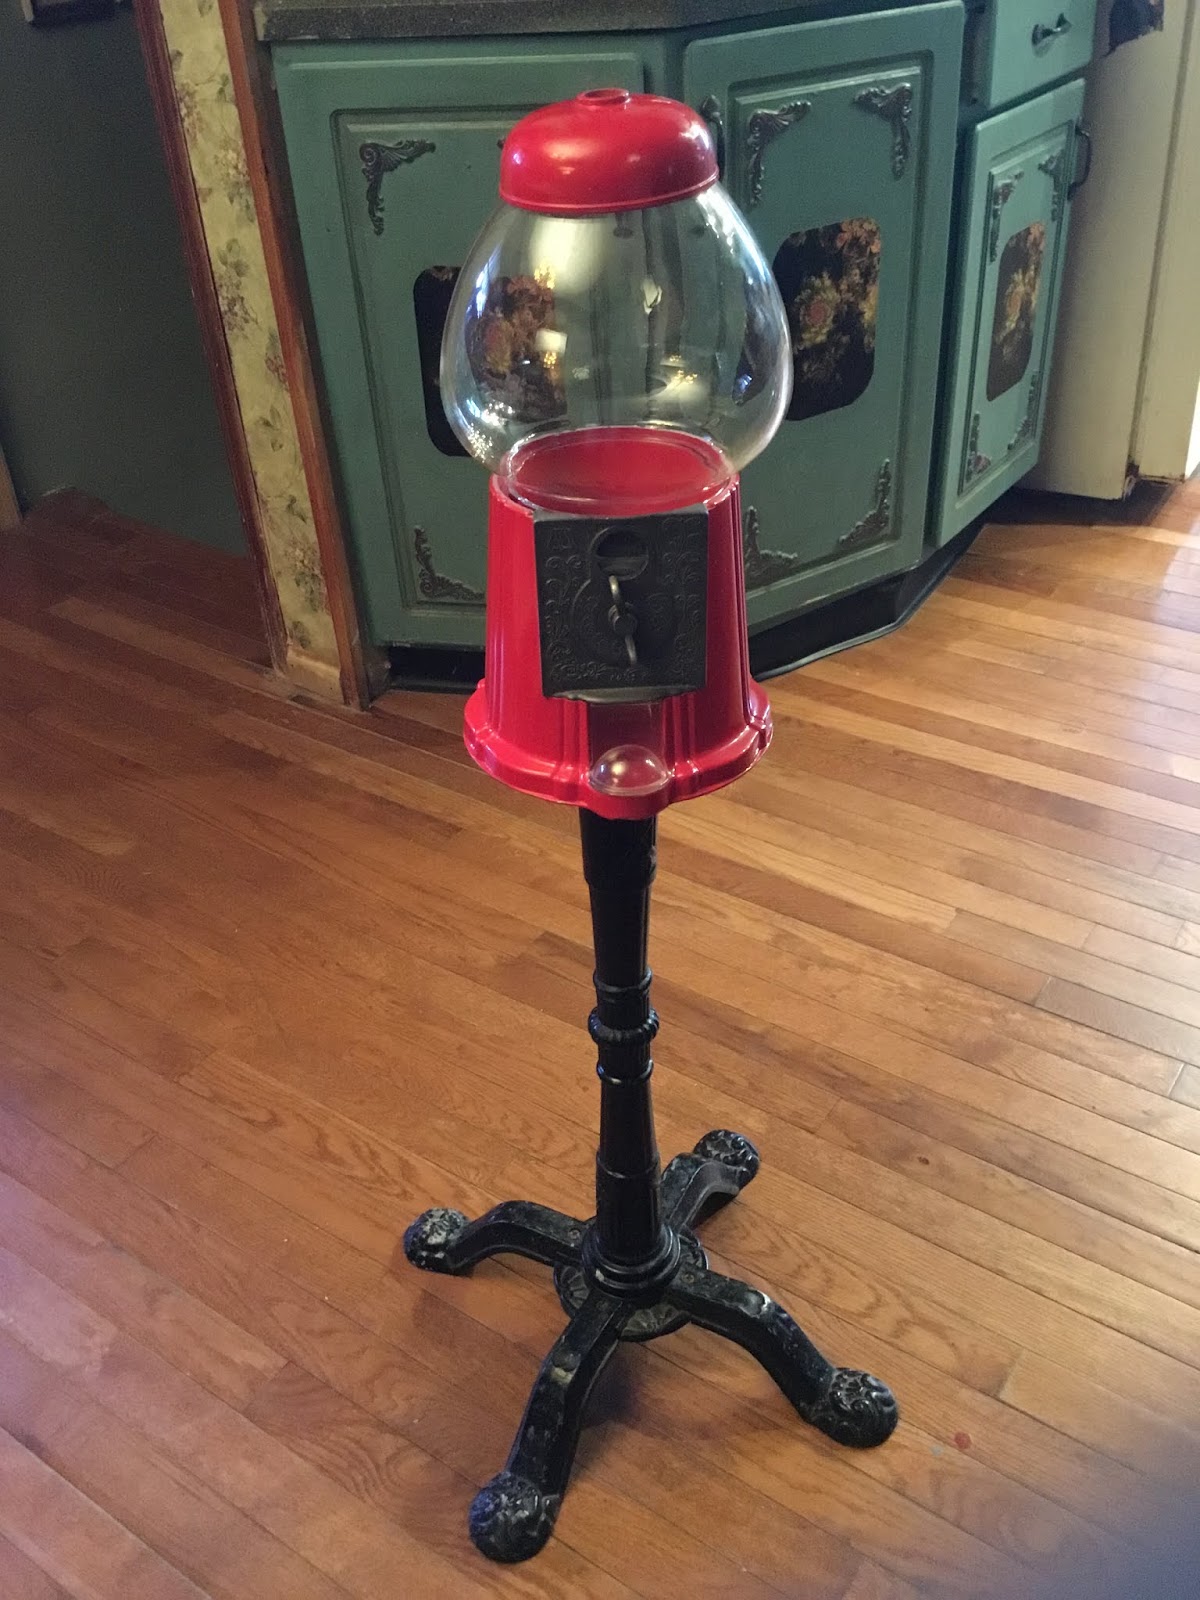
I love these bubblegum machines they make great displays for that special item in your garden or house.  Today I’m going to make a quilters display for the garden using this bubblegum machine. First, you need to take out all the pieces on the inside (this bubblegum machine didn’t work).


I had my son cut off the metal nub on the inside of the lid with his Dremel.  You need to do this for the solar light, so the light shines into the display instead of concentrating light in one spot.


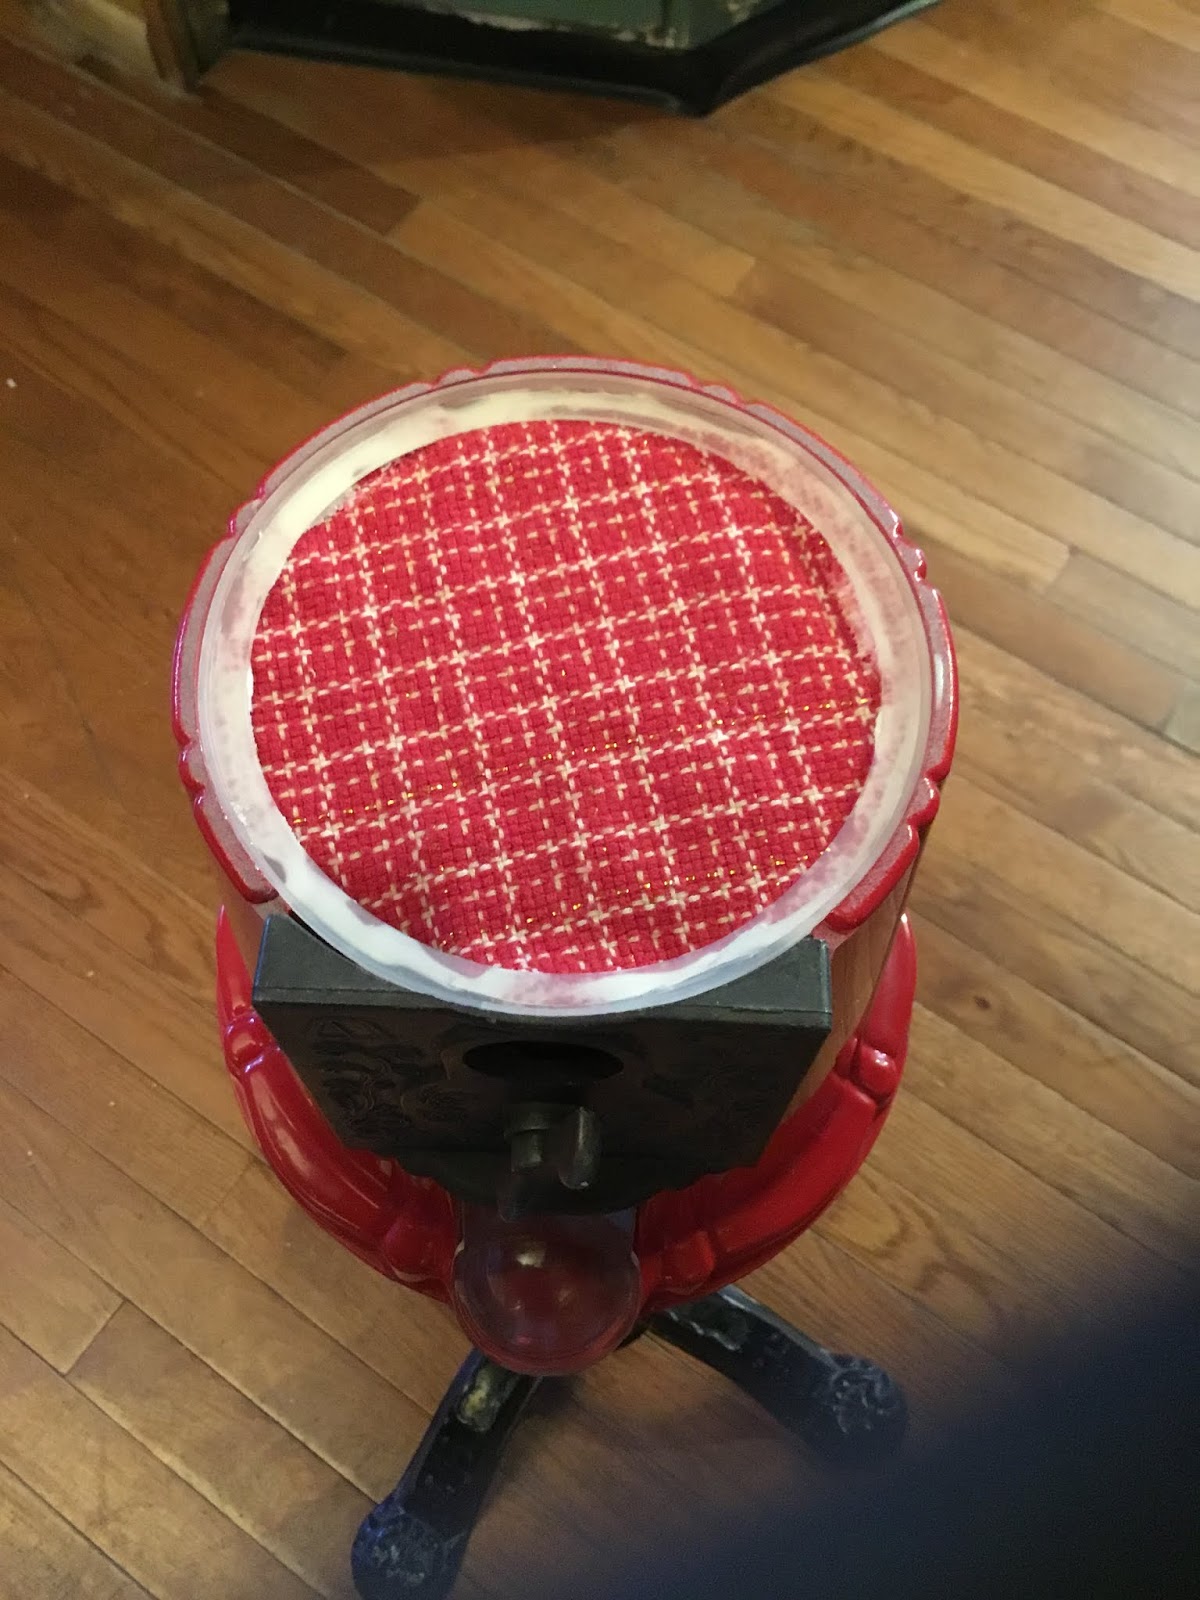
After taking out all the pieces, this is what it looks like on the inside.


Next I used a Styrofoam sheet to make a floor for the inside.  I had to cut two pieces which I glued together.


I needed to cut a hard piece of cardboard to use for the floor on top of the Styrofoam. I used a piece from a checker board. It was bought at a garage sale for cheap (missing pieces).


I then glued a piece of material to glue on top of the cardboard to give it a finished look. Next I glued the whole thing down onto the Styrofoam.  Finally I glued down the plastic sealer that came with the bubblegum machine.  It holds the glass dome in place.


First, picked out the items I wanted in the glass dome.  I ended up picking out two quilters sitting at a table, a dog and two little candlesticks. Which were made from two buttons for the base, two blue beads and two pieces of stiff white wire material for the wicks.  I glued these all together to make the candles.  Remember a lot of times quilters work till all hours of the night they need candles.


I made sure I hot glued down all the different items I used for the theme.  Then I hot glued down the globe to the top and the red cap. Now, for the light.


In Walmart they sell 97 cent solar lights and all you need is this piece off the top. This is where the LED is and the solar panel.  Make sure you put a little hot glue to hold it down into place.


This is what it looks like lit up.  These type of lights are unique and look beautiful in a garden, and best of all no electric bill! Use your imagination and it will soar!


Tuesday, March 19, 2019

How to make decorative lights for a dollhouse


I bought these hair accessories from a flea market today.  Any round hair items can be turned into nice lights for a dollhouse.  The first I did was cut the balls off the elastics and I drilled a hole in the middle of the ball so I can glue in led lights that I bought from the dollar store.


Here are what the led lights look like.  They work on batteries.  The ball will have the led lights glued into the holes that you drilled into them.


Here are what the lights look like glued into the holes in the balls.  These can put onto the front porch of a dollhouse or around the top of a ceiling area in a dollhouse.  Use your imagination and it can soar!