Ad sense auto

Google analytics

Showing posts with label Paper. Show all posts

Wednesday, April 10, 2019

Making a solar tv for dollhouse from vintage coaster holder


This is a vintage coaster holder. You can use any coaster cabinet for the tv. 


This is what the inside looks like with the doors open.


This is plastic I got from a throw away container, I like to use these for a lot of my projects.


You need to cut a piece of the plastic to fit the size of the opening. Remember you need to have the doors to be able to close.


You will also need two pieces of wood.  They will be on the front plastic area. You will see in the pictures.


I had this picture which was part of a card that had a kitty on it. It's made of transparent plastic so I had to also cut a piece of paper for in back of the picture. So you need a piece of the plastic, a piece of white paper and the picture.  They all need to be the same size.


First is the plastic piece from container, on top of that you glue down the piece of white paper and then the kitty. In another blog I show you how to make a solar tv out of a picture you would download off the computer, you can check that one out also.  Let’s get back to this one.


Now you need to glue the two pieces of wood on the piece you just put together, you can see this in the photo.


Next, go on the internet to find images. Print out a picture of a tv panel, you will be using this next.


On the one piece of wood, you will be cutting the tv panel out of the printout and gluing it to the wide piece of wood.  On the thinner piece of wood, cut out a piece of the brown area on the picture and glue it down using tacky glue.


On the panel I cut a piece of wood dowel making a circle that could make the dial 3D, I covered it with aluminum foil or you can paint it silver I then glued it over the picture of the tv knob.  The line on top of the knob is a piece of a round toothpick which I also glued down and drew a black mark on it.  I then glued this whole piece to the inside of the coaster holder as you can see in the photo.  To make it easier what I do with my projects is put tacky glue in different areas of the piece and then putting dots of hot glue in the areas that don’t have tacky glue on it.  The tacky glue keeps the piece in its spot while the glue is setting.


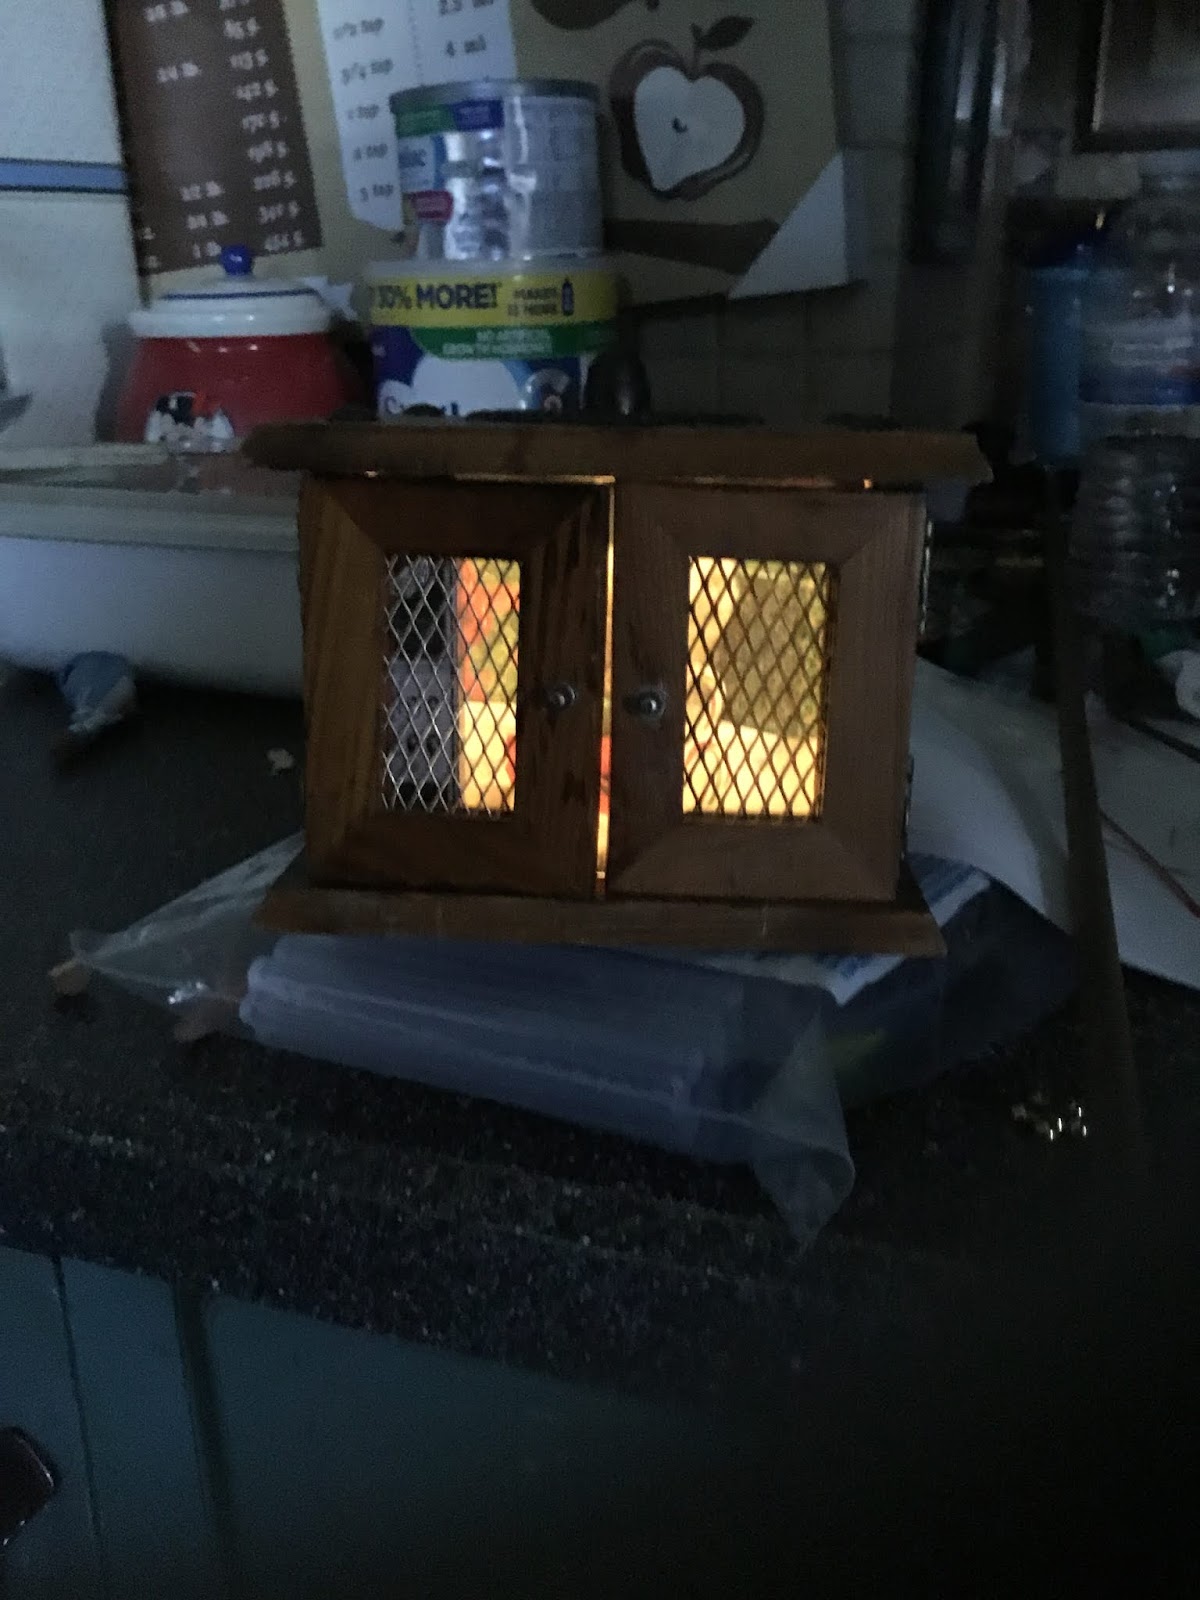
Here’s what it looks like with the doors shut.  Next is the solar light getting installed to light it up.


In the back of the cabinet you need to drill a hole the size of the LED on the solar light so it can slide right in and be held into place.  If the solar light keeps sliding out use some black electrical tape to make it tighter.


In Walmart and the dollar tree you can buy cheap single solar lights. All you need is the top part of the light, with the solar cell and the LED.  But remember don’t throw out the other piece you need to recharge the solar panel for it to light up.


After putting the solar light into the hole in the back, this is what it looks like with the doors opened.


This is what it looks like with the doors shut. Use your imagination put in any picture maybe use a picture of a family member etc.. Use your imagination and it will soar!

Tuesday, March 5, 2019

Making a beauty and the beast themed room in a dollhouse

If you look at this picture you can see the attic, the room is very blah.  I decided to make it a beauty and the beast room.


I printed these pictures off the internet under google searching painted mural ceilings.  I am going to paint the ceiling a dark purple color and glue these on both sides of the ceiling.


I also looked up stained glass windows for beauty and the beast. I printed out a lot of these. I'm using them for the back wall in the attic area you will see this in the pictures.


In this picture you can see the purple ceiling and the picture that I mod podged on the ceiling.  After the mod podge dried I put a coat of mod podge over top of the picture to seal it.  I also used some chess pieces for statues that I lined up going down the sides of the attic area.  In beauty and the beast beauty was looking at statues down the hallway on the way to her room.  I also looked up what the floor looked like in the movie and painted a little different floor like the one in the movie.


This is the attic on the other side of the room.  As you can see I did the same thing on this side.  I also added some figures.  The purple decorative looking fence is from a plastic barbie dollhouse that someone threw in the garbage.  Never turn your back on any type of dollhouse that is broken there are many pieces you can take apart and use.


If you look at the back wall you can see how I used the stained glass panels. I mod podged them on the back wall spaced like windows.  I painted with black paint triangle looking designs to give the panels a different look.  I also added a little statue of a castle by the back wall.  You can make any room in a dollhouse a theme.  Use your imagination and it will soar!


Sunday, March 3, 2019

Making a dollhouse door from scrap frozen castle

I got a frozen castle from someone that was broken and they knew I could use it for something. I cut a piece of the wood to the size I needed, which you can see on the left in the picture.  On the right I went to google images, looked up red doors and this is the door I chose.  I also had to resize the picture to the same size of the wood.  I hold the door up to the screen and make the picture down to the same size of the wood. You have to copy the image and put it in a program that lets you change the size of the picture. I just used notepad.


I then glued the picture of the door down to the wood.


I then took markers and added some details to the door.  I also went on the internet and printed out a picture of an envelope which I glued to the front of the mail opening on the door.  I glued on a door knob into place to give it a 3d effect.  There are many doors in images on the internet, make a door why buy one when they are expensive.  You get more choices this way.  Use your imagination and it will soar!


Thursday, February 28, 2019

Making an optical illusion floor for a dollhouse

The first thing you need to do is go on Google images and find a picture that you like for the floor this is the picture I found.


The next thing is to glue the picture down on the floor. Take note of the colors that are in the picture. Start blending colors together and make the colors lighter and darker, you can see in the next picture what I did.  There are many 3d looking images on Google check them out and remember use your imagination and it will soar!


Thursday, February 21, 2019

Making a clock from a magazine photo


This is the magazine that I saw the picture of the clock in.  You can get this catalog for free online. Just go to the bottom right of the homepage and select the request catalog option.


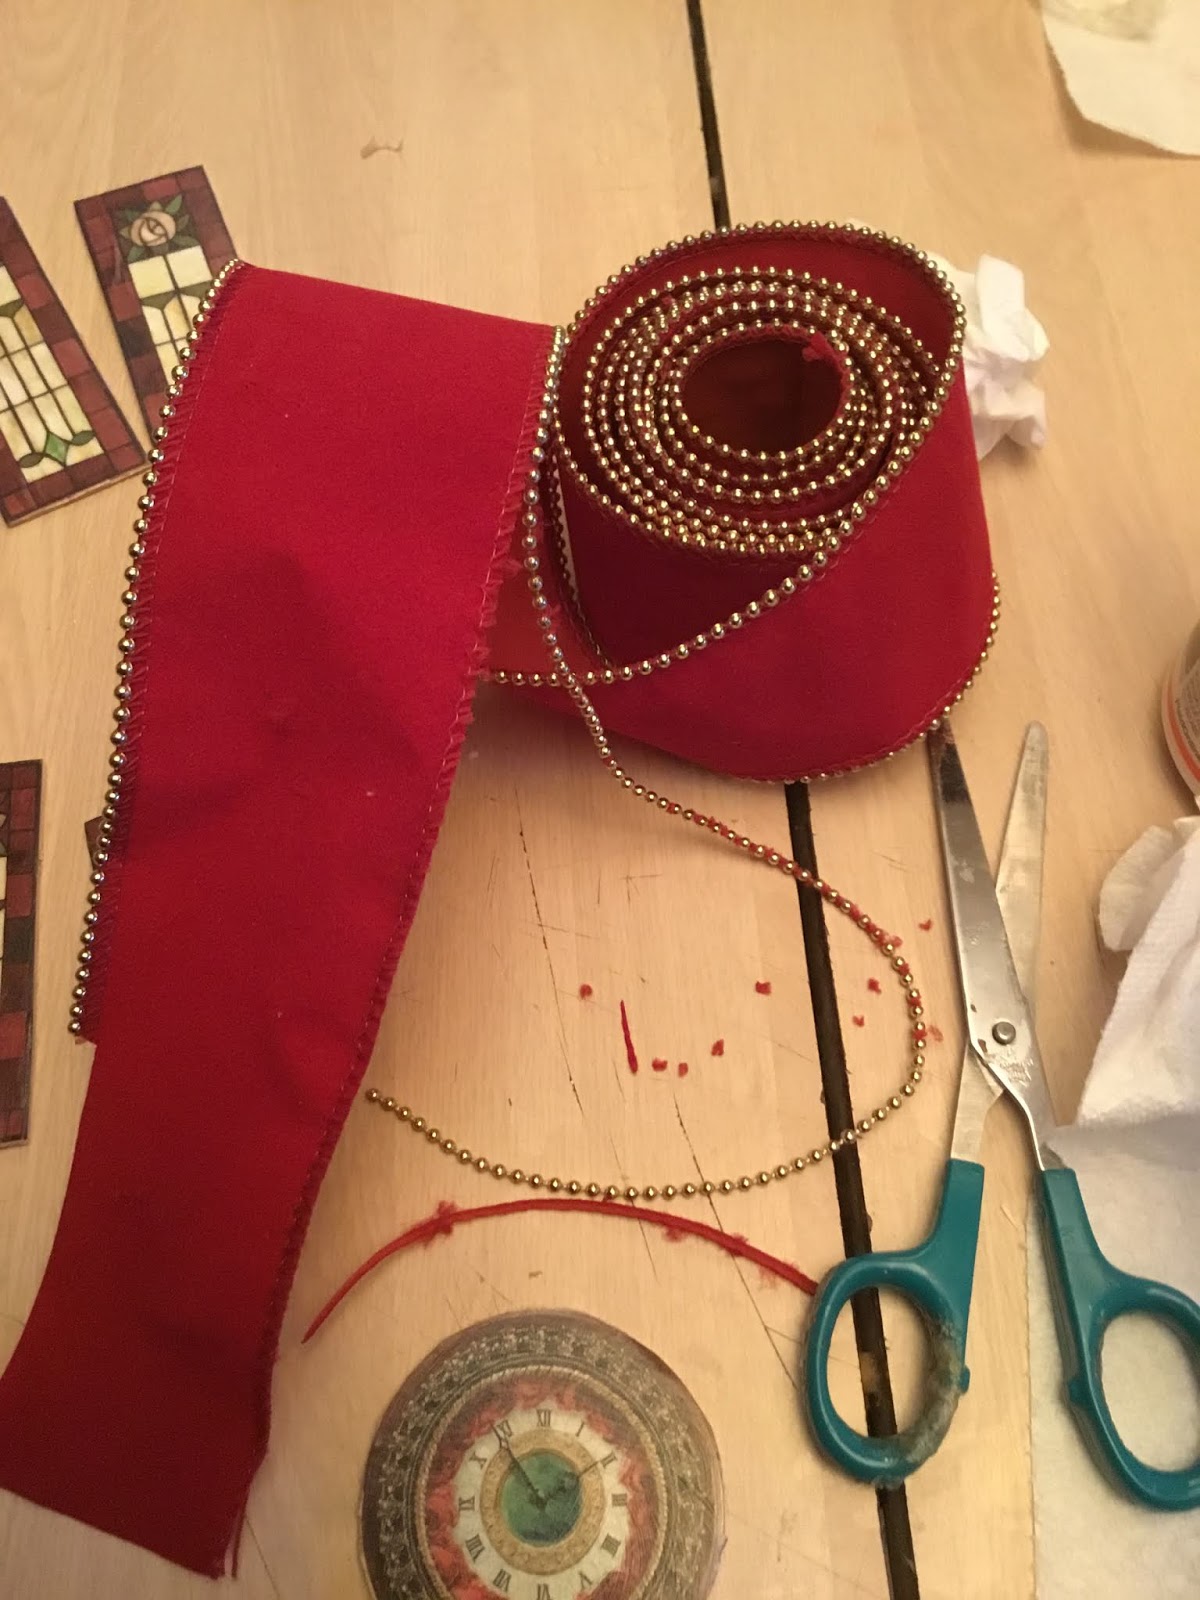
All this picture is a copy of the picture of the clock that is from the magazine.  I made a copy, cut the picture and glued it onto a piece of wood. You can also use a piece of cardboard.  Then, I took some gold bead trim and glued it around the outer edge of the clock. In the next picture you will see what the trim looked like that I got the gold beads from.


I just cut off the gold bead part and used it.


In this picture you can see the clock which is glued onto the front top of the dollhouse.  Use your imagination and it will soar!


How to make beautiful shutters for a dollhouse from a magazine


This is the magazine that I found a beautiful stained glass hanging piece.  You can get this catalog for free, you can go on their site and sign up for one, here. The request catalog option is on the bottom right of their page.


This is the item I found and made copies of from the magazine.


Next, I took thin pieces of wood and cut out pieces the same size as the pictures.  Then I used mod podge to glue the pictures onto the wood pieces.


This is the mod podge I used as well as the thin pieces of wood. You can also use cardboard if you don’t have some thin wood lying around.


This is what they look like once they are glued down onto the wood. I also put on a layer of mod podge over the picture to protect it.


You can see in this picture how beautiful these shutters look on both sides of the windows.  These pictures were out of the magazine.  There are many things in this magazine and other magazines that you can make copies of the pictures and use the pictures for making framed pictures for in a dollhouse, shutters etc.  use your imagination and it will soar!


Sunday, January 20, 2019

Continued kitchen stove, dishwasher and sink for dollhouse


This is what I started with, it’s a piece from a trophy.  If you see trophies for free there are a lot of parts you could use to make things. I’m going to make a kitchen stove, dishwasher and sink for a dollhouse.


This is what this piece looks like from this angle.  Now to start adding the black foam board...


I added foam board to the sides, top and lastly the front.  You don’t need to add any to the underside or the back if you are going to glue it against a wall in a dollhouse.


Next I used these thin wooden stirrer type sticks.


This is where you decide where to place the stirrers to form the stove, dishwasher and sink area.  You can see where I glued down sticks to divide up the areas.


This is what the sides look like. I've found that by adding these stirrers, it gives it depth. Rather than just painting them. 


This is the studded belt that I used to make "tiles" on the countertop over top of the dishwasher. I glued them down with a hot glue gun and tacky glue.


Here’s what it looks like with the tiles glued down.


I cut this piece of black foam board which I bought from the dollar store for the sink. My post before this one shows you how to make the sink.


In this picture you can see the sink, dishwasher and the stove.  I downloaded pictures off the internet for these areas, I mod podged the pictures on so it looks like they are really there. In the area under the sink I added some pieces of a gutter guard and two wooden beads for the cabinet knobs.


Another view.


And another.


Make sure you check out the post about making the sink faucet, knobs and dish sprayer. Use your imagination and it can soar!

Friday, January 18, 2019

Making an Aladdin themed room for a dollhouse


 This is the Aladdin themed room, as you can see you can take a small area in an attic space in your dollhouse and turn your imagination into something unique for a child to love.
 For the inside area of the triangle on the wall where the window is, I used a paper napkin that had a design on it.  If you have decorative paper napkins you can use mod podge to put them on the walls.  I chose this design, it’s easier to match up and make everything look the way it does.  The area is a strange shape to work with. The wallpaper I chose is the pink one you see on the left in the picture, which I use tacky glue to glue it onto the walls.
 You can download all types of designs from the internet, I thought I'd use this one...
 I wanted to put in a long bench under the window area, so I measured the space and cut two different pieces of wood, one for the base and one for the top of the bench.  I glued them both together and added a piece of gold paper trim that you see in the picture to the front of the bench. I then added some half round glass jewels to the front.
 This is the wood with the gold trim on it.  >>-------->
 In this picture I am showing you pieces off a plastic dollhouse that I took apart. The mirror, the poles, the little jewel jar looking thing, the two blue cloud looking items. I put Aladdin in one and Jasmin in the other.  I also put red velvet material on the seat area under the window.
In this picture you can see spherical styrofoam purple balls at the bases of the columns. I also added a little flower arrangement. Just use your imagination, and it will soar!


Materials List:
  1. Tacky Glue
  2. Mod Podge
  3. Scrap Wood (For the Window Seat)
  4. Gold Paper Trim
  5. Half Round Glass Jewels
  6. Velvet (Like) Material
  7. Printer w/paper
  8. Scissors
  9. Decorative Paper Napkins


* As an Amazon Associate I earn on qualifying purchases (if you purchase directly from link).