Ad sense auto

Google analytics

Showing posts with label Flooring. Show all posts

Friday, March 22, 2019

Making a quilters themed solar light using a bubble gum machine


I love these bubblegum machines they make great displays for that special item in your garden or house.  Today I’m going to make a quilters display for the garden using this bubblegum machine. First, you need to take out all the pieces on the inside (this bubblegum machine didn’t work).
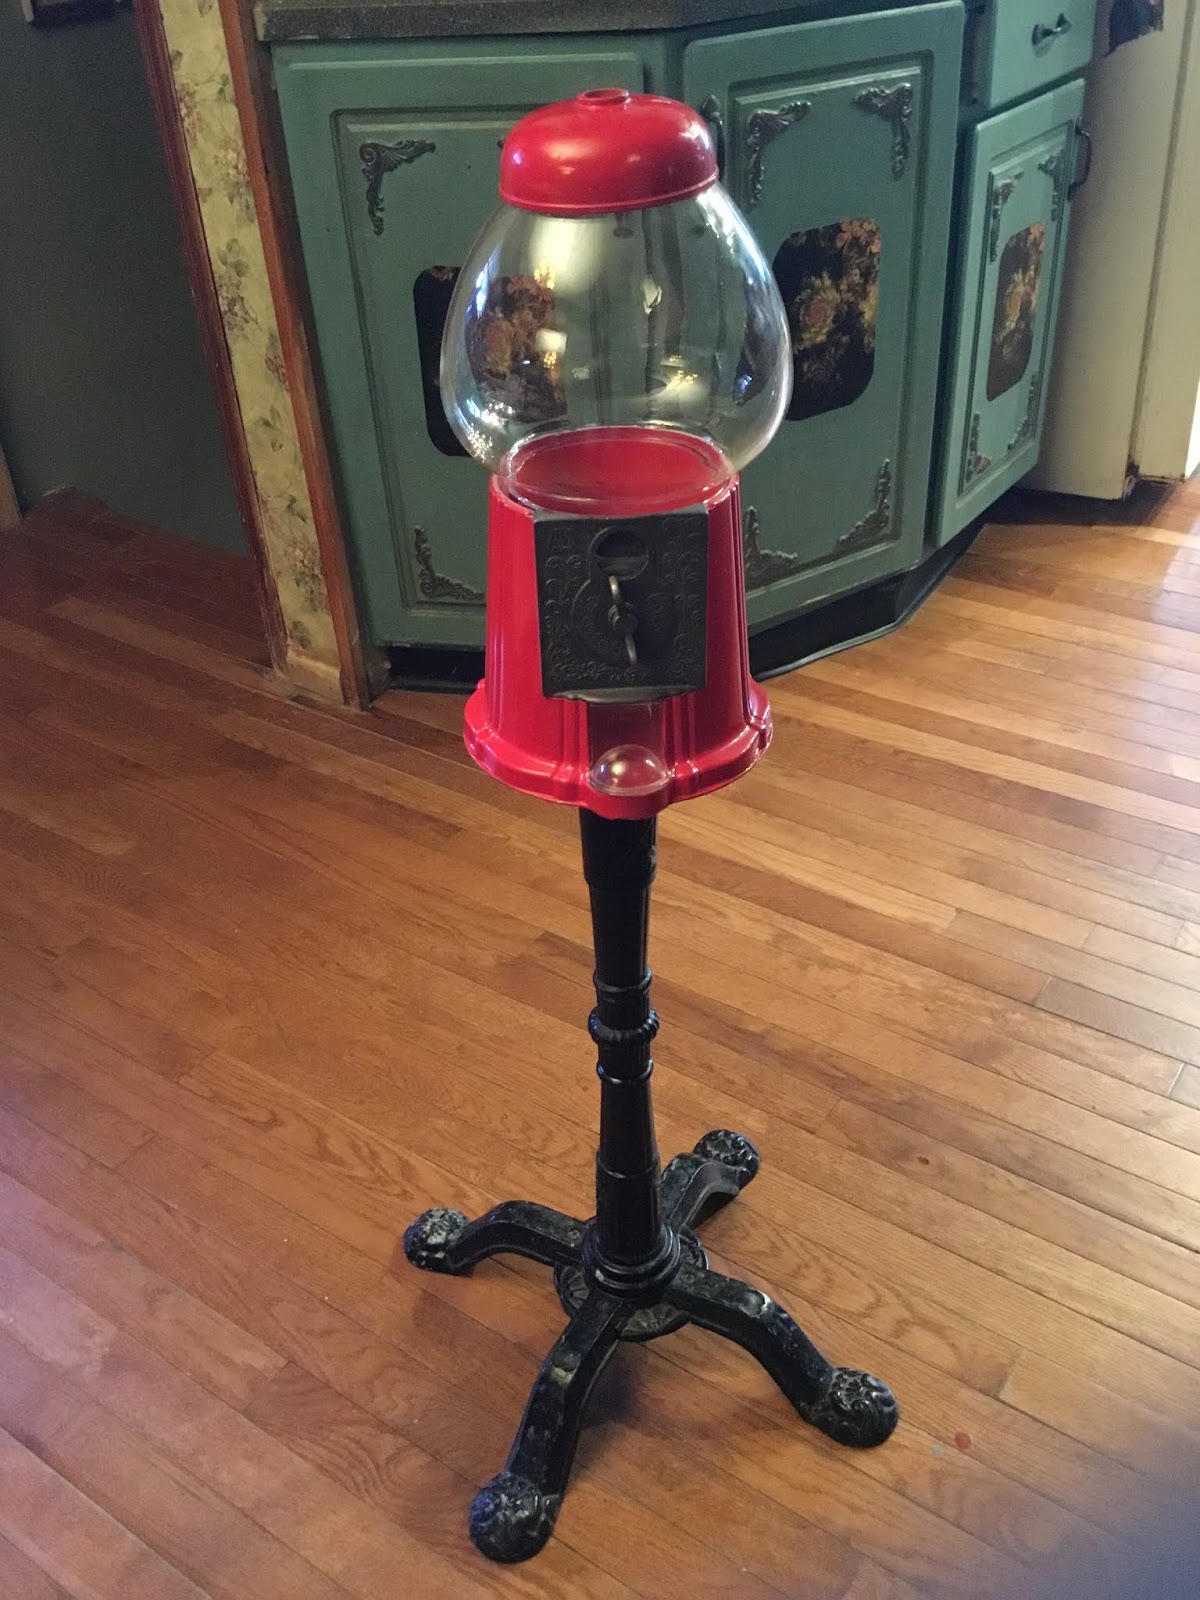

I had my son cut off the metal nub on the inside of the lid with his Dremel.  You need to do this for the solar light, so the light shines into the display instead of concentrating light in one spot.


After taking out all the pieces, this is what it looks like on the inside.


Next I used a Styrofoam sheet to make a floor for the inside.  I had to cut two pieces which I glued together.


I needed to cut a hard piece of cardboard to use for the floor on top of the Styrofoam. I used a piece from a checker board. It was bought at a garage sale for cheap (missing pieces).


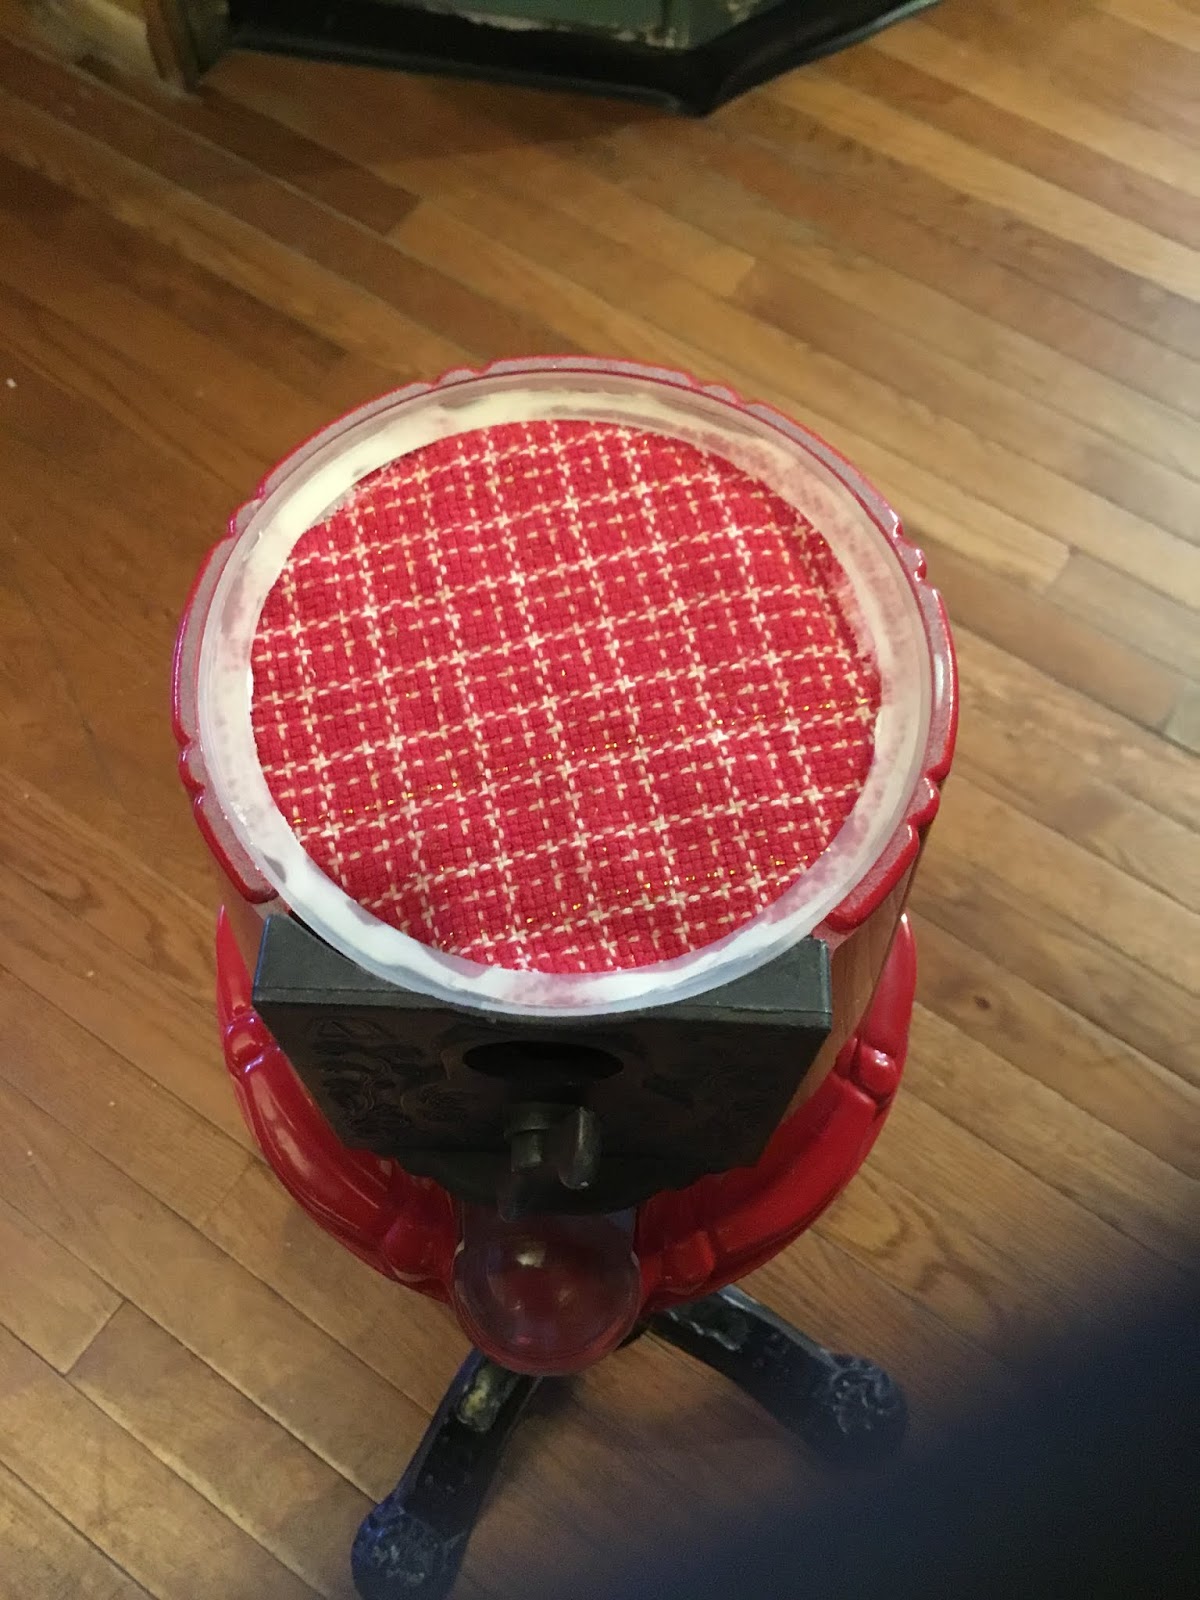
I then glued a piece of material to glue on top of the cardboard to give it a finished look. Next I glued the whole thing down onto the Styrofoam.  Finally I glued down the plastic sealer that came with the bubblegum machine.  It holds the glass dome in place.

First, picked out the items I wanted in the glass dome.  I ended up picking out two quilters sitting at a table, a dog and two little candlesticks. Which were made from two buttons for the base, two blue beads and two pieces of stiff white wire material for the wicks.  I glued these all together to make the candles.  Remember a lot of times quilters work till all hours of the night they need candles.


I made sure I hot glued down all the different items I used for the theme.  Then I hot glued down the globe to the top and the red cap. Now, for the light.


In Walmart they sell 97 cent solar lights and all you need is this piece off the top. This is where the LED is and the solar panel.  Make sure you put a little hot glue to hold it down into place.


This is what it looks like lit up.  These type of lights are unique and look beautiful in a garden, and best of all no electric bill! Use your imagination and it will soar!


Saturday, March 16, 2019

Making a bamboo floor for your dollhouse


In this picture you will see a bamboo placemat. They are also sometimes advertised as sushi mats. When using a placemat like this, after measuring for the size you need. Tape on both sides of the mat, you will be cutting it else the placemat will fall apart.  So in the picture you will see the tape. I leave this tape on the item you won't be able to see it. It will be on the underside.  You can cut this with regular scissors.  Placemats make beautiful flooring and a lot of them look like real wood floors in a dollhouse.


In this picture you can see what it looks like once you glue it down with tacky glue.


Tuesday, March 5, 2019

Making a beauty and the beast themed room in a dollhouse

If you look at this picture you can see the attic, the room is very blah.  I decided to make it a beauty and the beast room.


I printed these pictures off the internet under google searching painted mural ceilings.  I am going to paint the ceiling a dark purple color and glue these on both sides of the ceiling.


I also looked up stained glass windows for beauty and the beast. I printed out a lot of these. I'm using them for the back wall in the attic area you will see this in the pictures.


In this picture you can see the purple ceiling and the picture that I mod podged on the ceiling.  After the mod podge dried I put a coat of mod podge over top of the picture to seal it.  I also used some chess pieces for statues that I lined up going down the sides of the attic area.  In beauty and the beast beauty was looking at statues down the hallway on the way to her room.  I also looked up what the floor looked like in the movie and painted a little different floor like the one in the movie.


This is the attic on the other side of the room.  As you can see I did the same thing on this side.  I also added some figures.  The purple decorative looking fence is from a plastic barbie dollhouse that someone threw in the garbage.  Never turn your back on any type of dollhouse that is broken there are many pieces you can take apart and use.


If you look at the back wall you can see how I used the stained glass panels. I mod podged them on the back wall spaced like windows.  I painted with black paint triangle looking designs to give the panels a different look.  I also added a little statue of a castle by the back wall.  You can make any room in a dollhouse a theme.  Use your imagination and it will soar!


Thursday, February 28, 2019

Making an optical illusion floor for a dollhouse

The first thing you need to do is go on Google images and find a picture that you like for the floor this is the picture I found.


The next thing is to glue the picture down on the floor. Take note of the colors that are in the picture. Start blending colors together and make the colors lighter and darker, you can see in the next picture what I did.  There are many 3d looking images on Google check them out and remember use your imagination and it will soar!


Sunday, January 6, 2019

Making "Stone and Concrete" steps for a dollhouse


 For those of you that don’t know what Jenga wood blocks are, this is the game Jenga. The pieces for the game is what we will be making the steps out of. You can usually find these games at yard sales; mostly missing pieces but still worth a buy.
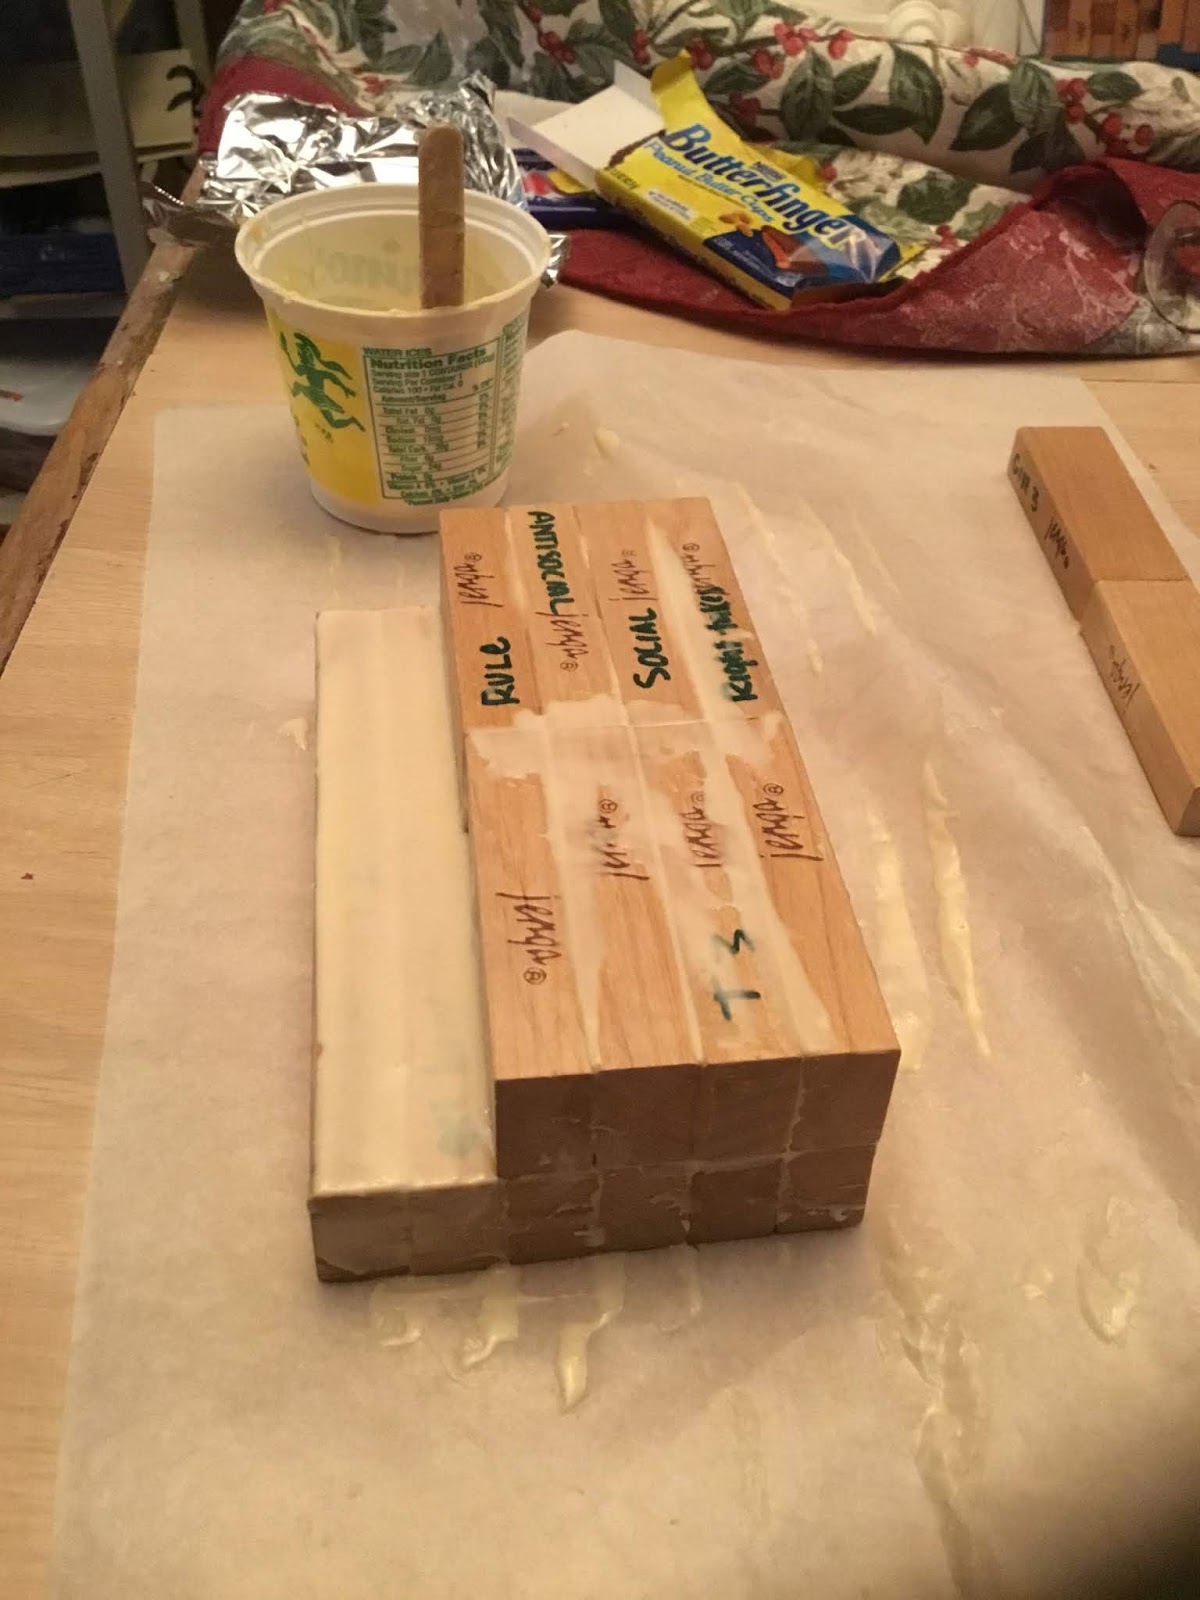
We will be using this glue to glue all the pieces together.  This is Gorilla Glue I mix flour with this glue. It makes the glue dry faster and when it’s dry, it is harder than a rock.  I also use this technique in making concrete foundation walls for my dollhouses and for filling cracks.  The more flour the thicker the glue.


This cup has the wood glue mixed with flour.  I then start gluing the Jenga blocks together.


After gluing them together I put a thin layer of the glue all over the steps. I also glue on a piece of paper towel to the top of the steps to give it the look of concrete when it dries. The paper towels are double ply so I separate it into 2 single ply sheets.


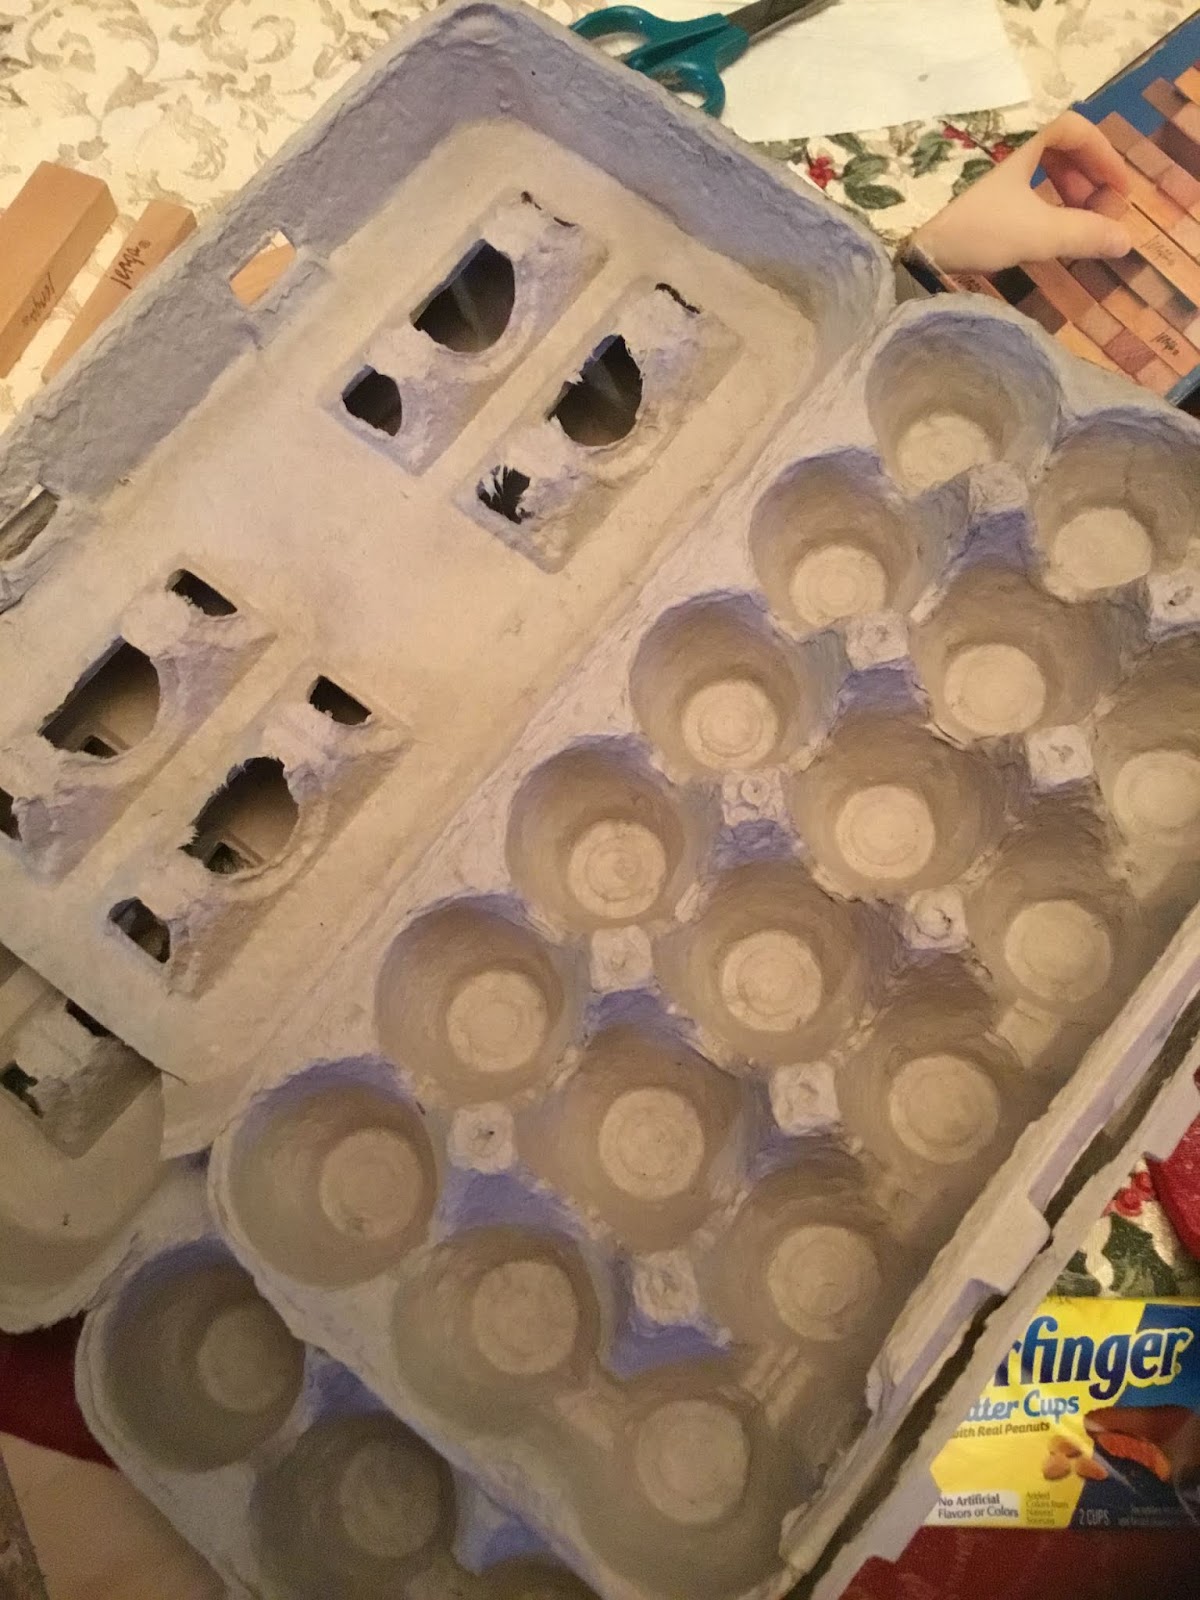
I will be using this egg carton for making the stones for on the outer parts of the steps. I just used the cartons that were saved from the last time I bought eggs. However I found a great deal on amazon. 30 count egg trays (18 trays) for less than $17.


In this picture you can see one of the sides of the steps. I used the egg carton for stones. Again, a thin layer of the glue mixture holds them right in place. You can also see the paper towel on the top of the steps.


This is a front view of the steps.


This is the other side of the steps.

And.. Another view.


The way I painted them was... First I painted the whole thing with a light gray color paint. Then I mixed some black with gray, which is in a plastic cup and stirred with a popsicle stick to get a darker grey; which I dabbed on all the rocks which were made from the egg carton.  Don’t put to much on them.  Then I darkened the color again by adding more black paint and stirring it again.  Dab on this darker color in different areas on the rocks, and one more time add some more black and dab on.  Now take a q tip and blend the colors on the rocks by dabbing not rubbing. I then take a thin paint brush, take white paint and with a little paint on the brush I put a thin line of white paint around each rock to highlight it.  The tops of the steps since they already have one coat of the gray paint. I also do the same method with the addition of black paint added to the gray. Each time dabbing on the different shades.  I paint the rocks and the tops of the steps the same way.  Then at the end I take white paint and just highlight the edges of the steps and sides.

If you don't already have acrylic paint, I highly recommend the Appel Barrel brand. They have a huge selection of different types of paints, weather it be metallic, gloss, matte, neon, and I've even seen fluorescent. 


Here is another view of the steps


And another view.  We all have imagination inside of us. It’s the child in us that wants to use it.  Go for it!

Materials List:
  1. Janga Blocks
  2. Disposable paint cups
  3. (Recommended) Parchment Paper

*As an Amazon Associate I earn on qualifying purchases.