Ad sense auto

Google analytics

Showing posts with label Gorilla Glue. Show all posts

Wednesday, January 23, 2019

How to make a refrigerator for a dollhouse


I used a wooden box for the refrigerator. You can usually find these at craft stores, or online.


This box I got in the craft store it opens a closes great for a refrigerator.


The first thing I did was paint the box the color I wanted the refrigerator to be, which was red.  I then downloaded pictures of the inside of a refrigerator and the outside of a red refrigerator.  I then mod podged the pictures on the areas that they were needed.


This is what the inside looks like. I painted the inside white.  I also added some shelves which were white wooden blinds that I cut up and glued to the inside.  I then added a couple grocery items.  Use your imagination and it will soar!


Tuesday, January 22, 2019

How to make floating shelves for a dollhouse


I cut a piece of wood for the size I wanted the shelf to be. You could use one of the paint stirring sticks for this part.


I then glued a piece of felt to the top.


I cut a piece of cuboid shaped wood for under the shelf that I glued towards the back for security and stability to help when gluing it all onto the wall.


This is what it looks like when it’s glued on.


I then took this piece of trim work and glued it around the front and sides of the shelf for decorative reasons.


This is what the shelf looks like above the sink, stove and dishwasher.  My other blog post shows you how to make this one piece. Use your imagination, and it will soar!


Tuesday, January 15, 2019

Making a horse shutter for a dollhouse


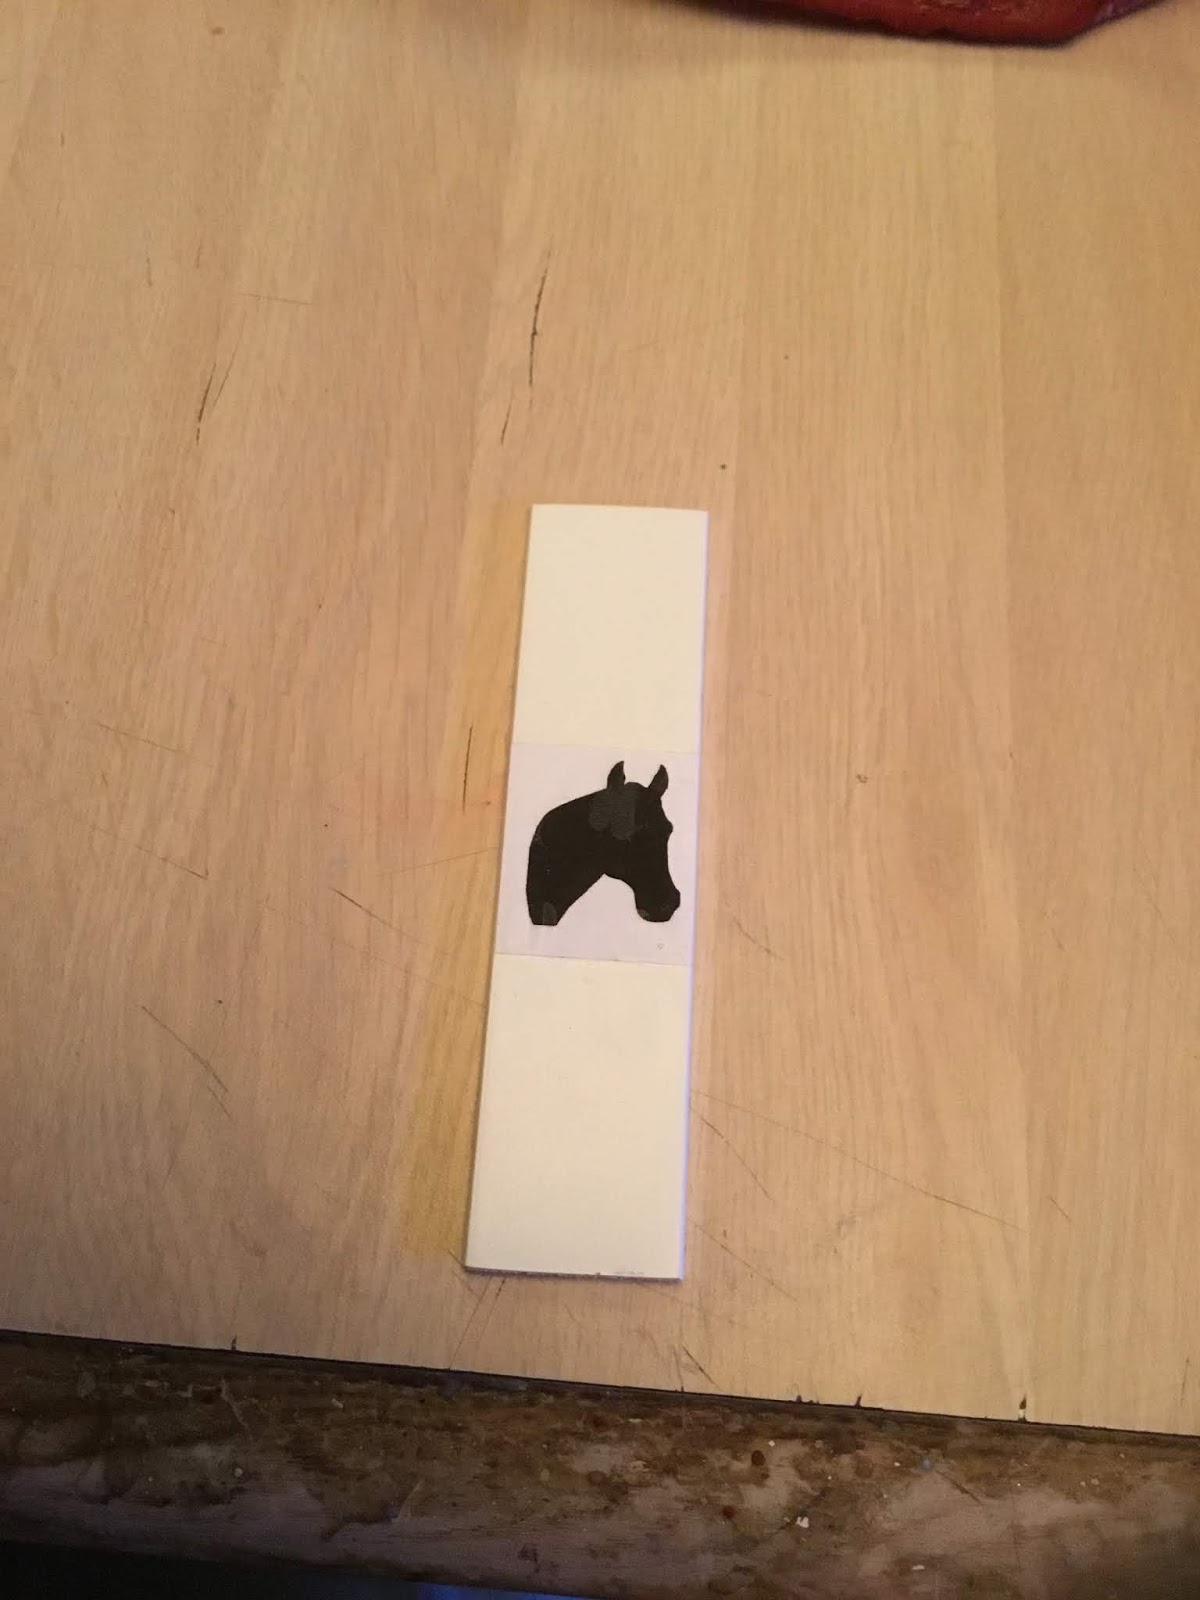
Today, I'm going to be showing you how to make horse shutters for a dollhouse. In this picture you can see the white piece of scrap wood I'll be using.  I’m going to tell you where you can get them.  The white piece of wood is from a white wooden window shutter.  I like using wooden shutters they make great pieces for dollhouses.  Once I cut them down to the length that I needed for the shutters I went online and printed out pictures from google images. Here you can see the horse head shadow. Then I applied mod podge to the photo on the shutter as you can see in the picture. Don't forget to let the mod podge dry before decorating!


 In this picture you can see how I took black paint and started painting some designs on the shutter.  In the next picture you can see I also added some dark red, gold and more black to the shutters.


 Here you can see the other painting on did on the shutters.  I also thought the horse needed some type of necklace. In the next picture you will see how they look when they are installed on a dollhouse.
You can add any picture to a shutter and make it different and one of a kind.  Use your imagination and it will soar!


 Materials List:
  1. Scrap wood (Can use slats from old wooden shutters)
  2. Acrylic Paint (Black, Gold, Dark Red used in project)
  3. Printer and Paper (To print out photo for decoration)
  4. Gorilla Wood Glue(To mount shutters to dollhouse)


*As an Amazon Associate I earn from qualifying purchases


Monday, January 7, 2019

Making "Brick Steps" for a dollhouse


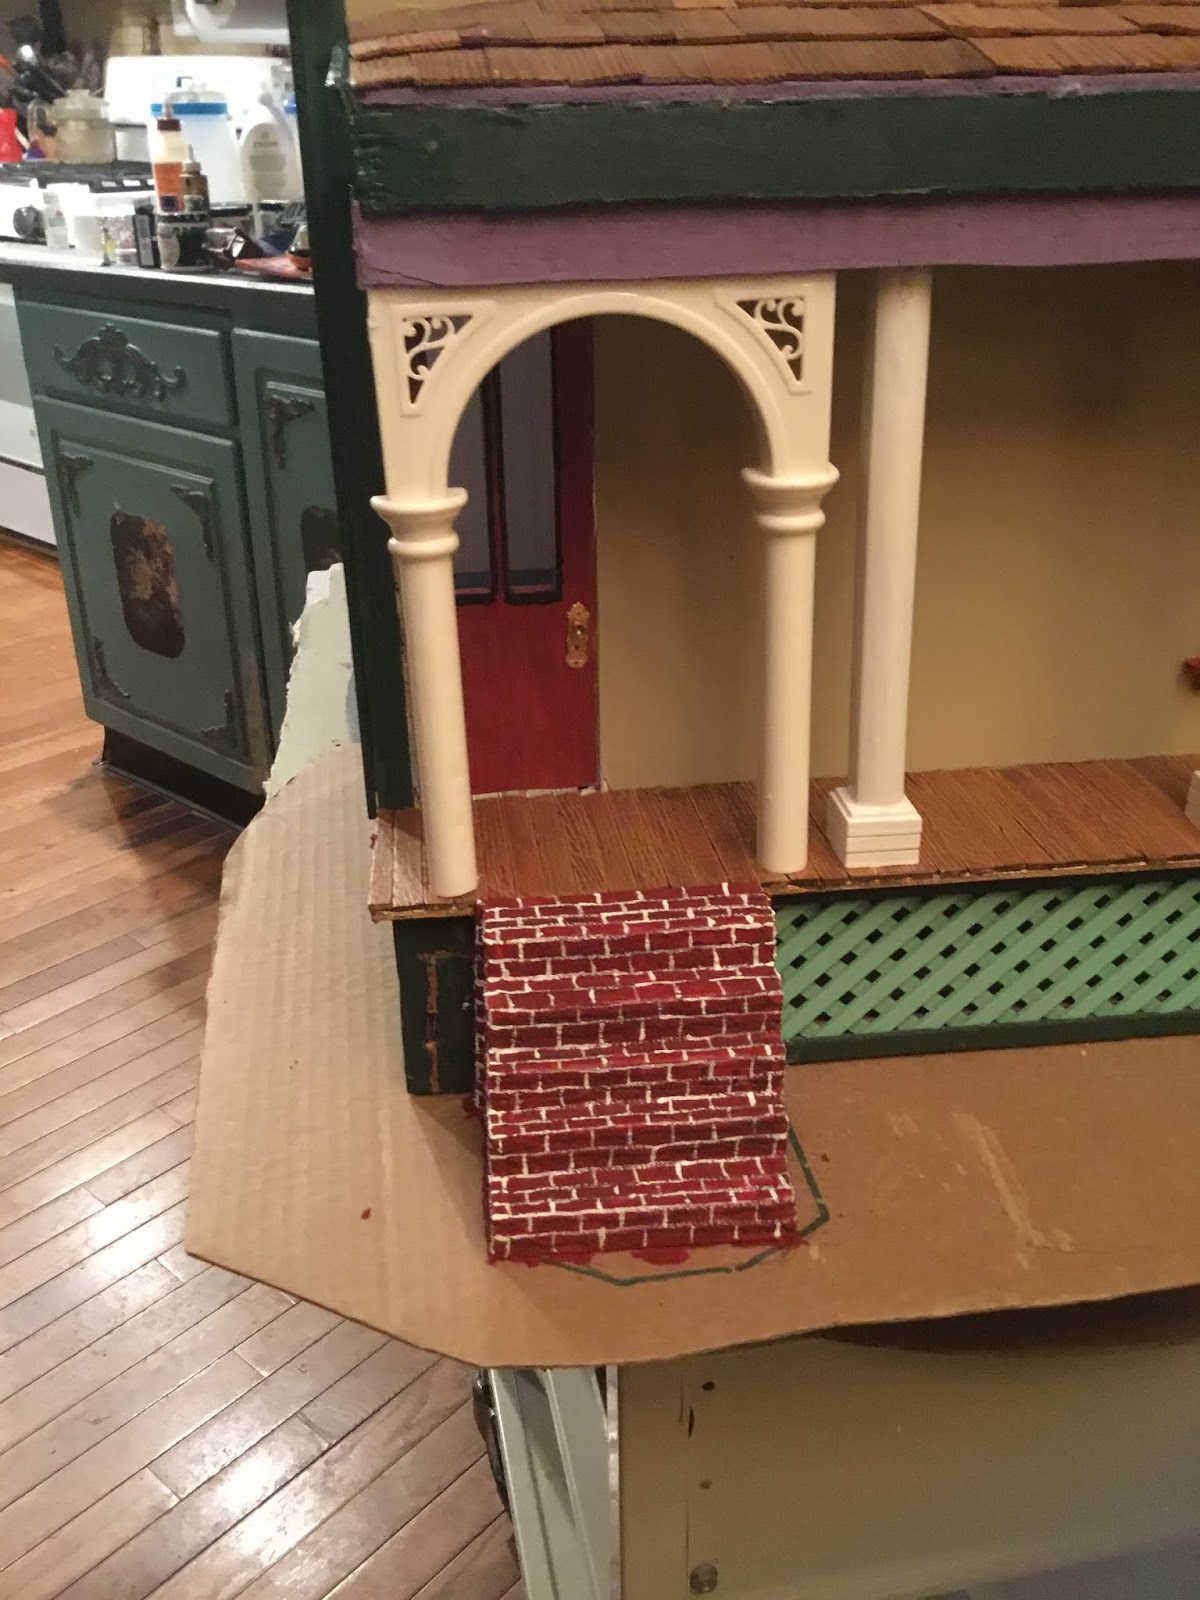
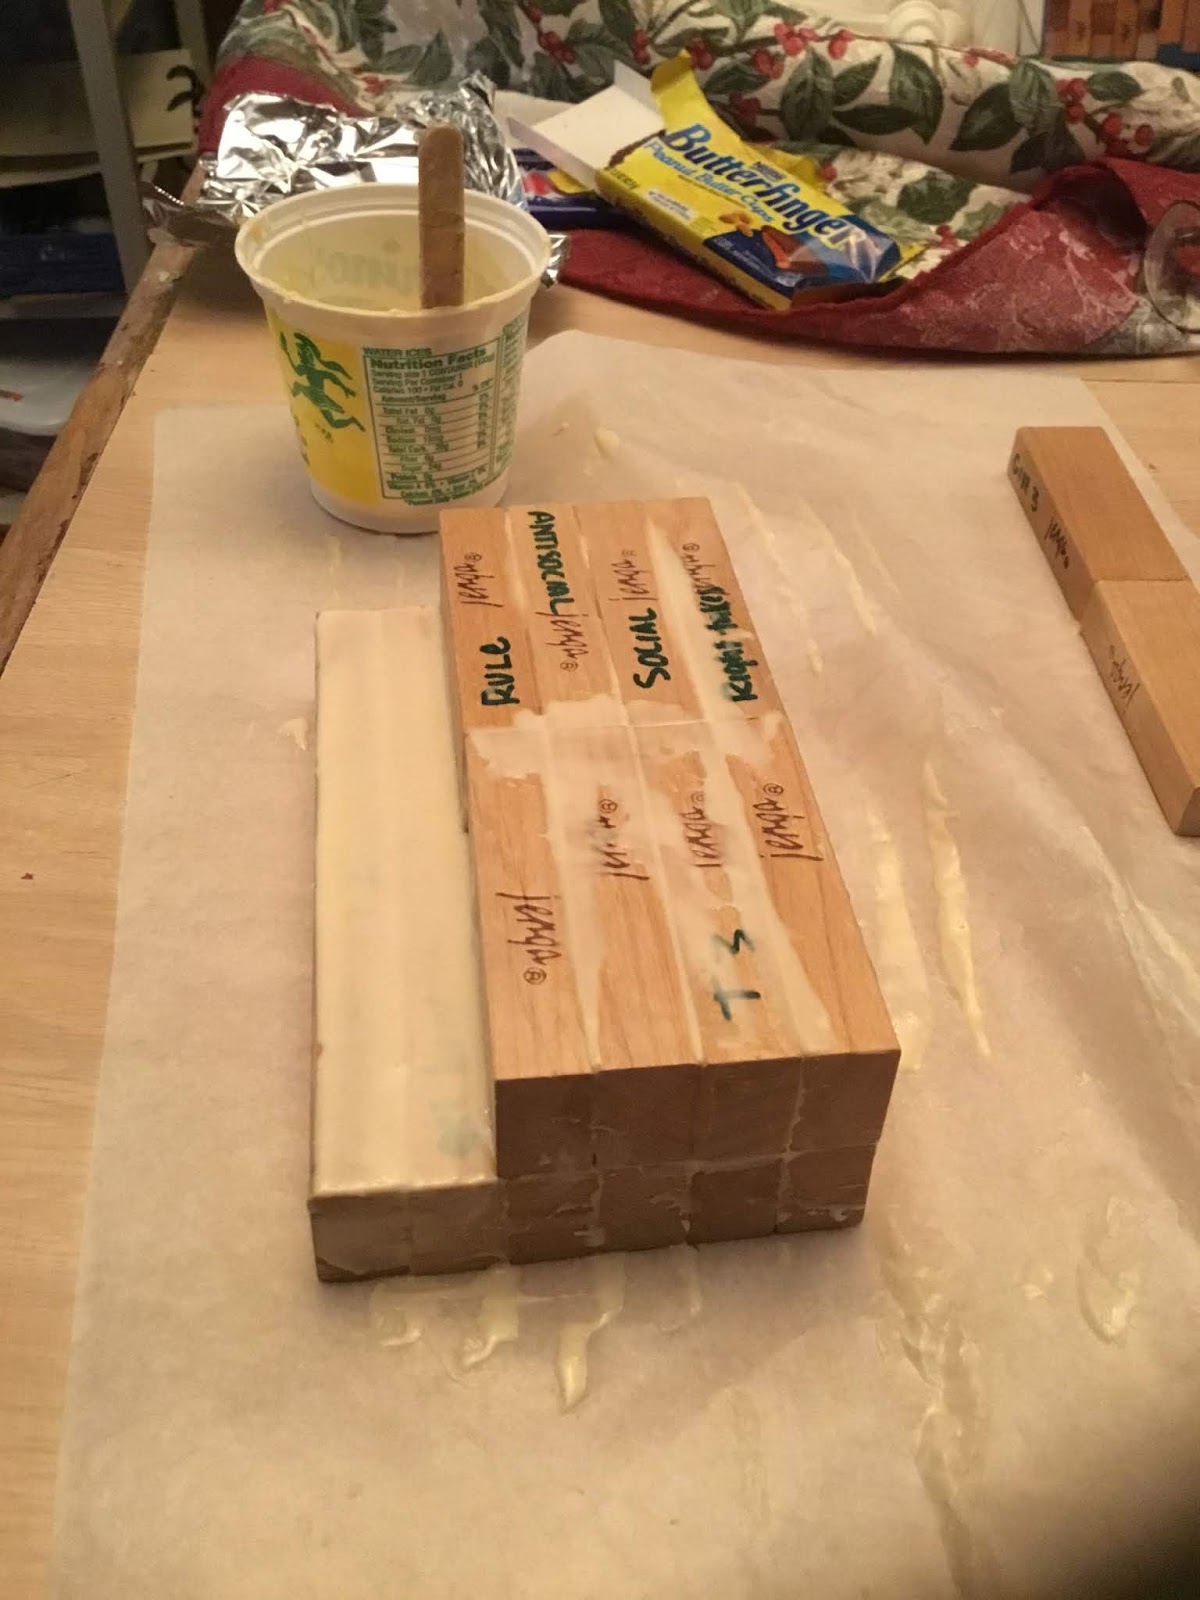
Today, I'm going to show you how to make "Brick Steps" for a dollhouse. In this picture you can see the Jenga blocks that I glued together to make the steps. You can usually find the game at yard sales, flea markets, ect.. I used wood glue mixed with flour to glue the blocks together. It makes for a quick dry and turns rock hard.


This is Jenga, I’m sure you know the game. I had gotten this one at a garage sale before the winter months arrived (it was missing pieces).
This is the wood glue I used and mixed with flour. Gorilla Wood Glue is very good for projects like this. Given you add flour, it'll make drying times much quicker.


 In this photo you can see the front of the steps. I had scribbled out some profanity that was on the jenga block I used.
 In this picture you can see one of the sides of the steps.  I cut pieces of wood to cover both sides of the steps and fit another piece between the steps and the trellis. Glued them on like you see in the picture.
 This is the other side of the steps.
 I then painted the steps with red acrylic paint mixed with crafting sand you see at craft shows that the kids put into plastic containers. This gives it a texture almost similar to brick when it dries.
 Here is the side of the steps after being painted.
 Here I draw lines with a pencil long ways to have lines for the bricks. I then take white paint and follow the lines and then paint the lines to make bricks as you can see in the photos. However, if you can't freehand; you can buy miniature brick stencils. They can be helpful getting just the right look without the hassle of freehanding it. 
 Another view.


Here is the other side.


Materials List:

  1. Jenga Blocks
  2. Gorilla Wood Glue
  3. Flour
  4. Red Acrylic Paint (Apple Barrel Recommended)
  5. Crafting Sand
  6. (Optional) Miniature Brick Stencil


* As an Amazon Associate I earn from qualifying purchases.


Sunday, January 6, 2019

Making "Stone and Concrete" steps for a dollhouse


 For those of you that don’t know what Jenga wood blocks are, this is the game Jenga. The pieces for the game is what we will be making the steps out of. You can usually find these games at yard sales; mostly missing pieces but still worth a buy.
We will be using this glue to glue all the pieces together.  This is Gorilla Glue I mix flour with this glue. It makes the glue dry faster and when it’s dry, it is harder than a rock.  I also use this technique in making concrete foundation walls for my dollhouses and for filling cracks.  The more flour the thicker the glue.


This cup has the wood glue mixed with flour.  I then start gluing the Jenga blocks together.


After gluing them together I put a thin layer of the glue all over the steps. I also glue on a piece of paper towel to the top of the steps to give it the look of concrete when it dries. The paper towels are double ply so I separate it into 2 single ply sheets.


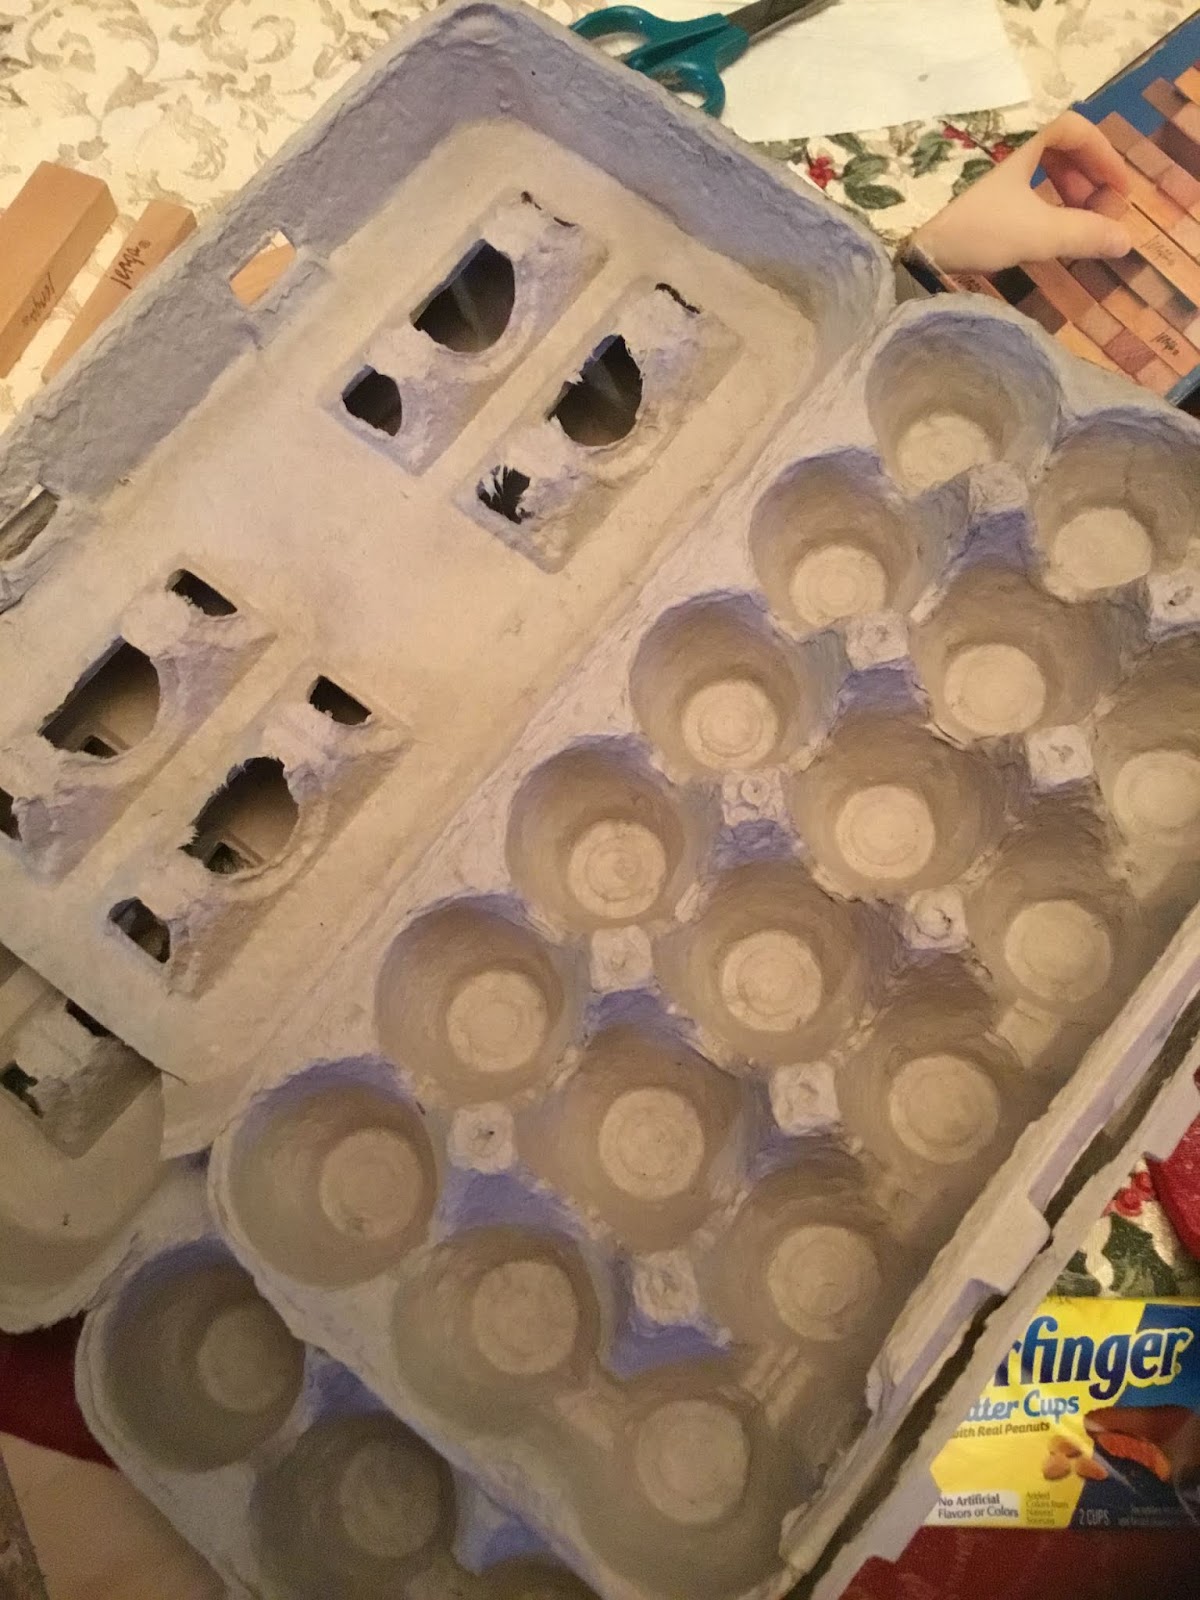
I will be using this egg carton for making the stones for on the outer parts of the steps. I just used the cartons that were saved from the last time I bought eggs. However I found a great deal on amazon. 30 count egg trays (18 trays) for less than $17.


In this picture you can see one of the sides of the steps. I used the egg carton for stones. Again, a thin layer of the glue mixture holds them right in place. You can also see the paper towel on the top of the steps.


This is a front view of the steps.


This is the other side of the steps.

And.. Another view.


The way I painted them was... First I painted the whole thing with a light gray color paint. Then I mixed some black with gray, which is in a plastic cup and stirred with a popsicle stick to get a darker grey; which I dabbed on all the rocks which were made from the egg carton.  Don’t put to much on them.  Then I darkened the color again by adding more black paint and stirring it again.  Dab on this darker color in different areas on the rocks, and one more time add some more black and dab on.  Now take a q tip and blend the colors on the rocks by dabbing not rubbing. I then take a thin paint brush, take white paint and with a little paint on the brush I put a thin line of white paint around each rock to highlight it.  The tops of the steps since they already have one coat of the gray paint. I also do the same method with the addition of black paint added to the gray. Each time dabbing on the different shades.  I paint the rocks and the tops of the steps the same way.  Then at the end I take white paint and just highlight the edges of the steps and sides.

If you don't already have acrylic paint, I highly recommend the Appel Barrel brand. They have a huge selection of different types of paints, weather it be metallic, gloss, matte, neon, and I've even seen fluorescent. 


Here is another view of the steps


And another view.  We all have imagination inside of us. It’s the child in us that wants to use it.  Go for it!

Materials List:
  1. Janga Blocks
  2. Disposable paint cups
  3. (Recommended) Parchment Paper

*As an Amazon Associate I earn on qualifying purchases.