Ad sense auto

Google analytics

Showing posts with label Red. Show all posts

Wednesday, February 27, 2019

How to make miniature records

First you will need some plastic, I will cut it to the size I need.  I like the plastic that you get pastry items in at ShopRite. The plastic can be seen in the photo.


I then use a poker chip to make circles for the records out of the plastic.  The picture shows a poker chip that I made perfume bottles on it.  I used it just to make the circles so I didn’t have to go to my craft room.


I am showing you the tool I used to make scratch marks on the records.  You can use anything that you can make scratch marks with.


Next you will see the plastic circle with the scratch marks I made on it.


I then painted it black, and after it dried I painted a circle in the middle with red paint.  Then you add a small black circle in the middle for where the record gets put onto the record player.


I used these records for on a wall in a music room I made in a dollhouse, it can be seen in this photo.


Just use your imagination and it will soar!

Wednesday, February 20, 2019

How to make fake bricks on dollhouse chimney


Here is the fireplace chimney I’m going to make into fake brick.


 The first thing I did was paint whites lines on the chimney making the lines as wide as I want my bricks to be.


The next thing is to draw lines going up and down for the length of the bricks.  Make sure you stagger the lines from one line to the next as you can see in the photo.


You do this all the way down the chimney and this is what it will look like. 


This is another view of the chimney.  You can use this technique for different items.  Use your imagination and it will soar!


Tuesday, January 15, 2019

Making a horse shutter for a dollhouse


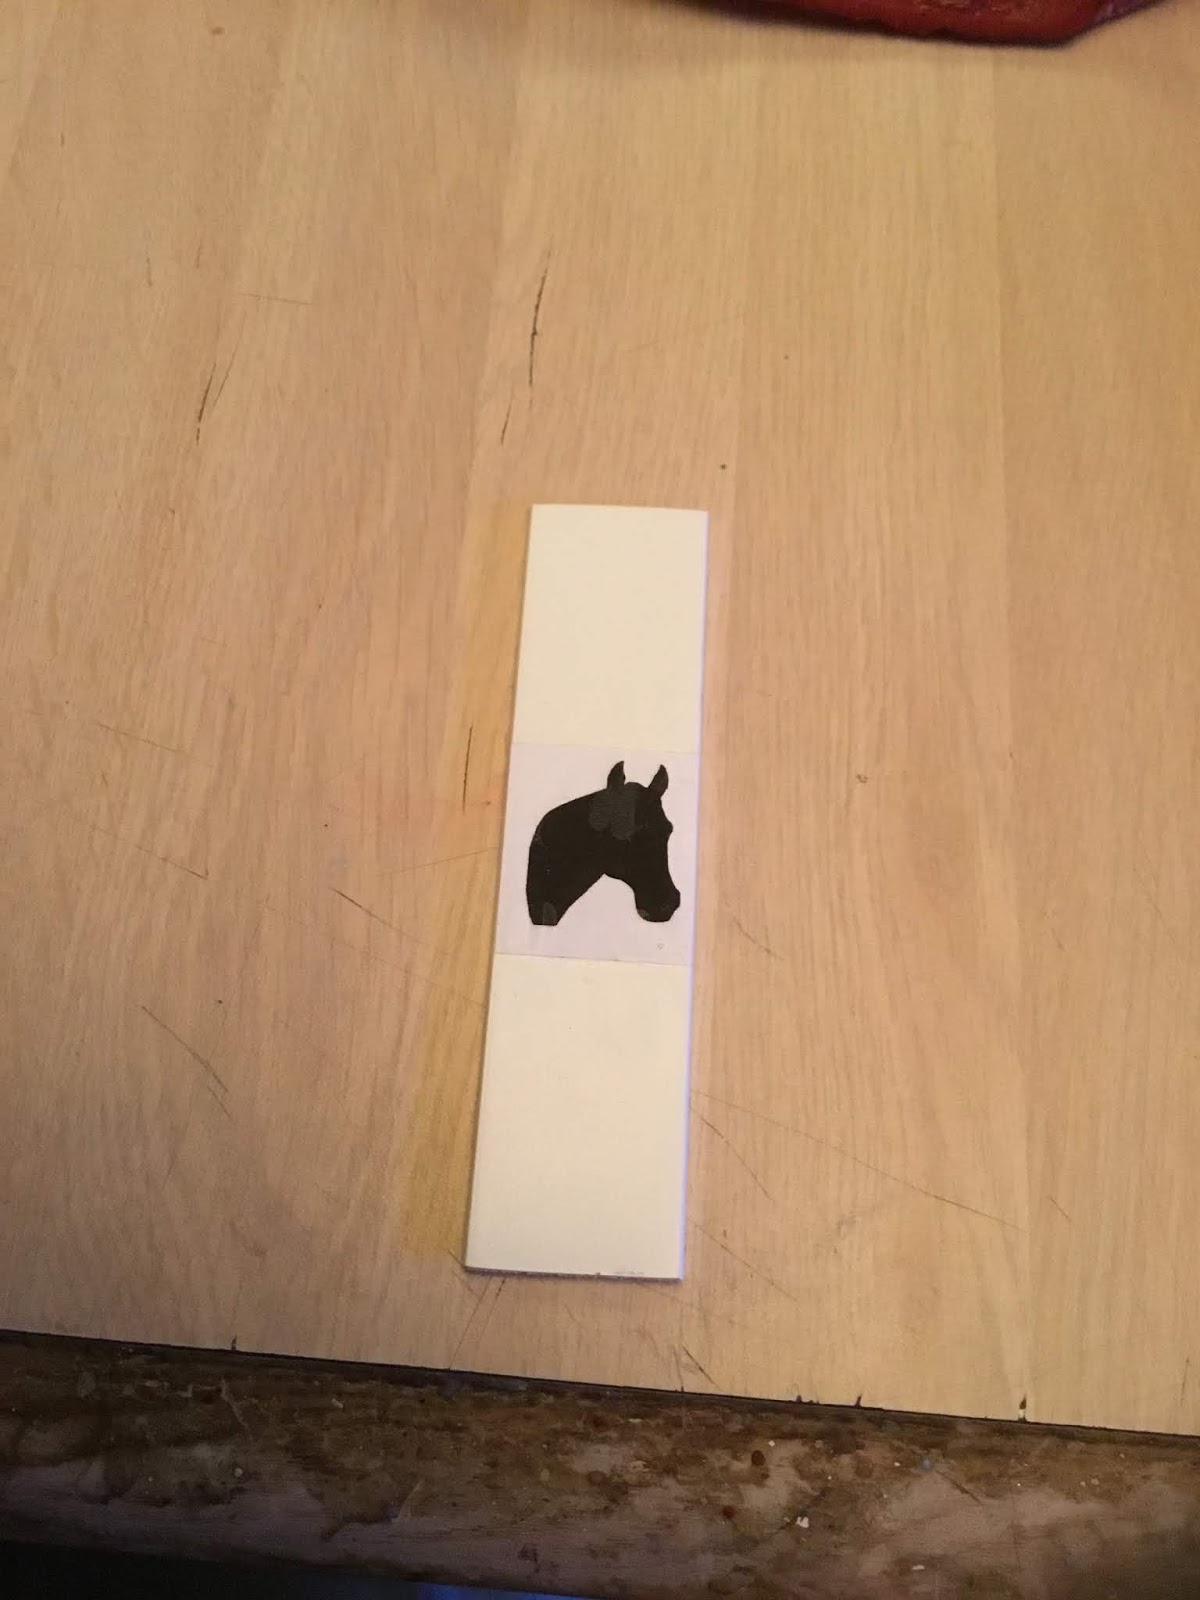
Today, I'm going to be showing you how to make horse shutters for a dollhouse. In this picture you can see the white piece of scrap wood I'll be using.  I’m going to tell you where you can get them.  The white piece of wood is from a white wooden window shutter.  I like using wooden shutters they make great pieces for dollhouses.  Once I cut them down to the length that I needed for the shutters I went online and printed out pictures from google images. Here you can see the horse head shadow. Then I applied mod podge to the photo on the shutter as you can see in the picture. Don't forget to let the mod podge dry before decorating!


 In this picture you can see how I took black paint and started painting some designs on the shutter.  In the next picture you can see I also added some dark red, gold and more black to the shutters.


 Here you can see the other painting on did on the shutters.  I also thought the horse needed some type of necklace. In the next picture you will see how they look when they are installed on a dollhouse.
You can add any picture to a shutter and make it different and one of a kind.  Use your imagination and it will soar!


 Materials List:
  1. Scrap wood (Can use slats from old wooden shutters)
  2. Acrylic Paint (Black, Gold, Dark Red used in project)
  3. Printer and Paper (To print out photo for decoration)
  4. Gorilla Wood Glue(To mount shutters to dollhouse)


*As an Amazon Associate I earn from qualifying purchases


Monday, January 7, 2019

Making "Brick Steps" for a dollhouse


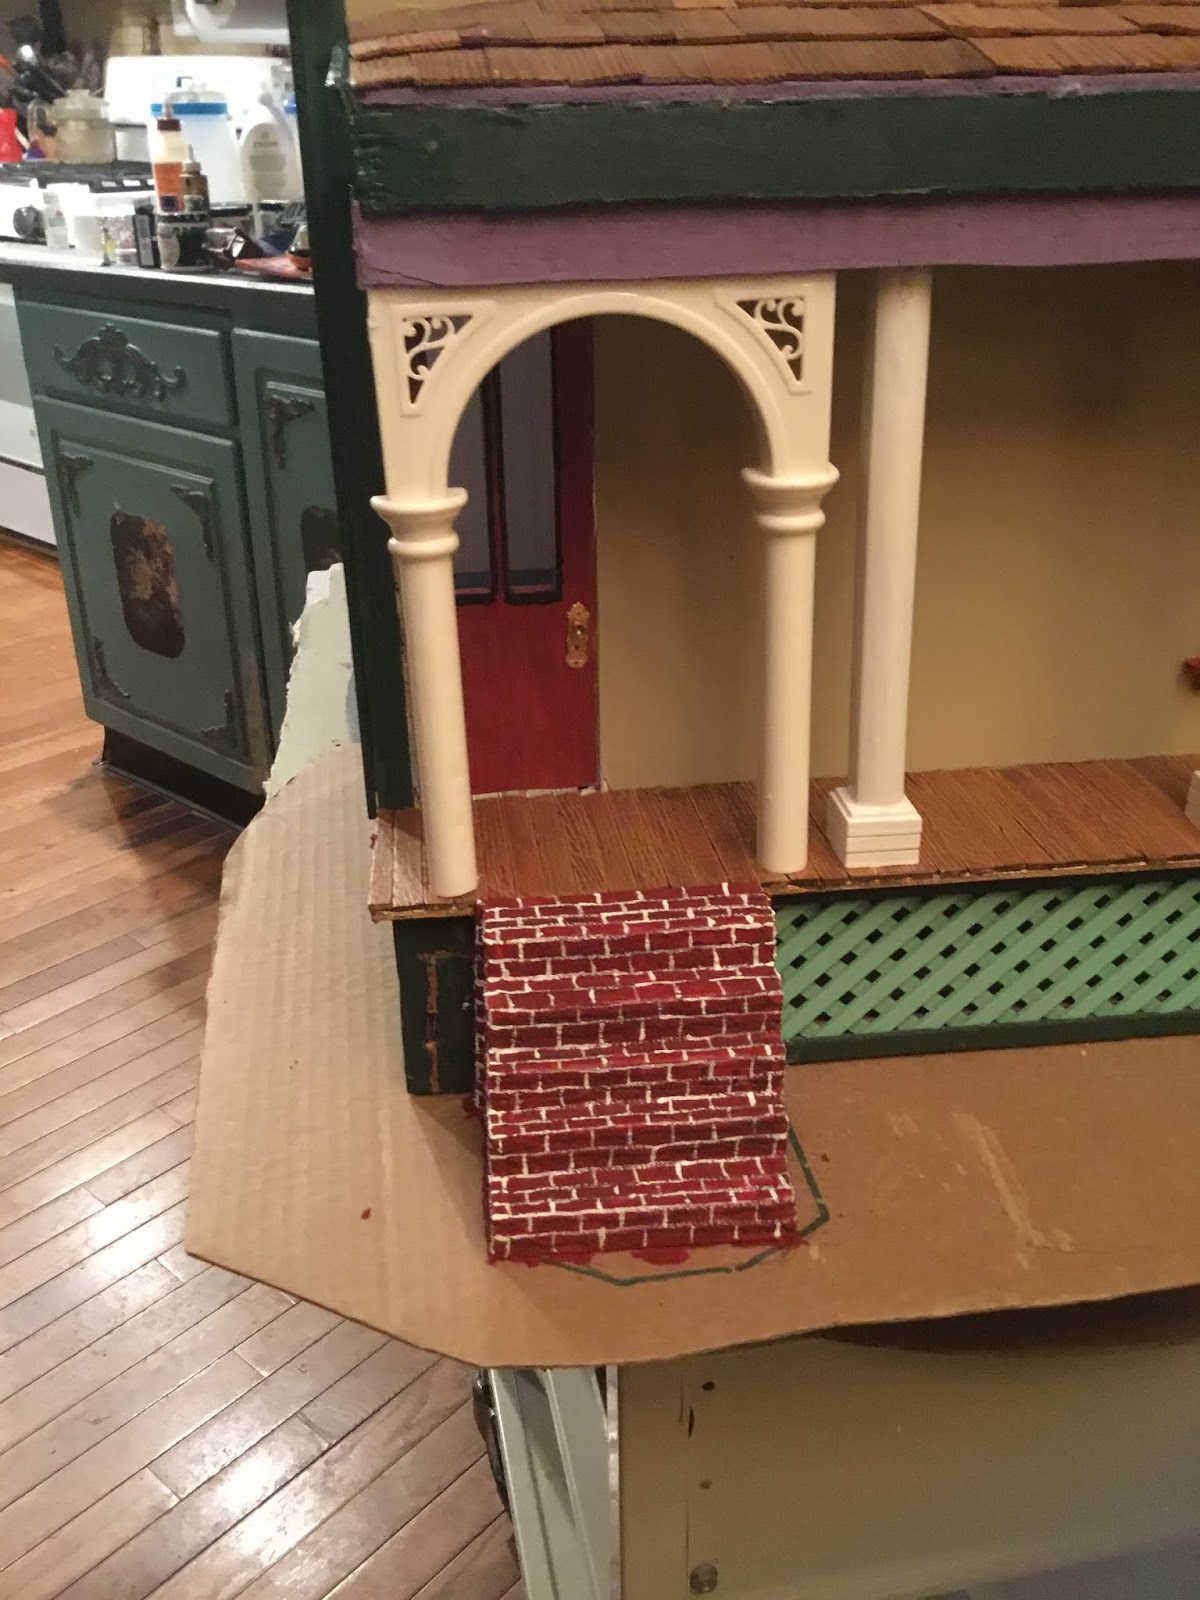
Today, I'm going to show you how to make "Brick Steps" for a dollhouse. In this picture you can see the Jenga blocks that I glued together to make the steps. You can usually find the game at yard sales, flea markets, ect.. I used wood glue mixed with flour to glue the blocks together. It makes for a quick dry and turns rock hard.


This is Jenga, I’m sure you know the game. I had gotten this one at a garage sale before the winter months arrived (it was missing pieces).
This is the wood glue I used and mixed with flour. Gorilla Wood Glue is very good for projects like this. Given you add flour, it'll make drying times much quicker.


 In this photo you can see the front of the steps. I had scribbled out some profanity that was on the jenga block I used.
 In this picture you can see one of the sides of the steps.  I cut pieces of wood to cover both sides of the steps and fit another piece between the steps and the trellis. Glued them on like you see in the picture.
 This is the other side of the steps.
 I then painted the steps with red acrylic paint mixed with crafting sand you see at craft shows that the kids put into plastic containers. This gives it a texture almost similar to brick when it dries.
 Here is the side of the steps after being painted.
 Here I draw lines with a pencil long ways to have lines for the bricks. I then take white paint and follow the lines and then paint the lines to make bricks as you can see in the photos. However, if you can't freehand; you can buy miniature brick stencils. They can be helpful getting just the right look without the hassle of freehanding it. 
 Another view.


Here is the other side.


Materials List:

  1. Jenga Blocks
  2. Gorilla Wood Glue
  3. Flour
  4. Red Acrylic Paint (Apple Barrel Recommended)
  5. Crafting Sand
  6. (Optional) Miniature Brick Stencil


* As an Amazon Associate I earn from qualifying purchases.


Wednesday, June 12, 2013

Wedding Solar Lamp

Here's another new project.  As you can see in the picture this is an old outside fixture with rounded glass inserts.  This is one of the fixtures I will be using.


Here is the other item I will be using, an old brass lamp.


After I took apart the old brass lamp these are the parts that I have to work with.  I took out all the electric from the lamp.


This is the long bar which you find inside of lamps when you take them apart, it holds the parts of the lamp together.  These are the bars I reuse to put different parts together, they have threads on both ends with bolts.


As you can see in the picture I've added a couple of new items which I will be using.  A globe from a light fixture, two pieces located in the front from other light fixtures that I kept from past projects.  Also you will see on the end the old light fixture without the glass, which I took out to clean up.  The brass lamp was put together a little differently with the bar, to the way I wanted it and bolted into place on both ends.


These are the two pieces from other fixtures that I am using with this project.


After hot gluing them both together this is what they look like installed on top of the lamp.


Here is another view of what they look like on top of the lamp.


I've been waiting along time to use this decorative piece for one of my projects.  As you can seen it is an egg with a bride and groom on the inside which is decorated beautifully.  I love this piece.


As you can see I hot glued this item on top of the two pieces that I already installed on top of the lamp.  It makes a great looking stand.


I then put the glass pieces back into the old light fixture and put it on top of the lamp, you would think they both were together to start with they matched up perfectly!  I also added some fake white beads.  The bride and groom are now inside a glass in dome.


This is what the project looked like at the end.  I installed the other light fixture on top of the glass dome with hot glue, I love hot glue.  I also added some fake white beads as you can see in the photo.  I topped it off with a top off a solar light, at night it lights up the glass fixture.  Just remember you need to let the solar light get the rays from the sunlight so it can light at night.   This piece would be great for someone that just got married, or if your having a bridal shower and need a center piece for the bride and grooms table.  Or even an anniversary that you just don't know what to give them.  I hope you enjoyed this one!!


Saturday, June 8, 2013

 
This is what the finished project looks like.
The fixture itself is great for indoor use as a night light, or a decorative piece. Also looks Victorian for any of you that love the style, like I do.
 
Supplies:
  1. Solar light
  2. Lamp bottom
  3. Decorative piece off of another lamp
  4. Another piece off of a hanging light fixture
  5. Steel Nipples (1/8th thread, 6" Length)
  6. Steel Hex Nuts from Westinghouse (Insert funny joke here)


When all of these pieces come together, it should create the finished project that you saw in the first picture. However you can mix and match light fixture pieces to create your own design.


Once all of the light fixture pieces are put together this is what they look like. The different lamp pieces were spray painted prior to the project.


This is the light globe that was selected for this project, and again the top of the solar light was spray painted prior. (NOTE: DO NOT PAINT THE SOLAR PANEL ON THE TOP)


As you can see, I had put a piece of cardboard over the solar panel on the top of the unit to prevent it from getting painted so it can function properly.

 
This is what the lamp looks light once the pieces are put together. Obviously without the solar light which is what you can see is on the bottom left of the picture.

 
This is the top of the solar lamp. Also fake pearls were hot glued to create a more of a Victorian feel to the project, and to make it look more unique.

 
Pearls were also added to the bottom of the second piece of the solar light lamp.

 
In the end, you should end up with something that looks both good for inside the home and outside. As per usual the solar panel needs to be exposed to sunlight during the day so it can work sufficiently.
ENJOY!