Ad sense auto

Google analytics

Showing posts with label Victorian. Show all posts

Thursday, February 21, 2019

How to make beautiful shutters for a dollhouse from a magazine


This is the magazine that I found a beautiful stained glass hanging piece.  You can get this catalog for free, you can go on their site and sign up for one, here. The request catalog option is on the bottom right of their page.


This is the item I found and made copies of from the magazine.


Next, I took thin pieces of wood and cut out pieces the same size as the pictures.  Then I used mod podge to glue the pictures onto the wood pieces.


This is the mod podge I used as well as the thin pieces of wood. You can also use cardboard if you don’t have some thin wood lying around.


This is what they look like once they are glued down onto the wood. I also put on a layer of mod podge over the picture to protect it.


You can see in this picture how beautiful these shutters look on both sides of the windows.  These pictures were out of the magazine.  There are many things in this magazine and other magazines that you can make copies of the pictures and use the pictures for making framed pictures for in a dollhouse, shutters etc.  use your imagination and it will soar!


Monday, January 21, 2019

Making a glass coffee table for dollhouse


In the craft stores they sell little wooden boxes, this used to be one.  I took the screws out of it and I am using the top piece for the table. Keep the screws in a little medicine bottle just in case you ever need them, the bottom of the box should be put away to use for another project.


You will need to cut a piece of wood the size of the bottom of the top piece.  If you don’t have wood use a thick piece of cardboard.


Now choose a piece of wide ribbon or material that you will be using to cover over the one side of the cardboard piece.


In this picture you will see that I glued this ribbon material over one side of the wood piece.


I chose this cameo for on this red ribbon which I glued down into place.  You can put whatever you want in it, small photos of the family, a small necklace made out of small beads the list goes on and on.  This will be one of those tables you can see items in.  You can even glue down small shells, use your imagination!


Next glue the top onto the red velvet piece that has items glued down to it.


I am showing the side of the box where the screws were removed, we will be taking care of that in a moment.


I took brown paint using my finger, painted the top and sides. When you do this it looks like you stained it.


In this picture you can see how I glue things I first put on some glue in different spots, then I used hot glue gun in the spots that the tacky glue is not.  This way the hot glue holds the piece while the glue is drying. In the picture to the right, you can see ribbon that I will be gluing on the bottom edge to hide the screw area.  I glue this all around the bottom as you will see in the next photo.


In this picture you will see the ribbon.


For the legs of this table I chose these pieces of wood I had laying around.  I cut the pieces down so I have flat bottoms using the item I have in the next photo.  I then paint them brown the same way I did the coffee table top.


This is the tool I always use,  easy!


I then glued the legs on after I cut them down.


This is what the top looks like right now before painting some gold detailing.


This picture you can see gold detailing which I use craft smart brand, the color is metallic Gold.


Another view of this table.  Make the inside of this table personalized to fit into a vacation scene, special day etc.  use your imagination and it will soar!


Tuesday, January 1, 2019

Making a one piece oven, dishwasher and sink area for a dollhouse

For this piece I started with a rectangle shape piece of wood. The sink was a piece I had lying around off of something, you could also use a plastic container that you get from McDonald’s that holds barbecue sauce.  The picture on the back is a piece of a placemat that had cork on the back of it.  I glued this piece to the back to make it decorative. I then decided where to put lines of thin pieces of wood for the stove, dishwasher, cabinets and the sink areas.  I also added a piece across the back area.  I also cut a square piece of wood for the stove top so I have something to put the burners on.
In this picture you can see the back of the decorative piece, and also I cut a piece of cardboard to cover the back of the wood before adding the cork backed piece.


You can see in this picture you can see where I decided to put the dividing lines.
In this picture in the square for the front of the oven I put in a piece of screen to make it look like the front of the oven. I also added a piece of silver colored cardboard in back of the screen and also in the front of the dishwasher. I painted different areas black at this point.
In this picture you can see a miniature clothes pin and a piece off a necklace.  I am going to be using one piece of the clothes pin for the faucet and two beads off the necklace for the water handles for the sink.
These are the pieces I am using.
In this picture I painted the sink copper I added the beads and the piece from the clothes pin which I painted copper. The oven burners are made from snaps that you use for clothes and they were also used for the cabinet handles..  you can see where I also painted different areas copper to divide the areas.  The countertops were made from free samples that you can get in the kitchen cabinet area in Home Depot, they have many styles of countertop samples.
In this picture you can see I used another one of the snaps for the drain.
Here is the sample piece, I used a piece off of it, it cuts with scissors.


Monday, December 31, 2018

Making an old looking bed for a dollhouse from coasters

In this picture you can see the two coasters I cut down to make a headboard and footboard.  I also used wood from a closet door which are the slats of wood that always fall out.  You know which doors I’m talking about they never stay together, if you see them on the garbage take them home those slats of wood are great for making items.  I made the two frame slats for the sides of the bed and also cut two pieces to glue on the side slats that the mattress is going to sit on.

If you have magazines you can find beautiful pictures to mod podge on the wood, I used this magazine for pictures. They have beautiful items.


Here’s the pictures I found for the bed the two angels for the headboard and a sleeping angel for the footboard. I also spotted a powder room sign that I’m going to use to make a plaque for the little bathroom in the dollhouse.  I’ll post that also when I do it.
In this picture you can see I glued on the side rails, I made sure to measure the length using one of the small dolls.

This is the glue I used, I mix flour with wood glue to make a great glue.  Once this dries it’s as hard as a rock, it’s also good for filling cracks and also fixing outdoor statues, who knew right?
In this picture I glued on the little long pieces of slats onto the larger ones to hold up the mattress.  These clamps I buy at a flea market they are cheap and great for small projects.
In this picture you can see I mod podged on the pictures.


Once I mod podged them on I brush the whole area over the picture and the wood with mod podge to seal it.  Then I take watered down brown paint and use my finger to put a little over the area to give it an aged look I also put some watered down black paint on just the wood not over the pictures.  I use my finger to take some off too.

You can see I also use folk art #577 metallic Sahara gold paint to make some detailing on it.  Older furniture always has some gold detailing on it.


Another picture that you can see the detailing.
These are the paints I used.
I love making my own mattresses.  I use a piece of cardboard cut down to the size I need to fit the inside but I cut it a little smaller once you add the stuffing on top and than the material it takes up space.  First the cardboard then on top of that I hot glue down a piece of the material that is used to make square pillows, this material is thick so I pull it apart in the middle to make two pieces of it and use one piece.  Then I use a mattress cover material to wrap around the top around to the underside hot gluing it down as I put it on.  Then it gets glued down onto the two boards on the inside wall of the frame.  Make sure you check the fit of it before gluing it down.  Remember to cut the cardboard smaller in the beginning or you will find it’s to big to fit on the inside once your done.

These are the supplies that I used to create this project.
As an Amazon Associate I earn from qualifying purchases 


Monday, March 19, 2018

Making an antique looking bathtub for your dollhouse


This is the bathtub I am going to show you how to make.


You will need Popsicle sticks for the siding on the sides of the tub.


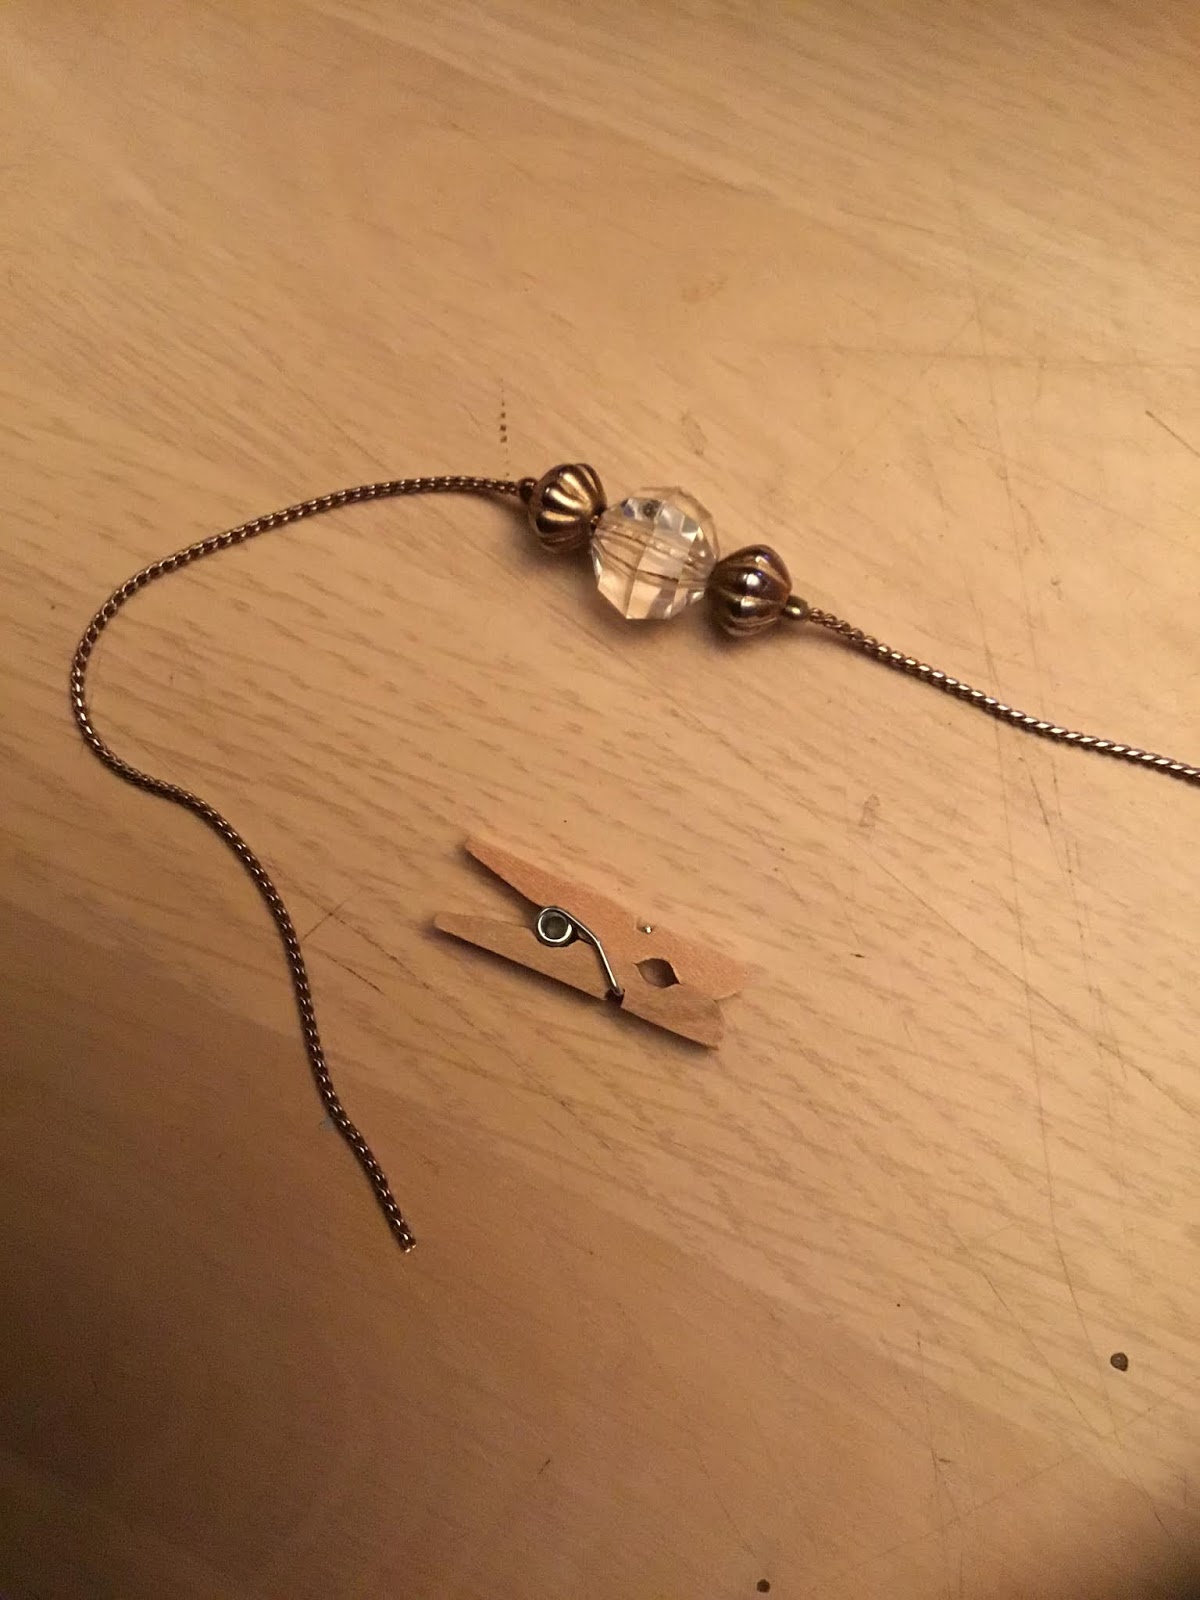
You will also need some cheap earrings for the decorative pieces.  I buy earrings from the flea market for $1.00  you can get a lot of beautiful pieces if you take the earrings apart.  You will need the backing pieces off the back of the earrings for the faucet handles.


You need to cut out four pieces of strip wood to make the sides of the tub.  I just use what ever strips of wood I have laying around.  The large paint sticks you get free at the paint store for mixing paint would work for this also.  The length of the pieces you will need are two  4 inch long pieces and two  1 7/8 inch pieces. It all depends on the size tub you want to make.


You will need a piece of thin wood to make a bottom of the tub.  Once the tub pieces are put together then you will be able to cut a piece of this wood for the bottom.


The first thing you need to do is hot glue one of the short pieces on one of the long pieces.  Make sure the short one is hot glued to the inside of the other piece.


Then you hot glue on another one of the long pieces on.


You then hot glue the last piece on.


This is a piece of the thin wood that I cut to the size of the bottom of the tub.


I hot glued the thin piece to the bottom.


This is another view of the bathtub.


Now it's time to cut the Popsicle sticks for the sides of the tub.  You can see in the photo the first stick.


This is one side with the Popsicle sticks done.


Here is another side done.


I did three sides with the sticks, not all four sides.  I wanted it to sit flush against the wall.


I then put Popsicle sticks around the top ledge to have a hangover on the tub.


Here's what it looks like with all three sides done.


I then painted it all with dark brown paint.  After it dried I used sandpaper and made it look old.


This is another view.  In the picture you can see the earrings that I took the posts off of.  I also took the cameo out of an earring.  And the backing that hold the earrings on your ears.


In the photo you can see I hot glued the three pieces off the earrings on the front and I used the two backing for the water faucet handles.  You can use your imagination for a faucet.


I wanted to show you what I use for cutting the popsiclesticks and other wood strips.


If you do dollhouse things this is a must to have.


You can even cut angles with it.