Ad sense auto

Google analytics

Showing posts with label Sink. Show all posts

Sunday, January 20, 2019

Continued kitchen stove, dishwasher and sink for dollhouse


This is what I started with, it’s a piece from a trophy.  If you see trophies for free there are a lot of parts you could use to make things. I’m going to make a kitchen stove, dishwasher and sink for a dollhouse.


This is what this piece looks like from this angle.  Now to start adding the black foam board...


I added foam board to the sides, top and lastly the front.  You don’t need to add any to the underside or the back if you are going to glue it against a wall in a dollhouse.


Next I used these thin wooden stirrer type sticks.


This is where you decide where to place the stirrers to form the stove, dishwasher and sink area.  You can see where I glued down sticks to divide up the areas.


This is what the sides look like. I've found that by adding these stirrers, it gives it depth. Rather than just painting them. 


This is the studded belt that I used to make "tiles" on the countertop over top of the dishwasher. I glued them down with a hot glue gun and tacky glue.


Here’s what it looks like with the tiles glued down.


I cut this piece of black foam board which I bought from the dollar store for the sink. My post before this one shows you how to make the sink.


In this picture you can see the sink, dishwasher and the stove.  I downloaded pictures off the internet for these areas, I mod podged the pictures on so it looks like they are really there. In the area under the sink I added some pieces of a gutter guard and two wooden beads for the cabinet knobs.


Another view.


And another.


Make sure you check out the post about making the sink faucet, knobs and dish sprayer. Use your imagination and it can soar!

Saturday, January 19, 2019

Making a faucet, dish sprayer and handles for a sink for your dollhouse


 In this picture you can see the fasteners that I used to make the handles for the sink.
 This is the top of the sink that I’m going to put the faucet on, sprayer and handles.  This piece is made of black foam board. Easily found at an office supply store or craft store.
 I cut off most of the stems off the paper fasteners (Otherwise the flat bit would be too long and would punch through the other side of the foam board).  Then I took my razor knife and put two slits in the top and put a drop of hot glue in the slit and pushed in the fasteners.
 This is what you are going to need for the faucet, a small screw and a piece of wood square shaped.
 In this picture you can see that the little screw has been put into the piece of wood towards one end.

 You need to cut down the two corners of the front of the wood to round off the front of the faucet.  Also, cut a piece off the wood and glue it to the other end underneath to give the faucet height.
 In this picture you can see the faucet piece glued onto the foam board.
 Now for a dish sprayer I used headphone earpieces, which you can purchase at the dollar store.  I cut the wire off and leave just a little piece of the wire so I can glue this into a hole that I make in the foam board with a push pin.
 In this picture you can see the hole I made in the foam board and the push pin I used I wiggled it around to make the right sized hole.
 In this picture you can see the dish sprayer glued on the foam board.
I then used nail polish and painted the handles, faucet and sprayer all the same color. I also painted a ring around the sink.  The next blog I will be showing you the kitchen cabinet that this is on.  Then I will show the finishing things for the whole piece.  Check out the other entries blogs to see how to make a stove, sink base and dishwasher one piece unit.


*As an Amazon Associate I earn on qualifying purchases.

Tuesday, January 1, 2019

Making a one piece oven, dishwasher and sink area for a dollhouse

For this piece I started with a rectangle shape piece of wood. The sink was a piece I had lying around off of something, you could also use a plastic container that you get from McDonald’s that holds barbecue sauce.  The picture on the back is a piece of a placemat that had cork on the back of it.  I glued this piece to the back to make it decorative. I then decided where to put lines of thin pieces of wood for the stove, dishwasher, cabinets and the sink areas.  I also added a piece across the back area.  I also cut a square piece of wood for the stove top so I have something to put the burners on.
In this picture you can see the back of the decorative piece, and also I cut a piece of cardboard to cover the back of the wood before adding the cork backed piece.


You can see in this picture you can see where I decided to put the dividing lines.
In this picture in the square for the front of the oven I put in a piece of screen to make it look like the front of the oven. I also added a piece of silver colored cardboard in back of the screen and also in the front of the dishwasher. I painted different areas black at this point.
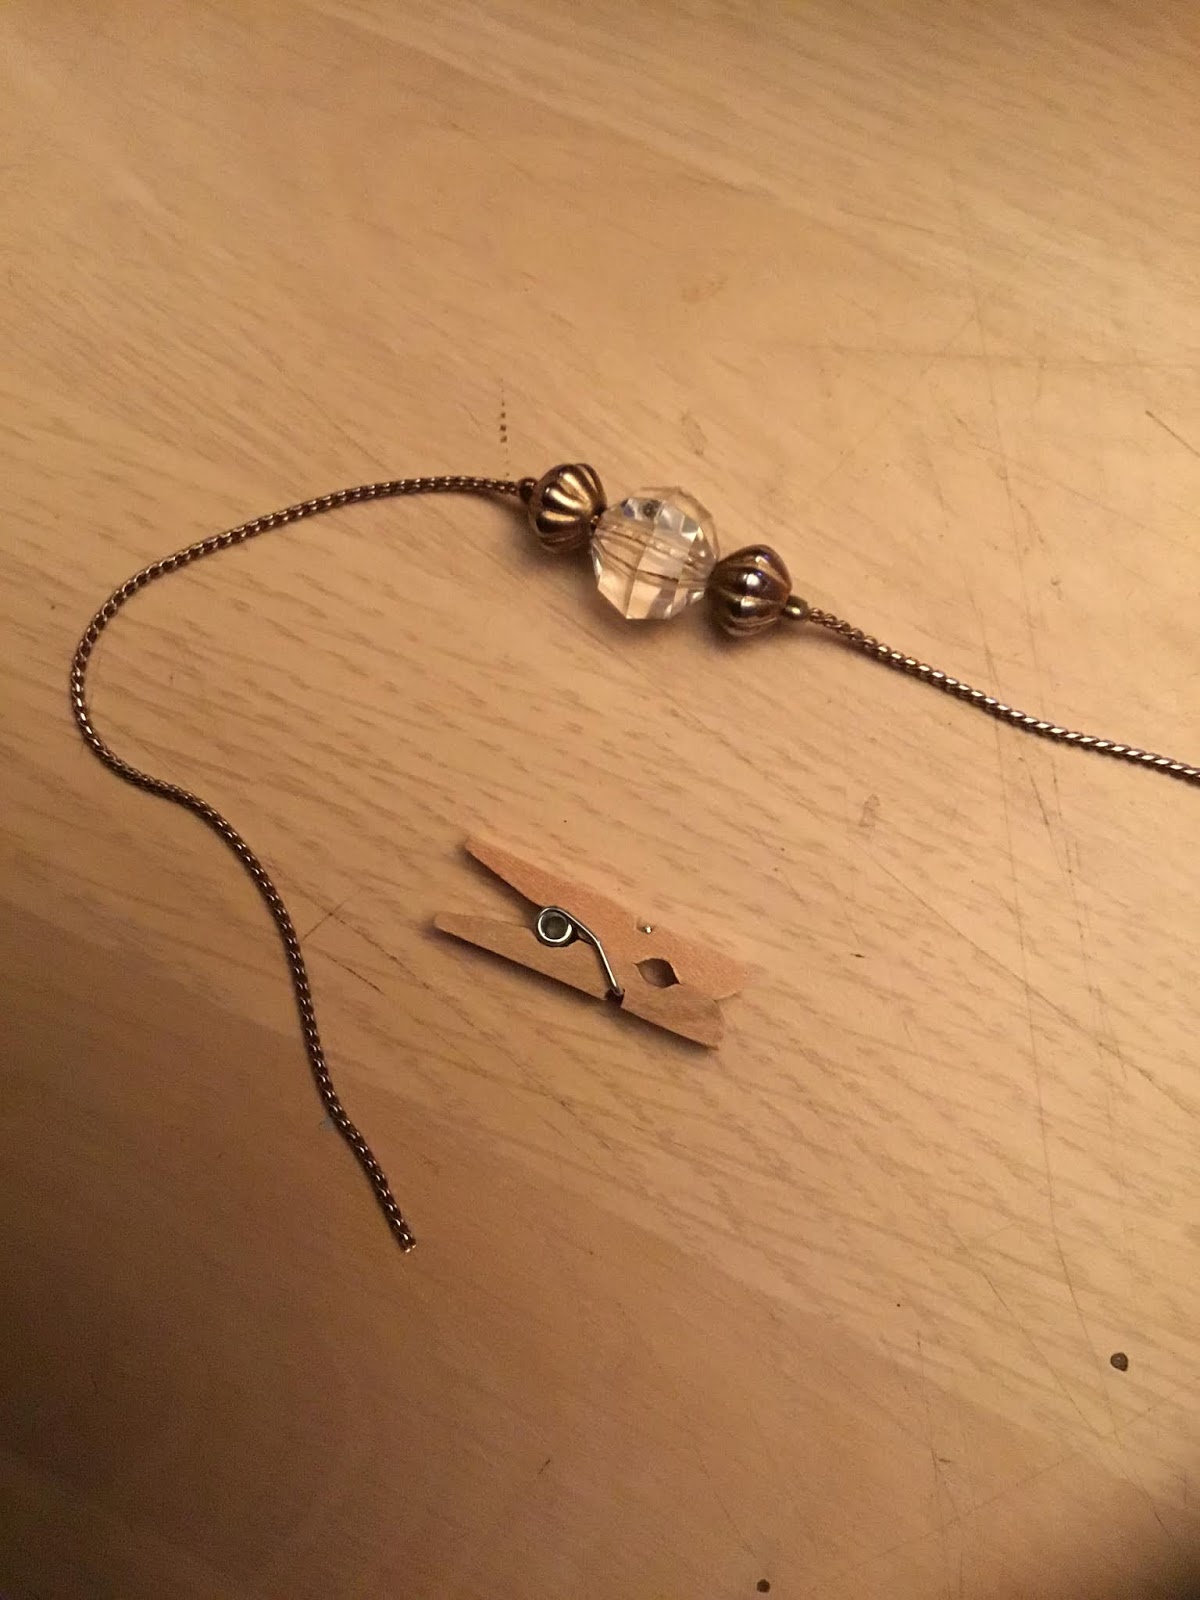
In this picture you can see a miniature clothes pin and a piece off a necklace.  I am going to be using one piece of the clothes pin for the faucet and two beads off the necklace for the water handles for the sink.
These are the pieces I am using.
In this picture I painted the sink copper I added the beads and the piece from the clothes pin which I painted copper. The oven burners are made from snaps that you use for clothes and they were also used for the cabinet handles..  you can see where I also painted different areas copper to divide the areas.  The countertops were made from free samples that you can get in the kitchen cabinet area in Home Depot, they have many styles of countertop samples.
In this picture you can see I used another one of the snaps for the drain.
Here is the sample piece, I used a piece off of it, it cuts with scissors.