Ad sense auto

Google analytics

Showing posts with label Tacky Glue. Show all posts

Thursday, April 18, 2019

Making a beautiful scene using a wooden clock shell with solar lite

This is the clock shell I will be using.  You could use any clock shell for this project.


To cover the hole in the back wall of the case you need a piece of hard cardboard, this piece I’m using I got off a cardboard placemat.


This is a picture of the circle I cut out to fit the hole in the back of the shell.


I needed to bring the inside bottom up so I used a Styrofoam material to bring it up.


The last piece of Styrofoam I cut, I glued on a piece of indoor/outdoor grass looking carpeting.


This is what it looks like on top of the Styrofoam.


For two of the items that I will be gluing down on the inside, I used a disco looking Christmas ball and the base of this cheap candle stick.


I glued the ball on top of the candlestick base.  I need to make two of these.


I will also be using this angel figurine.


Here I'm showing you the two pictures I got off the internet that I will be using.  The background picture which is a stairway to heaven and a saying I typed out, "Angels here on earth". I glued them down with tacky glue.


I painted the inside of the clock shell the same blue I painted one side of the cardboard circle I cut out from the cardboard earlier. Now I am gluing this piece into the back hole opening.


In this picture I glued in the two disco ornaments that I made earlier and the angel figurine.  I also glued in some small fake flowers.  You will also see some lace trim I glued around the opening.  The crown on the top was a piece I cut out of a playing card.


I had this very small piece of decorative trim lying around and I thought this is the perfect time to use it.


In this picture I did some detail painting using metallic gold paint from folk art collection.  I also glued on the trim and added some jewels to the bottom.


This is what the back of the clock shell looks like.  You can see the picture part of the cardboard I made so you can see it in the back, the other side has the picture of the stairway to heaven glued down onto it.  I drilled a hole in this circle for a solar light cap.  You will see what it looks like on the inside. As you can see on the clock case box it used to be a clock.  When I bought this at a garage sale it was just the case no clock was in it so I got it cheap.


Here is the solar light I’m using.  I bought it from Walmart, they sell single solar lights and it costed me 97 cents.


This is what it looked like lit up.


I used a piece I got from something I took apart, I put it around the solar light on the inside of the clock case.


Now this is what it looks like.


This is what the back looks like with the solar light.  Use your imagination and it will soar!


Wednesday, April 10, 2019

Making a solar tv for dollhouse from vintage coaster holder


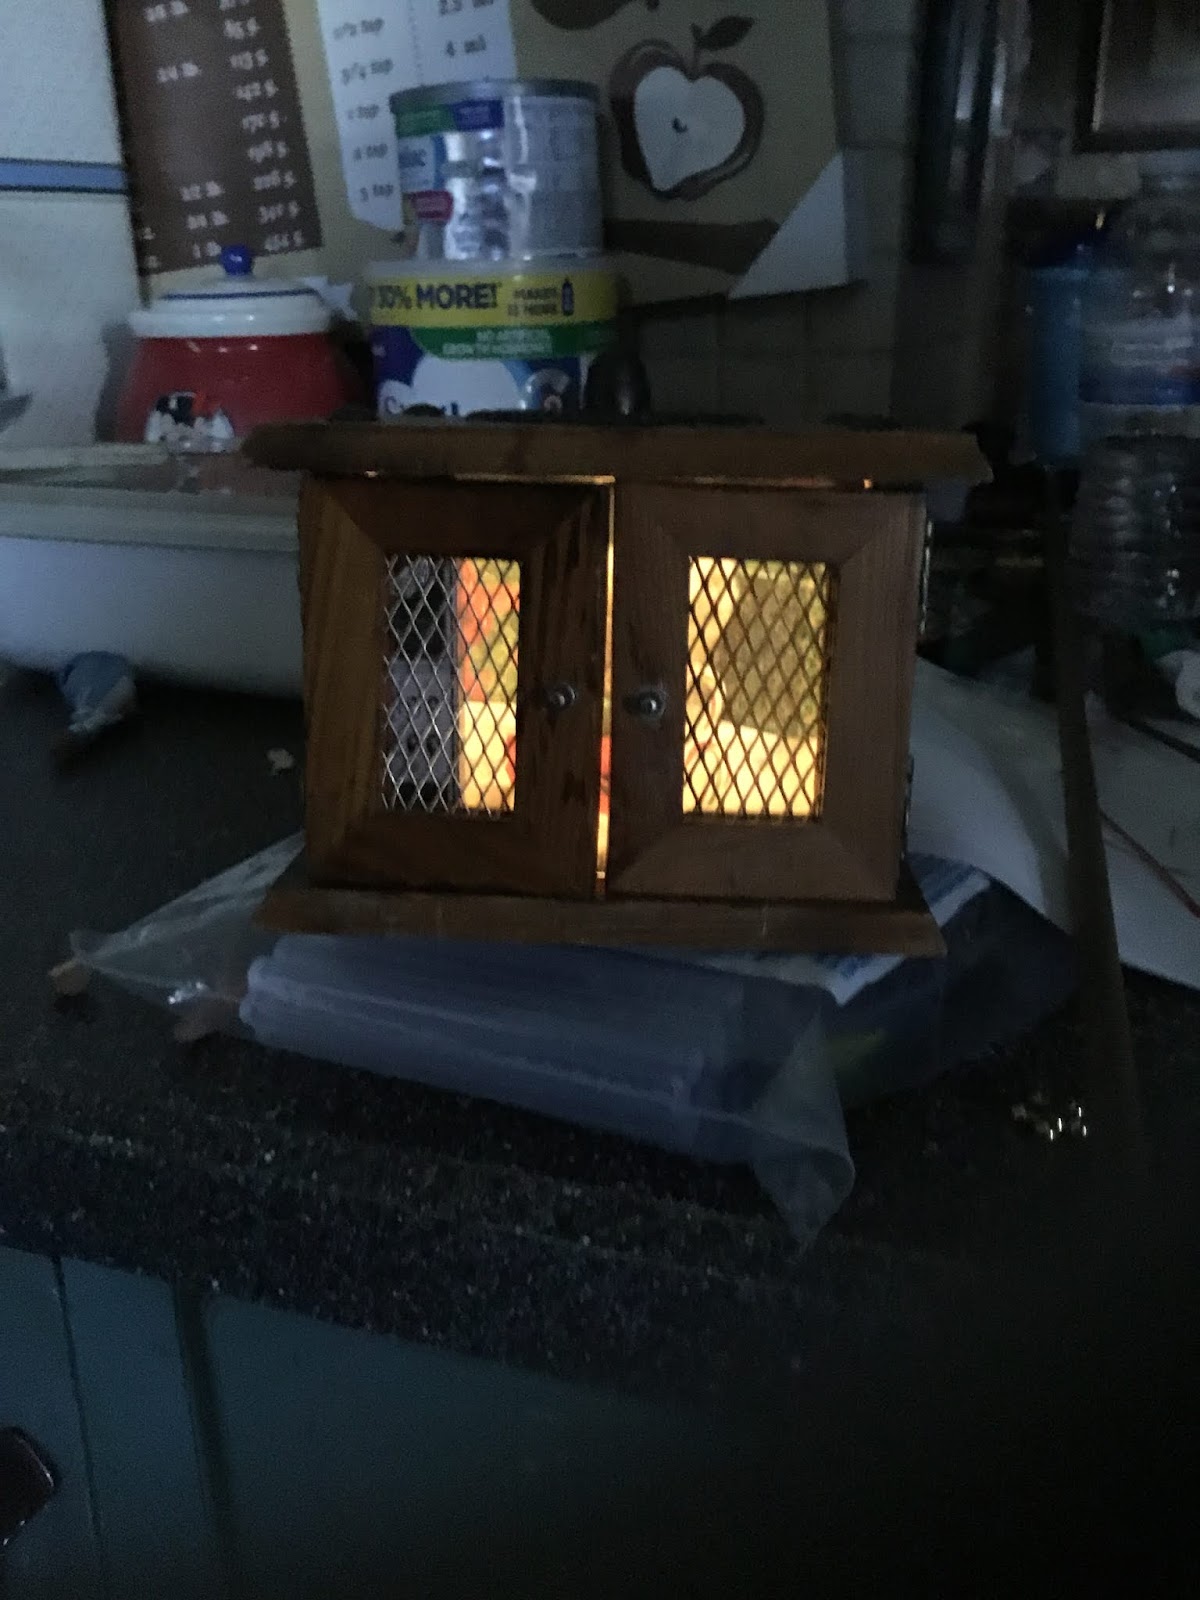
This is a vintage coaster holder. You can use any coaster cabinet for the tv. 


This is what the inside looks like with the doors open.


This is plastic I got from a throw away container, I like to use these for a lot of my projects.


You need to cut a piece of the plastic to fit the size of the opening. Remember you need to have the doors to be able to close.


You will also need two pieces of wood.  They will be on the front plastic area. You will see in the pictures.


I had this picture which was part of a card that had a kitty on it. It's made of transparent plastic so I had to also cut a piece of paper for in back of the picture. So you need a piece of the plastic, a piece of white paper and the picture.  They all need to be the same size.


First is the plastic piece from container, on top of that you glue down the piece of white paper and then the kitty. In another blog I show you how to make a solar tv out of a picture you would download off the computer, you can check that one out also.  Let’s get back to this one.


Now you need to glue the two pieces of wood on the piece you just put together, you can see this in the photo.


Next, go on the internet to find images. Print out a picture of a tv panel, you will be using this next.


On the one piece of wood, you will be cutting the tv panel out of the printout and gluing it to the wide piece of wood.  On the thinner piece of wood, cut out a piece of the brown area on the picture and glue it down using tacky glue.


On the panel I cut a piece of wood dowel making a circle that could make the dial 3D, I covered it with aluminum foil or you can paint it silver I then glued it over the picture of the tv knob.  The line on top of the knob is a piece of a round toothpick which I also glued down and drew a black mark on it.  I then glued this whole piece to the inside of the coaster holder as you can see in the photo.  To make it easier what I do with my projects is put tacky glue in different areas of the piece and then putting dots of hot glue in the areas that don’t have tacky glue on it.  The tacky glue keeps the piece in its spot while the glue is setting.


Here’s what it looks like with the doors shut.  Next is the solar light getting installed to light it up.


In the back of the cabinet you need to drill a hole the size of the LED on the solar light so it can slide right in and be held into place.  If the solar light keeps sliding out use some black electrical tape to make it tighter.


In Walmart and the dollar tree you can buy cheap single solar lights. All you need is the top part of the light, with the solar cell and the LED.  But remember don’t throw out the other piece you need to recharge the solar panel for it to light up.


After putting the solar light into the hole in the back, this is what it looks like with the doors opened.


This is what it looks like with the doors shut. Use your imagination put in any picture maybe use a picture of a family member etc.. Use your imagination and it will soar!


Wednesday, March 27, 2019

Making a frame for an antique metal photo

This is the type frame you start with, a cheap wooden one. You can find them at most craft supply stores.


Here’s the antique metal picture, I need a nice frame it so I can put it in a dollhouse.


The first thing you do is paint the whole frame including the back with black paint.  Then you take some copper colored paint and using your finger smear on copper paint over the black. You also need to be taking some of the copper paint off as your putting it on.


This is a belt I bought from a dollar store, I like using these types of belts for different projects.  I’m using pieces off it for the corners of the frame.


Here is the frame with the corner pieces which I glued on with tacky glue.


I then added some metallic gold paint around the edges and also used some black paint for different areas.


Here is what the frame looks like with the photo framed. It makes this beautiful photo stand out now.  You could add some more details to the sides if you want or any other designs.  Use your imagination and it will soar!


Saturday, March 16, 2019

Making a bamboo floor for your dollhouse


In this picture you will see a bamboo placemat. They are also sometimes advertised as sushi mats. When using a placemat like this, after measuring for the size you need. Tape on both sides of the mat, you will be cutting it else the placemat will fall apart.  So in the picture you will see the tape. I leave this tape on the item you won't be able to see it. It will be on the underside.  You can cut this with regular scissors.  Placemats make beautiful flooring and a lot of them look like real wood floors in a dollhouse.


In this picture you can see what it looks like once you glue it down with tacky glue.


Monday, March 4, 2019

Making beautiful wainscoting with playing cards and popsicle sticks

This is what the room looked like when I first started. A nice blank canvas to work on. I just gave it a quick coat of any color paint.


I then decided to use these playing cards, I liked the design.


In this picture you can see what the room looks like now.  I started next with the door and glued down one card on the bottom next to the door on the left side of the picture.  Next I use hot glue and glued down one popsicle stick next to it the same height as the card.  Then I lay a card down and used tacky glue, then another popsicle stick.  I did this all around the room, sometimes you might have to cut the cards to fit different areas. Like under the windows, I simply turned the cards sideways and also cut them to fit the area.  After I finished this part the next thing I did is to make a border around the top edges of the cards using popsicle sticks. After you make this border go all the way around, you then add one more border around the area where you can see the gap between the card and the top border.  Hopefully you will understand with the pictures.


Another view.


And another view. Use any playing cards you want, use your imagination and it will soar!