Ad sense auto

Google analytics

Wednesday, December 11, 2019

Making fake pencils for a dollhouse and something to hold them for on a desk


These are the toothpicks I will be using to make the miniature pencils.


I use the point end of the toothpick I cut them down to the size I need the color pencils to be.  I color the tips with different color markers.


This is the drawer I’m using to hold the fake pencils.  I take the knob off it so it looks like a desk piece.


Here is the pencils done.  Next I will show you a picture of a paper holder that can be made the same way but you need to cut paper that fits in it.  Use your imagination and it will soar


Tuesday, December 10, 2019

Taking draws for a dollhouse that you have left over and turn them into a desk


In this picture it’s a bag of draws that I keep that don’t have anything they go to.  But I’m going to show you what you can do with them.


These are two draws I’m using for a desk.  The first thing I do is take off the handles but I’m keeping them to put them in a different area on the desk.


In this picture you can see how I glued both of them together, and the drawer pulls are out.


Next in Home Depot store in the kitchen cabinet display area they have samples of countertops for free, just get one that you like this is going to cover the top.


After figuring how big to cut the piece I glue it down to the top.  I then glue the drawer pulls on the front  to look like there are drawers on both sides.


Here’s the desk in a dollhouse, use your imagination and it will soar!  Next post I’ll show you another drawer project for a dollhouse.


Monday, December 9, 2019

Making a bed for a gingerbread house

The top floor of the house you can see two beds. This is the way they were made.  First you take a piece of paper and draw a design for the headboard which will also be the same design for the footboard ( make it simple) and two long rectangles for the sides which Connects the headboard and footboard together.  Make yout gingerbread and use the templates that you drew to cut the shapes out of the gingerbread batter before you bake it. You will also make two more long rectangle shapes that will get glued to the inside of the railings to hold up a mattress.  You would need to make royal icing, this is used for gluing pieces together.  In the baking supplies in your craft center like michaels you will find edible icing paint this is great for painting.  Once you glue the whole frame together the mattress is made of a piece of rice crispy treats and has white royal icing covering the mattress.  The blanket is a fruit rollup which is found in the food stores.  The bed frame was then painted with edible paint.


Sunday, December 8, 2019

Making a fake leather couch or chair for a gingerbread house


In this picture you can see in the bottom floor of the gingerbread house a couch and two chairs.  The funny thing about how this was thought of how to make is me playing with my caramel candy while  a passenger in a car.  The couch and chair base is made of rice crispy treats, you shape it into the shape of the furniture you want.  Once you are done the next step is taking the square pieces of caramel and putting it in a bowl and putting it into the microwave.  Microwave these caramels until they are soft and easy to shape it will feel like play doh.  Then you cover the furniture with the caramel I like to flatten out the caramel and drape it over the pieces and using your fingers to push it into the shape of the item.  If you rub your fingers over the caramel you can make it shine more. I put in little dings to make it look like real leather.  You can also make pillows for on the furniture the same way. Use your imagination and it will soar!


Making a stained glass window for a gingerbread house, candy canes


This is one of the stained glass windows I made in a gingerbread house.  This is as easy to make.  First at the end of the holiday season the stores sell their candy canes very cheap.  I buy the different flavored candy canes which are all different colors.  What you do is smashed them down in a ziplock bag then put the pieces in your blender and chop them down to a powder consistency.  I keep all the candy cane powder in mason jars it keeps very well from year to year.  You can use this favored colored powder for in your hot chocolate to give it a different flavor if you want.  Now back to the window.  You take a piece of parchment paper and put it on a cookie sheet.  Next dump some of this candy cane flavored powder on the sheet I sprinkle it on and make it an 8th of an inch thick.  Next set your oven at 350 degrees. Once it finishes preheating, put it in the oven.  I keep an eye on the cookie sheet, it only takes seconds for the power to start to bubble.  Make sure all the candy cane powder is bubbling (just a little bit of bubbling, if it’s bubbling too much you left it in too long).  Once you see the bubbles, take it out of the oven and use a spatula to smooth out the melted powder ( if you need to reuse the spatula, make sure that you rinse it off with hot water to get the hardened candy cane off).  When it cools down enough that is flexible you can use scissors to cut it and leave it on the parchment paper, don’t take it off.  Cut the paper along with it. If it gets too hard as you cutting it pop it back in the oven for a second or two and take it out and cut it again.  Depending on the size you need you just keep putting it back in the oven each time and cut it.  Make sure you measure the window opening that you need the size to be.  Each of the candy canes come out different colors.  I will show you another colored window in the next photo.


This is another window I needed for the front of the gingerbread house.  If you have any questions about this send me a message at. Sghi50@aol.com. My daughter and I won first place in a gingerbread contest with this house at the Christmas con in Edison, New Jersey. 


Here’s the house, this was taken at the contest.  Hallmark was one of the sponsors.  I’m going to also be posting how We made the furniture, light up light in front, etc.  if your going to enter a contest these are posts you don’t want to miss. 

This is the inside of the house.  It has leather looking furniture.  Everything is edible with the exception of the strand of battery operated lights. Use your imagination and it will soar!


Sunday, June 9, 2019

How to make molding around a window for dollhouse


First you need large popsicle type sticks. Here’s what they look like.  Now we are going to make some strips of wood out of it.


The window on the right is the window that we are making the trim for.  If you look on the sides of the window I made some lines with a marker to show you the length that you need for the sides of the siding to be from top to bottom.


You will also need some regular size popsicle sticks, on the left is what they look like.  You need to cut the top and bottom curve areas off the large stick so both top and bottom are flat.  Next you need to use a regular popsicle stick to make some wood pieces that are the same width that you will need.  Use the stick for a template. Once you make the lines cut out the strips of wood using a razor knife.


These are the pieces cut out.


You need to take these two pieces you just cut and measure from the bottom of the window to the top area that I showed you in a prior picture, both pieces need to be cut the same length. Now you can glue these pieces on both sides of the window.


Next take another regular popsicle stick and cut the length to fit under the window it will be glued down as a window sill put the glue on the outer area of the stick.


Next take another regular popsicle stick and cut it the same width as the window side by side.  If you look at the picture it explains better.  This popsicle stick gets glued down under the sill.


Next is the top piece which you use another popsicle stick cut to size and glued down.


Here it is painted white.  It's much cheaper to make your own this way than to buy them.  Use your imagination and it will soar.


Wednesday, April 24, 2019

Making a decoration around a mosaic window on a dollhouse


In this picture you can see a small square window on a dollhouse.  The first thing I did was make this window look like a fake stained glass window using nail polish, it is transparent when it dries and looks great and the lines for the lead look I use black paint pens to make the lines.


In this picture I did all my stained glass looking windows. Next to add to the square window, I don’t like how it gets lost on the house.


I’m sure you have seen these folding fans at garage sales, flea markets etc.  I will be using pieces off it.


In this picture you can see the pieces I cut off the fan blades, don’t throw any of the other pieces out they can be used for other projects.

In this picture you can see that square window now sticks up for itself.  Use your imagination with the stained glass look, the decorations and you can change the look of any window. I made another blog that shows you how I make fake stained glass windows. Check out my other blogs. Use your imagination and it will soar!


Saturday, April 20, 2019

Making dollhouse planters from closet door slats


Just in case someone out there doesn’t know what the closet door looks like that I’m talking about (referring to other blog posts), here it is.  I picked these two doors off the garbage last night, they have great wood.  So I busted the doors apart for the slats.


Here’s the slats you get from those doors.


Here’s the dollhouse I need planters for, under the front windows.


I decided to work on the larger windows first.  So I measured to see how long I wanted the planter to be which was outside width of the windows.  I also measured for the depth I wanted the planters to be.  After cutting the pieces from the wood slats I glued them together.


Here the wood is glued together.  For the floor in the planter, I am using a scrap piece of wood.  I just place the planter onto the wood and draw lines around the base for the piece I need cut.


Here is the scrap piece of wood that I used.


Here is the piece cut out for the floor.  I glue this piece on the planters bottom.


I then glue in some of the green Styrofoam material that holds in fake flowers so I can add flowers. 


This is what they look like on the house with decorations and flowers.  If you want to see how I put the decorations on and flowers check out my blog on decorating a flower box.


Thursday, April 18, 2019

Making a beautiful scene using a wooden clock shell with solar lite

This is the clock shell I will be using.  You could use any clock shell for this project.


To cover the hole in the back wall of the case you need a piece of hard cardboard, this piece I’m using I got off a cardboard placemat.


This is a picture of the circle I cut out to fit the hole in the back of the shell.


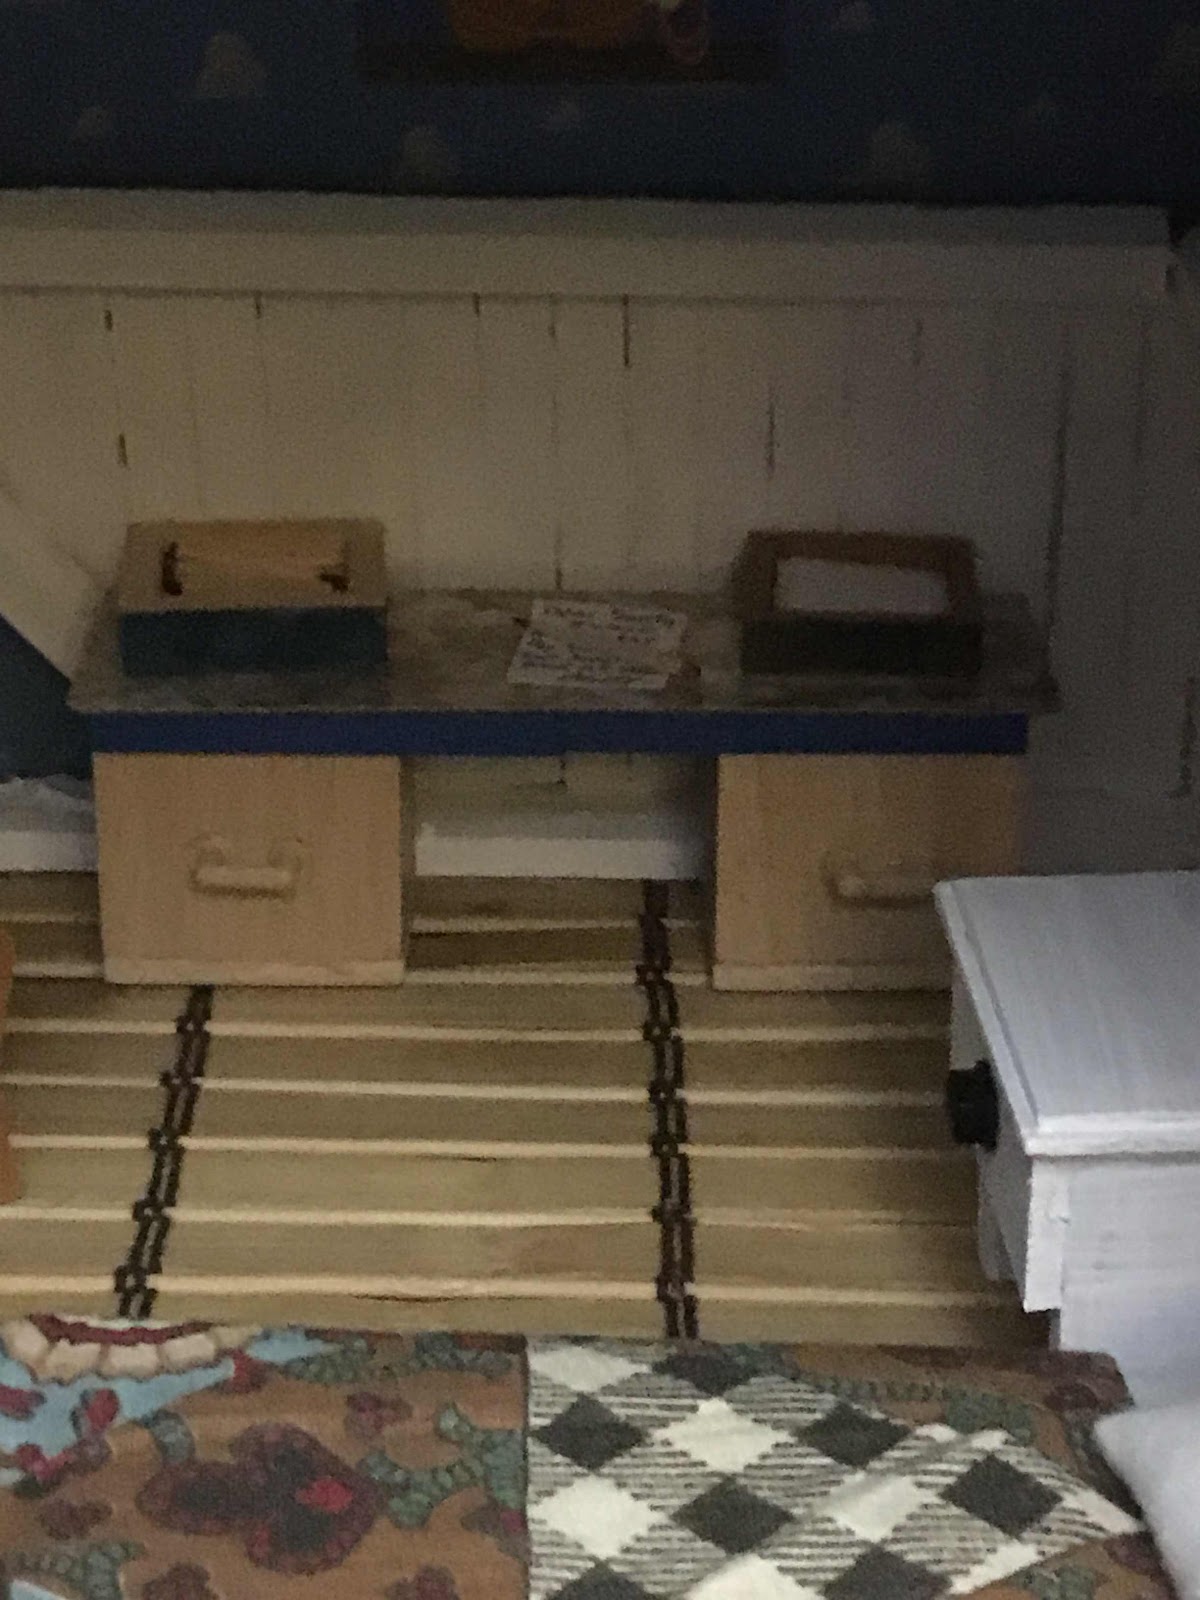
I needed to bring the inside bottom up so I used a Styrofoam material to bring it up.


The last piece of Styrofoam I cut, I glued on a piece of indoor/outdoor grass looking carpeting.


This is what it looks like on top of the Styrofoam.


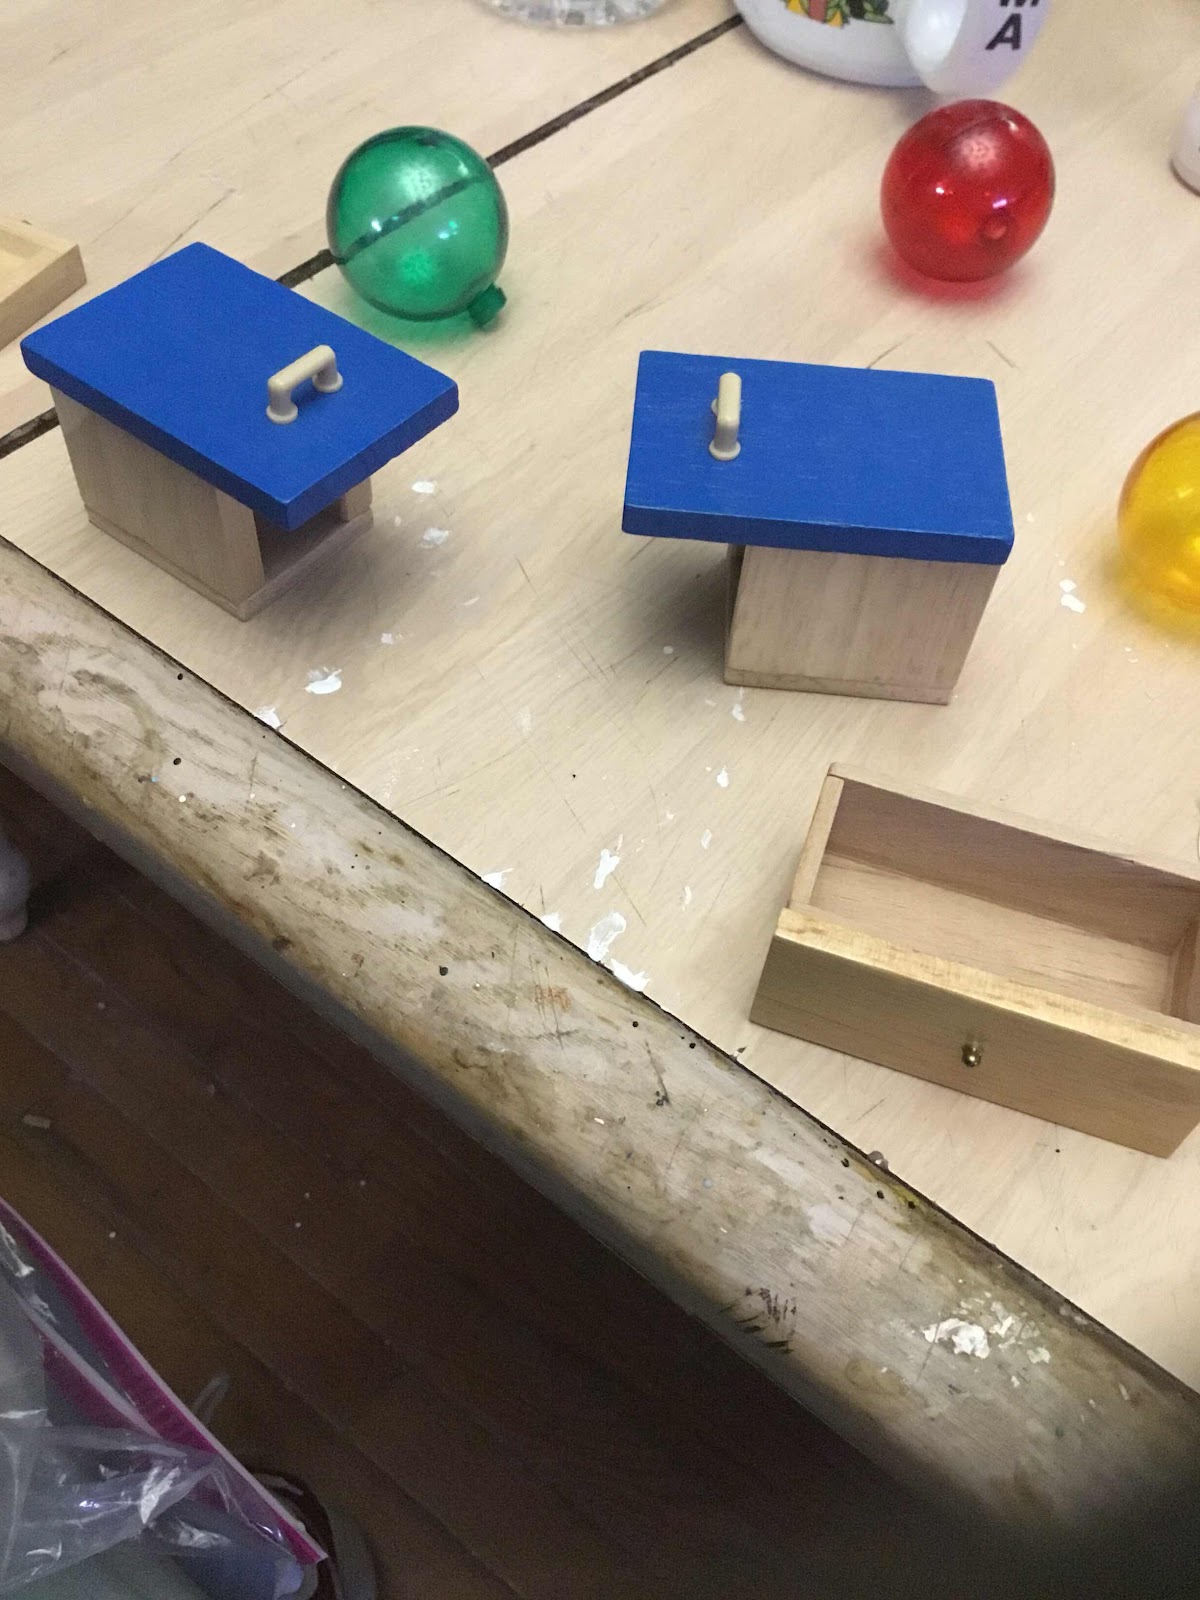
For two of the items that I will be gluing down on the inside, I used a disco looking Christmas ball and the base of this cheap candle stick.


I glued the ball on top of the candlestick base.  I need to make two of these.


I will also be using this angel figurine.


Here I'm showing you the two pictures I got off the internet that I will be using.  The background picture which is a stairway to heaven and a saying I typed out, "Angels here on earth". I glued them down with tacky glue.


I painted the inside of the clock shell the same blue I painted one side of the cardboard circle I cut out from the cardboard earlier. Now I am gluing this piece into the back hole opening.


In this picture I glued in the two disco ornaments that I made earlier and the angel figurine.  I also glued in some small fake flowers.  You will also see some lace trim I glued around the opening.  The crown on the top was a piece I cut out of a playing card.


I had this very small piece of decorative trim lying around and I thought this is the perfect time to use it.


In this picture I did some detail painting using metallic gold paint from folk art collection.  I also glued on the trim and added some jewels to the bottom.


This is what the back of the clock shell looks like.  You can see the picture part of the cardboard I made so you can see it in the back, the other side has the picture of the stairway to heaven glued down onto it.  I drilled a hole in this circle for a solar light cap.  You will see what it looks like on the inside. As you can see on the clock case box it used to be a clock.  When I bought this at a garage sale it was just the case no clock was in it so I got it cheap.


Here is the solar light I’m using.  I bought it from Walmart, they sell single solar lights and it costed me 97 cents.


This is what it looked like lit up.


I used a piece I got from something I took apart, I put it around the solar light on the inside of the clock case.


Now this is what it looks like.


This is what the back looks like with the solar light.  Use your imagination and it will soar!