Ad sense auto

Google analytics

Friday, August 30, 2013

Glow in the dark solar project with birds installed.


I'm going to be using this metal type plant holder cage.


I'm also using this glass square piece which was off another lamp.


I'm also using this globe.  I spray painted this globe later in the blog with glow in the dark paint, this globe will now glow green at night and being lit up on the inside with a solar light it looks GREAT!!


This is the lamp I will be using as a base for my project.  However, I will be spray painting it to match the plant cage.


I am also using this round piece which was off a light fixture.  I'm taking the bracket off the middle so it will be flat.


This is the top of the plant cage after I spray painted it a little different green color to match the lamp base.


In this picture you will see the lamp base on the bottom which has been painted the green color.  On top of that I installed the cage and on the inside of the cage I installed the round piece so it would stay firmly on top.  Then on top of that I installed the glass square piece which I spray painted green also.


I bought these little birds from a garage sale 4 of them for 25 cents.  I'm using them for this project.


The gold piece on the left was from a trophy I took apart.  On the right is a fake flower which I will be hot gluing to the trophy piece.


Well after adding the round piece with the flower on the front I decided to paint some vases under them and some leaves.  I also did some gold, red and black detailing on the lamp base, and the plant cage.


This is what the finished project looks like.  I hot glued the globe to the inside of the glass piece and topped it off with a solar light. The item is not crooked the table it's on is.


This is a close up of the one of the birds I installed on this item.


This is a close up one of the sides of the base.


This is a close up of the top.  There are four sides around this base so I put vases in each area along with the flowers.  There are also four birds on this item.  Remember they do sell glow in the dark spray paint.   When the glow in the dark spray paint is put onto a globe one layer at a time it glows green at night.  I put on at least 4 layers of paint.  With the solar light it looks GREAT!!  I hope this gave you some ideas.


Thursday, August 29, 2013

Beautiful older lamp with multi color solar light


For this project I used this old lamp.


I also used this light fixture.


I decided to change the globe to the one in this picture.  It has etching around it which I like.  I didn't use the round mirror for this project.


In this picture you can see the large lamp on the bottom.  Attached to the top of that was another piece from another lamp fixture which is the white piece.  On top of that I installed the cage from the other light fixture.  Then I installed the silver piece which the water globe gets glued down to.


After installing the etched globe and putting the top back on I installed a solar light top.  This solar light changes colors from green to blue to red.  In this picture you can see the green color.


In this picture you can see the blue color light.


This is a close up of the bottom.


This is a close up of the top.  You can't see it in this picture but because of the etched glass in the globe it puts off this beautiful design around the areas around it when it lights up.  I also added some fake flowers and red and white beads.


Wednesday, August 28, 2013

Beautiful rose looking solar light


This is one of the lamps I used for this project.


This is the other lamp I'm using for this project.


After taking both lamps apart I then put them back together a different way.  On top you can see the top of a solar light, under that you can see the rose globe.  Then under there you can see the base of the rose lamp and then the other lamp.  I painted the bottom lamp blue.  I also painted the solar top white to match the globe.


This is a close up view of the top.  I also added some gold plastic beads.  I hope this gave you some ideas.


Tuesday, August 27, 2013

Here is the dollhouse house bed that I made for the dollhouse


I started off with these two pieces.  The one on the left is a cheap dollar store box.  On the right is a wooden piece that I got from the craft store.


The first thing I did was take the piece of wood you saw above and cut the bottom off and the top piece off.  The top piece I made longer than the bottom.  One piece is going to be the footboard and the other is going to be the headboard.


This is something I just threw in here for you to see.  I needed a bathtub so I made it from the bottom of this grater.  I spray painted the holder on the outside white and added some legs,  Instant bathtub.


After adding the footboard piece on this is what it looked like on the bottom.  You can see the difference in height of the materials which I'm going to take care of.


I added some popsicle sticks to make the same height.  


At this point this is what the bed looked like.


Then I added some popsicle sticks to make the slates of wood that holds up the mattress.


I then measured a piece of cheap wood and cut it down to fit the top for the mattress area and on top of it added some batting material.  Now I have a mattress pad.


You then can paint it any color you want.  I colored it brown and added some details.  I also cut up a piece of a towel for a blanket.


I hope this gives you an idea of how you can make a doll bed for your doll house.  You can see I also added some wood balls underneath for the legs.


Monday, August 26, 2013

The newest Dollhouse is finally done, wait till you see what it looks like!!!


This is a memory of what the dollhouse looked like when I got it.


This is what the inside looked like.


This is what the dollhouse looks like now.


Every little girl needs a garden with their dollhouse, here is this one.


This is a close up of the middle of the garden, you can see the little baby fairies on the birdbath.  The birdbath was made of an ashtray on top and the bottom was a cardboard tube cut down and painted to look like the bottom of the birdbath.  In the middle is a glass button.  If you look around the ground you will see metal decorative pieces from a chain belt that was taken apart and used for a walkway.


I made a little fence out of some of the plastic tube that holds up the solar light and a wooden bead on top painted black with a glass button on top of that.  The chain was attached with cup hooks.


This is the entrance way into the home.  The door is put on hinges so it will open and close.  I also put curtains on the top of the front porch area.


In the one corner of the front lawn of this dollhouse is a wishing well with another fairy baby on it.  I also put in some fake purple flowers and you can also see some more of the metal belt pieces on the ground.


This is one of the railings on the top of the roof area of this home.  This fence was made of a wooden dish drying rack that was cut down to the size I needed and painted.  On top of the spindle areas I added some decorative popsicle sticks.  The corner posts I added glass bulbs from a tree light set.  I also added a decorative round circle which was painted red.


This is another view of the railing.


This is another view.


This is one of the sides of this home.  I added a little planter which was a trophy party favor, they make great planters!!


This is another view of the front lawn area.  You can also see I painted under the front porch to look like bricks.  Something needs to be holding up the porch don't you think?


You can see a better view of the curtain on the porch.  I also put a door knocker on the door.  


Another view of the garden area.


I love these shutters.  They were made of a foam material cut into the size I needed.  I added small round sticks around the foam to make it look like a frame.  I also added one piece across the middle.  I painted them red and the sticks black.  I also took metal pieces from another chain belt which I had left over from another dollhouse and used them for the decorative middle pieces.  I had to cut them down the sizes I needed.  The chain belt pieces can be seen in another one of my dollhouses which I used for the solar light holder for in the other house.


As you all now by now I LOVE SOLAR LIGHTS!!  This is what the house looks like at night when it's lit up with the solar lights.  I put the tops of the solar lights in the top of an egg carton outside during the day so they can get the sunlight then at night Beautiful!!!  I also added one to the back of the TV set that I made which you will see in one of the pictures lit up.


This is another view of the house.


This is what the inside looks like at night.


This is the bathroom area.  As you can see in front of the window is a plastic salt and pepper holder which is made of plastic, I drilled a hole in the center of the lid so the solar light would sit right inside it.    There are also curtains in all the windows.


This is one of the bedrooms.  I will show you how I made the bed in another one of my blogs.


This is the babies room, the baby is sleeping right now.


This is what the bathroom looks like at night with the solar lit.


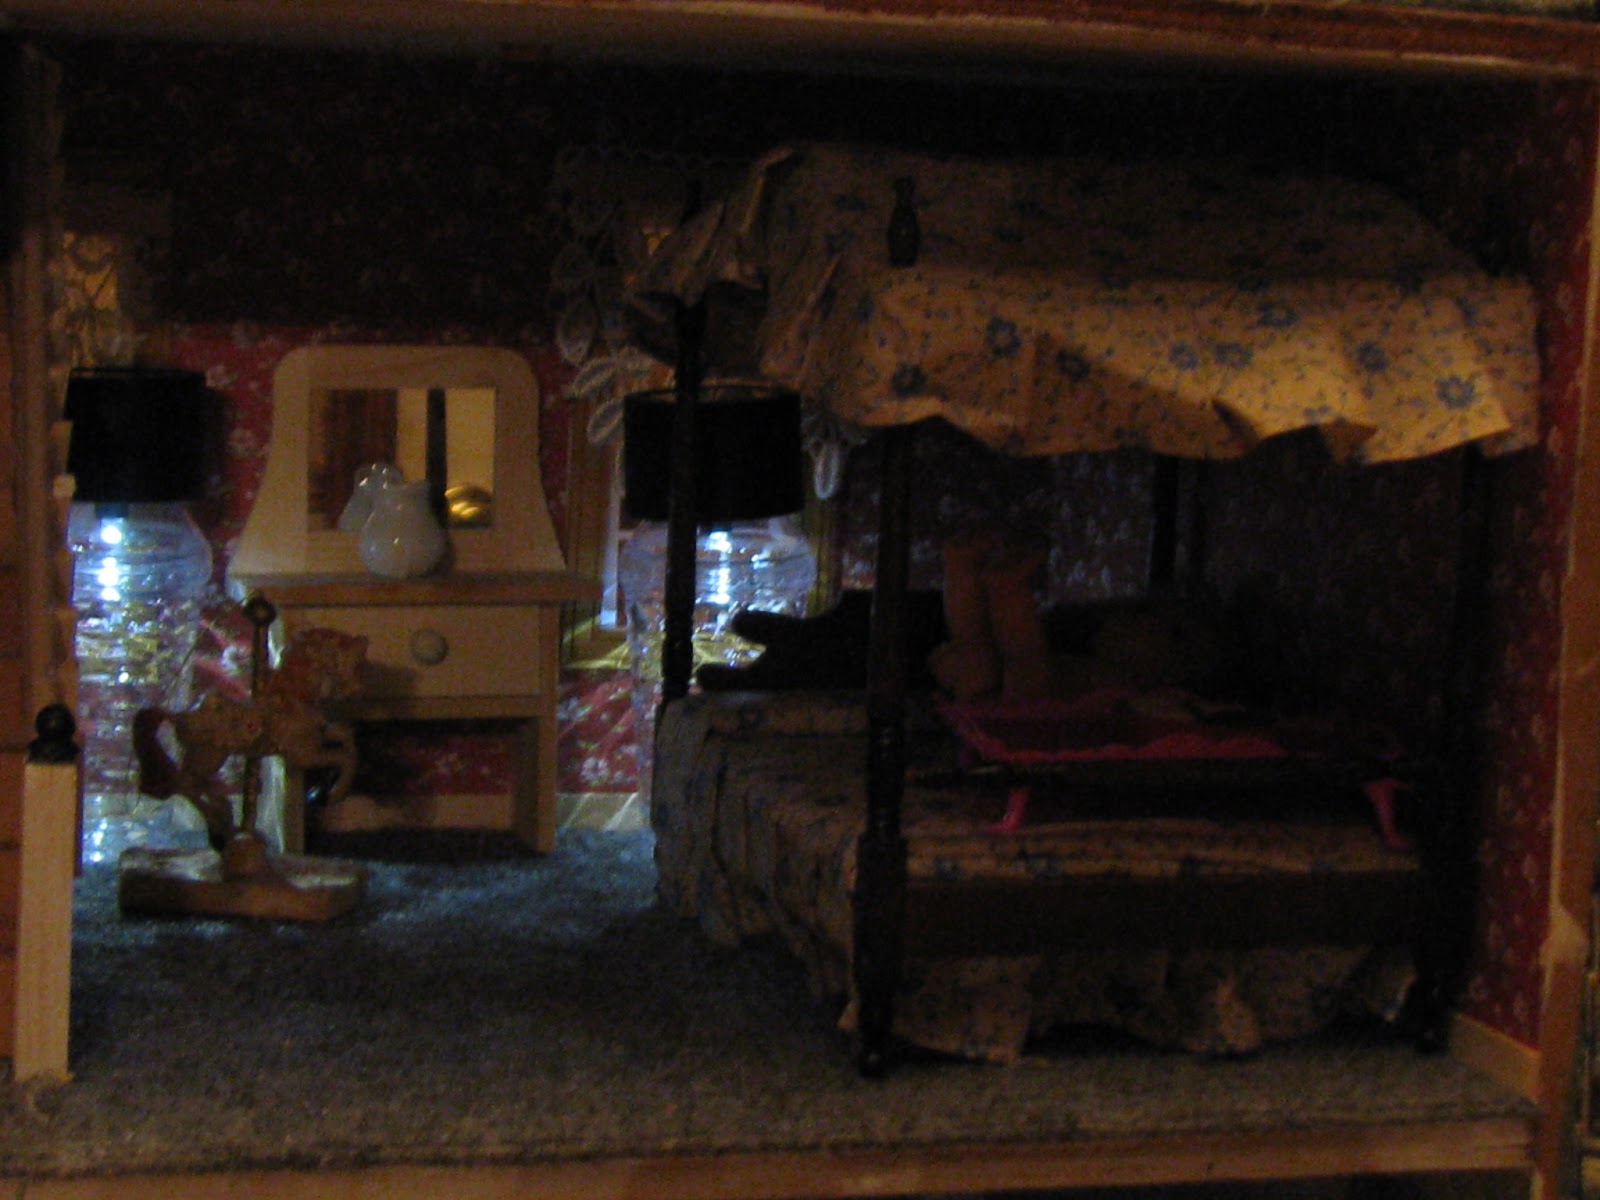
This is what one of the bedrooms looks like at night.


                                                            This is the babies room at night.


This is the dining room area at night time.  I made two benches for next to the table.  The table was made of a top of a wooden box with dowels for legs.


This is the kitchen area.  This kitchen has an antique metal stove, antique metal refrigerator, metal garbage can.  An antique looking sink which was home made.  There is a table in the back ground.  This is what the kitchen looks like at night.


Now you can see the TV set in the parlour area which is lit up with a solar light.  Looks like they are watching snow white.  This is what the parlour looks like at night. 


This is another one of the bedrooms lit up at night.  This bedroom has two solar lights due to the fact it has two windows.


This is another bedroom in this home.  This window I took a piece of the window film and made the window look like a stained glass window.  When the light is lit at night you can see the stained glass look.


Even the attic area got a solar light installed. 


This is another view of the roof area. 


This is a view of the front porch at night. 


In this picture you can see the fake stained glass window which is in that one bedroom.  Look how it looks at night!!  You can also see some of the windows below. 


Solar lights make such a difference in a dollhouse at night.  It's makes you feel like someone is home watching TV and of course left all the lights on in the house, we know how that feels. 


This is another view of the roof area.  I hope seeing this dollhouse has given you some ideas.  I love working on dollhouses every one of them is different!!