Ad sense auto

Google analytics

Showing posts with label Fabric. Show all posts

Friday, March 22, 2019

Making a quilters themed solar light using a bubble gum machine


I love these bubblegum machines they make great displays for that special item in your garden or house.  Today I’m going to make a quilters display for the garden using this bubblegum machine. First, you need to take out all the pieces on the inside (this bubblegum machine didn’t work).
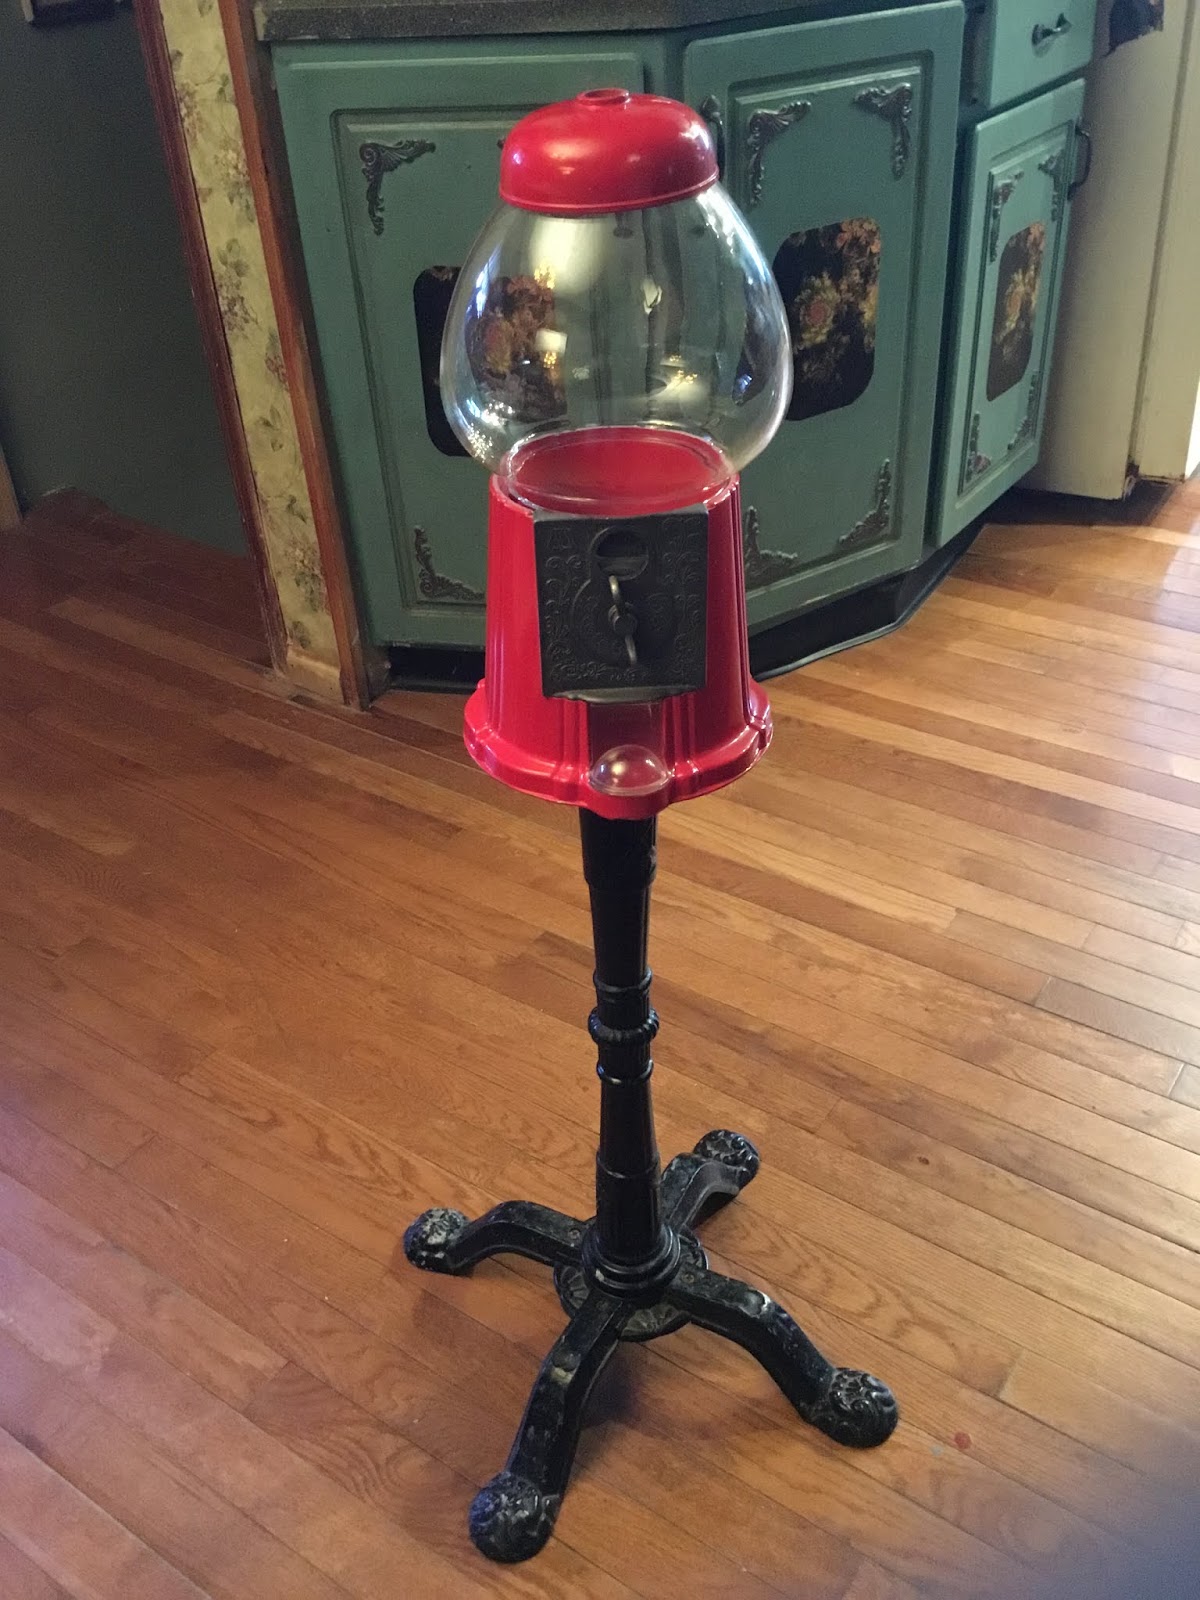

I had my son cut off the metal nub on the inside of the lid with his Dremel.  You need to do this for the solar light, so the light shines into the display instead of concentrating light in one spot.


After taking out all the pieces, this is what it looks like on the inside.


Next I used a Styrofoam sheet to make a floor for the inside.  I had to cut two pieces which I glued together.


I needed to cut a hard piece of cardboard to use for the floor on top of the Styrofoam. I used a piece from a checker board. It was bought at a garage sale for cheap (missing pieces).


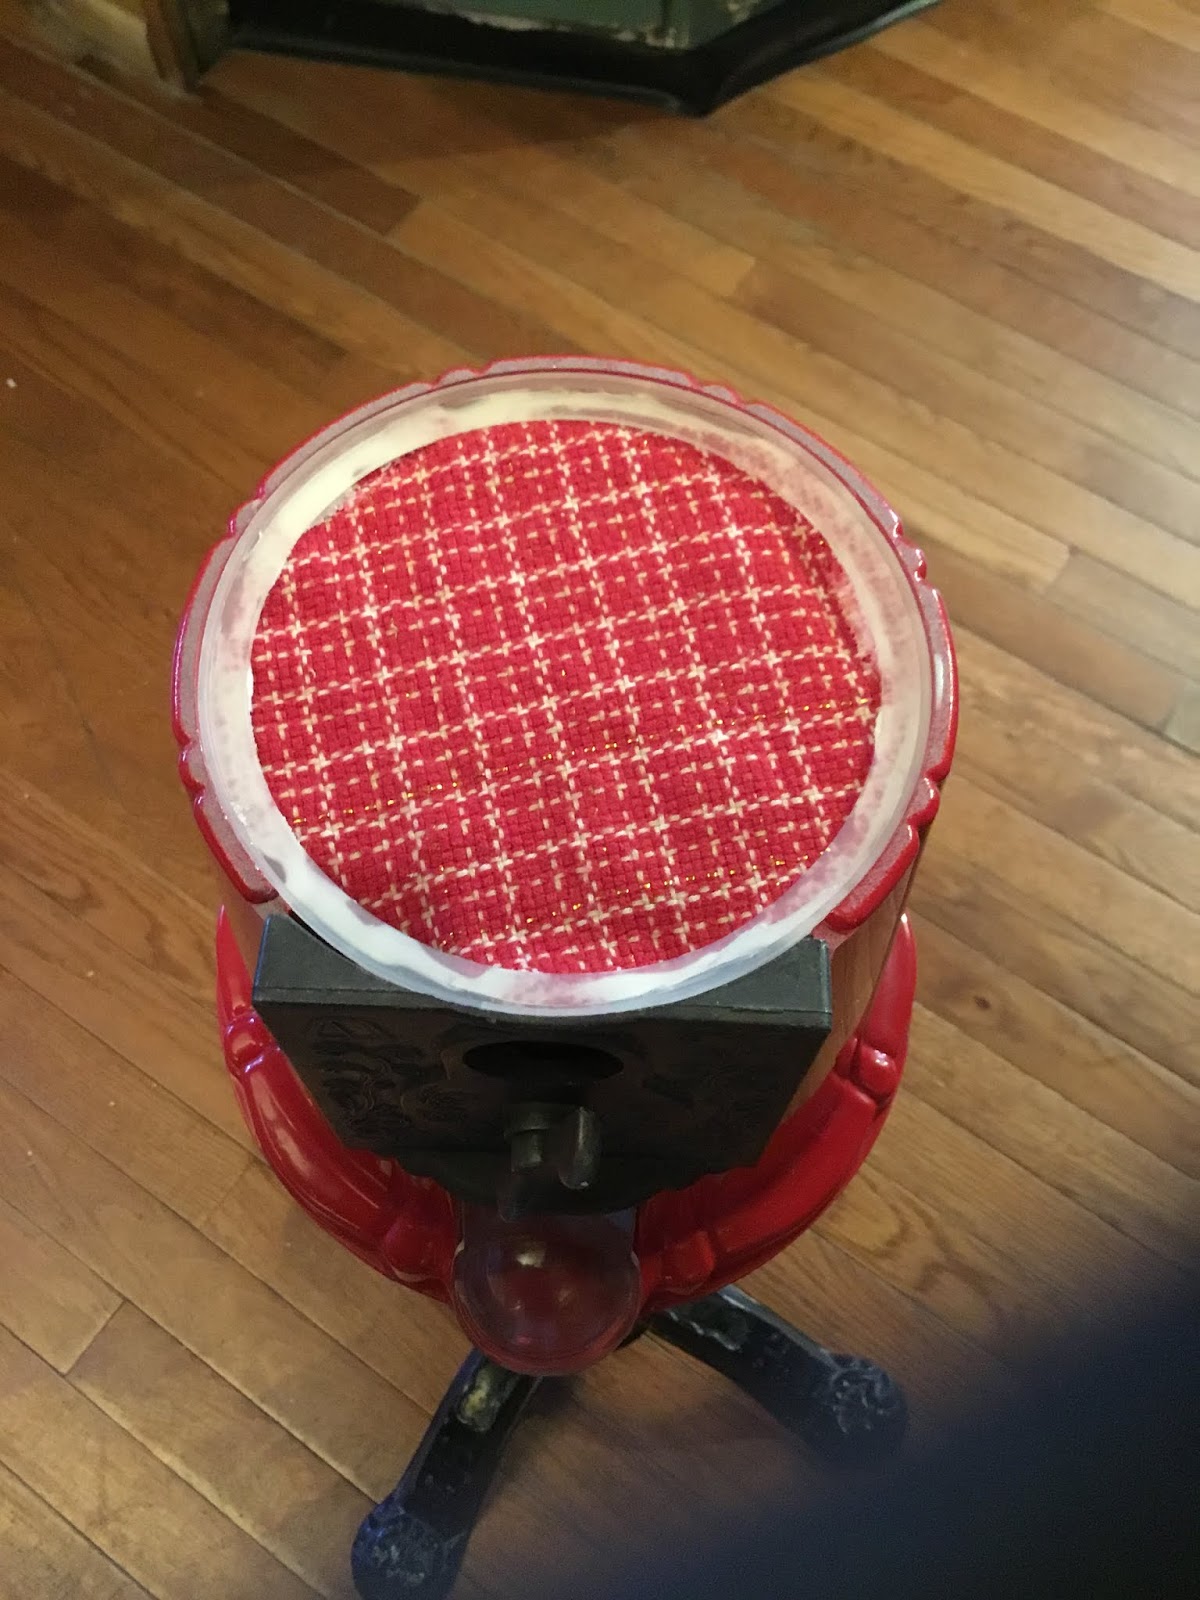
I then glued a piece of material to glue on top of the cardboard to give it a finished look. Next I glued the whole thing down onto the Styrofoam.  Finally I glued down the plastic sealer that came with the bubblegum machine.  It holds the glass dome in place.

First, picked out the items I wanted in the glass dome.  I ended up picking out two quilters sitting at a table, a dog and two little candlesticks. Which were made from two buttons for the base, two blue beads and two pieces of stiff white wire material for the wicks.  I glued these all together to make the candles.  Remember a lot of times quilters work till all hours of the night they need candles.


I made sure I hot glued down all the different items I used for the theme.  Then I hot glued down the globe to the top and the red cap. Now, for the light.


In Walmart they sell 97 cent solar lights and all you need is this piece off the top. This is where the LED is and the solar panel.  Make sure you put a little hot glue to hold it down into place.


This is what it looks like lit up.  These type of lights are unique and look beautiful in a garden, and best of all no electric bill! Use your imagination and it will soar!


Saturday, February 23, 2019

How to make curtain rod holder for dollhouse

All you need is two paper fasteners for one rod to hang up.  Best yet when you use these types of curtain rod holders you can change the curtains.


The first thing I did was take pliers and bend the paper clips into a shape that the curtain rod can be held into it.  You will be hot gluing these two paper clips to both sides of the window spaced to hold both ends of the rod.  You will be hot gluing the gold circle to the window.


In this picture you can see where I hot glued the paper clips on the window trim. The curtain rod will fit right into the u areas.  Then I bend the paper clip upward to make sure the rod stays in place.  This is easy to do and you can change the curtains easily.


In this picture you can see my curtains hanging up.  The valance part above the window, I just glued a piece of the material to a coffee stirrer stick and hot glued it on top.


Here is the link to the blog post where I make the curtains for the windows!

Tuesday, January 22, 2019

How to make floating shelves for a dollhouse


I cut a piece of wood for the size I wanted the shelf to be. You could use one of the paint stirring sticks for this part.


I then glued a piece of felt to the top.


I cut a piece of cuboid shaped wood for under the shelf that I glued towards the back for security and stability to help when gluing it all onto the wall.


This is what it looks like when it’s glued on.


I then took this piece of trim work and glued it around the front and sides of the shelf for decorative reasons.


This is what the shelf looks like above the sink, stove and dishwasher.  My other blog post shows you how to make this one piece. Use your imagination, and it will soar!


Monday, December 31, 2018

Making a bed for a Dollhouse


I’m using this piece of plastic type material that came from something that was taken apart.  I cut the piece in half and made a size for a headboard and footboard.  I have material which you see in the picture I am also using some of the hard stuffing type material you use for making a square pillows and a piece of cardboard.

I took the cardboard and cut out pieces to glue onto the backs so you can’t see the inside of the back area.


After taking a piece of cardboard that I cut to fit the front areas of the beds footboard and foot board.  I put some of the pillow stuffing which you use to make a pillow cut to the sizes to cover the pieces of cardboard that I cut and glued them on then I covered both pieces with my material.
This is what the backs looked like.
Then I glued the pieces onto the plastic headboard and footboard. The side pieces are two pieces of wood cut for the side railings to hold the bed together, I also cut two more pieces of wood and glued them on the inside of the railings these boards will hold up the mattress.


I then needed a mattress, so I cut a piece of cardboard smaller than I needed so I could add some of the pillow stuff on it and covered it with a mattress cover material.
Here is what the bed looks like.  The only thing I need next is a pillow and blanket.