These are popsicle sticks that I used for the flat part for the curtains. The stick when it's finished with the curtains gets hot glued over the windows on the window frames. Cut the stick to the width of the top of the window add a little more so it overhangs the top.

This is the ribbon I will be using for the window topper.

I hot glued the material to the stick.

This is what the stick looks like from the front.

I then added some trim to the bottom edge to give it a more decorative look.

I then picked out a curtain and cut out pieces that I wanted to attach to the back of the stick for the curtain. New curtains for the dollhouse, you can use any fabric you want. You may want to use clothing that belongs to one of your children that they no longer use. It would make it more personal.

Here is what one of the bedrooms turned out to look like. I added some curtains and pictures on the walls.

This is what the hallway/ babies room looks like.

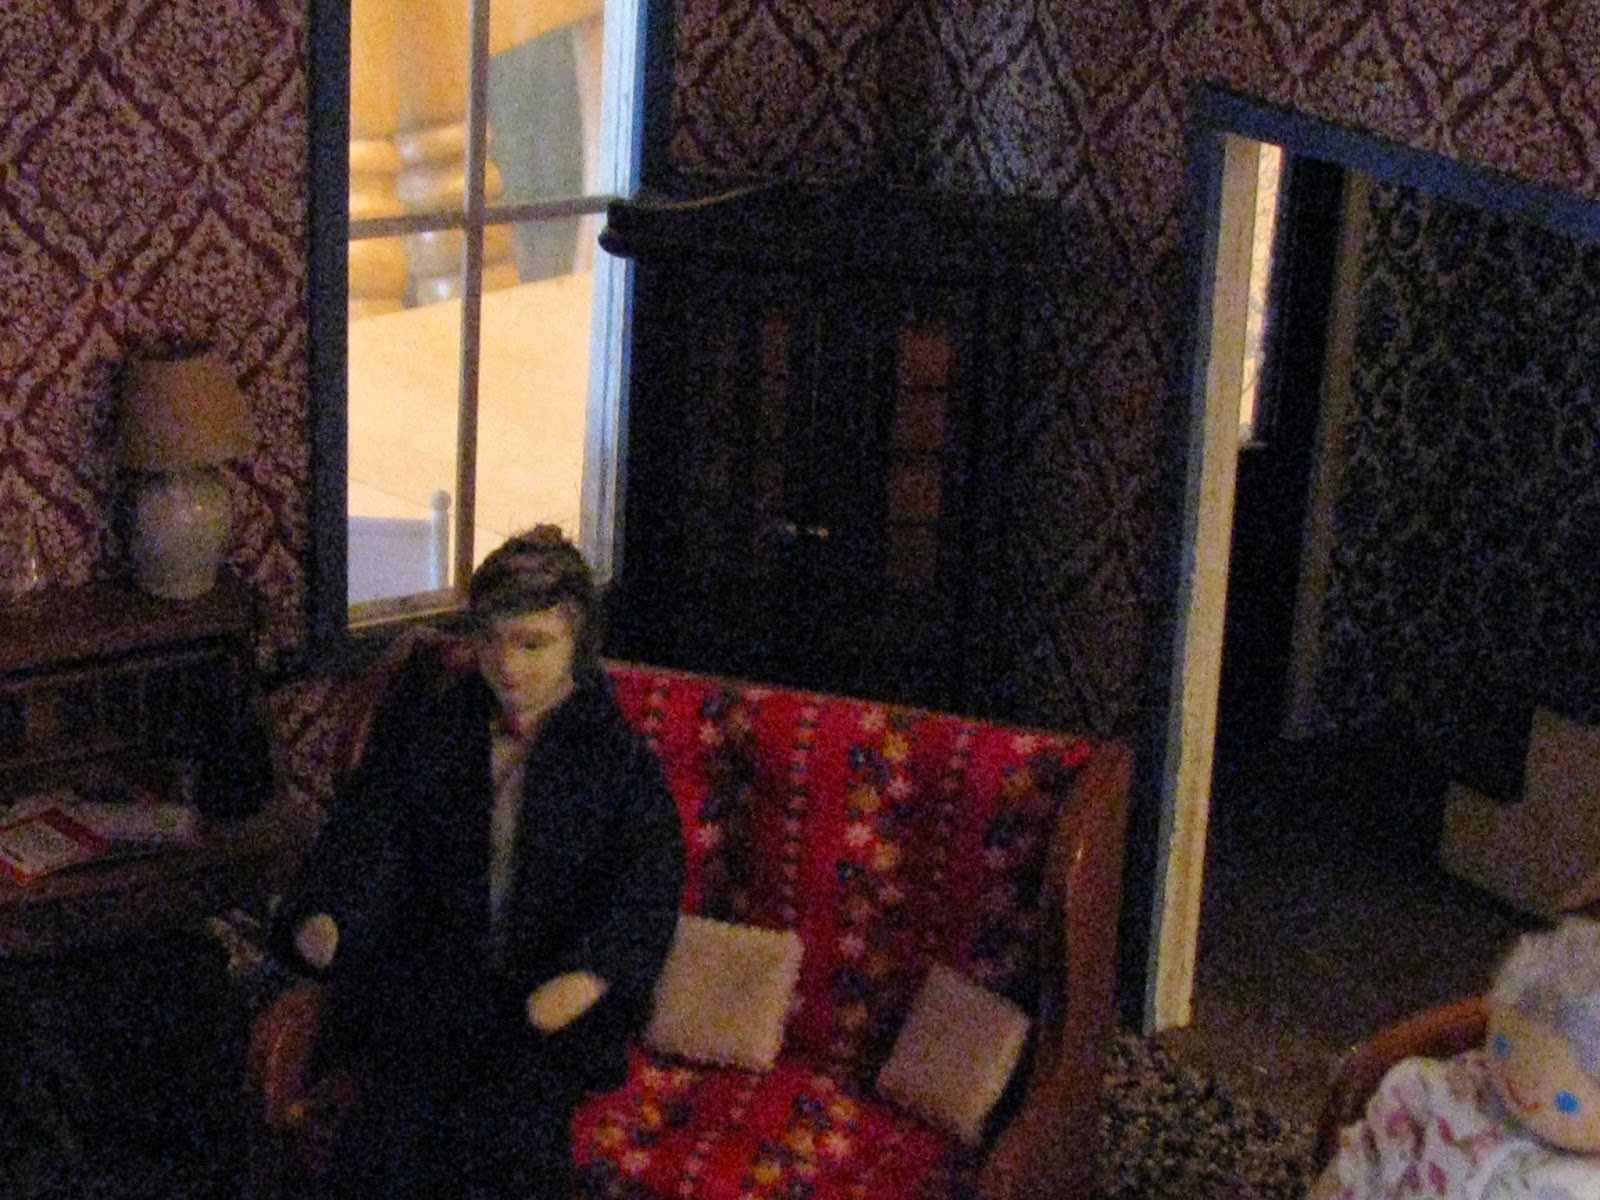
This is the parlour area.

Here is the bathroom area.

This is the kitchen area.

I decided that I wanted a victorian looking picture in one of my rooms, so I took a cameo pin and broke off the pin on the back. I also used a small victorian looking frame which I added some red velvet material to. You will see in a moment what it turned out like.

This makes a beautiful picture for a wall in the dollhouse, you will see what it looks like on one of the walls.

Here we are, you can use any picture or item to make a beautful picture for on a wall. You can even shrink down a picture that you have and add it in the frame for a more personal look for your child. I will be adding more pictures, I'm using pictures of both of my daughters wedding pictures and both me and my husband. Use any picture make it UNIQUE. Everyone will LOVE IT!!!

This is the front of my dollhouse, I added a piece from a nightlight over the top of the door to make it look like a light. I also added a vase with flowers. I also added other items as well.

This is also the front of the dollhouse, see how the curtains make the windows look. At night I put solar lights on the inside to light up the rooms through the windows.

I added some vines and roses on the sides. The trelis part was an old plastic barbie doll bed which I took apart, don't worry it was broken already. I just added a seat on top and also had my future son in law write a saying on each bench.

I added a little wreath on the top of the chimney. This way I will be ready for the holidays. I can't wait for the holidays I get to decorate the house again!