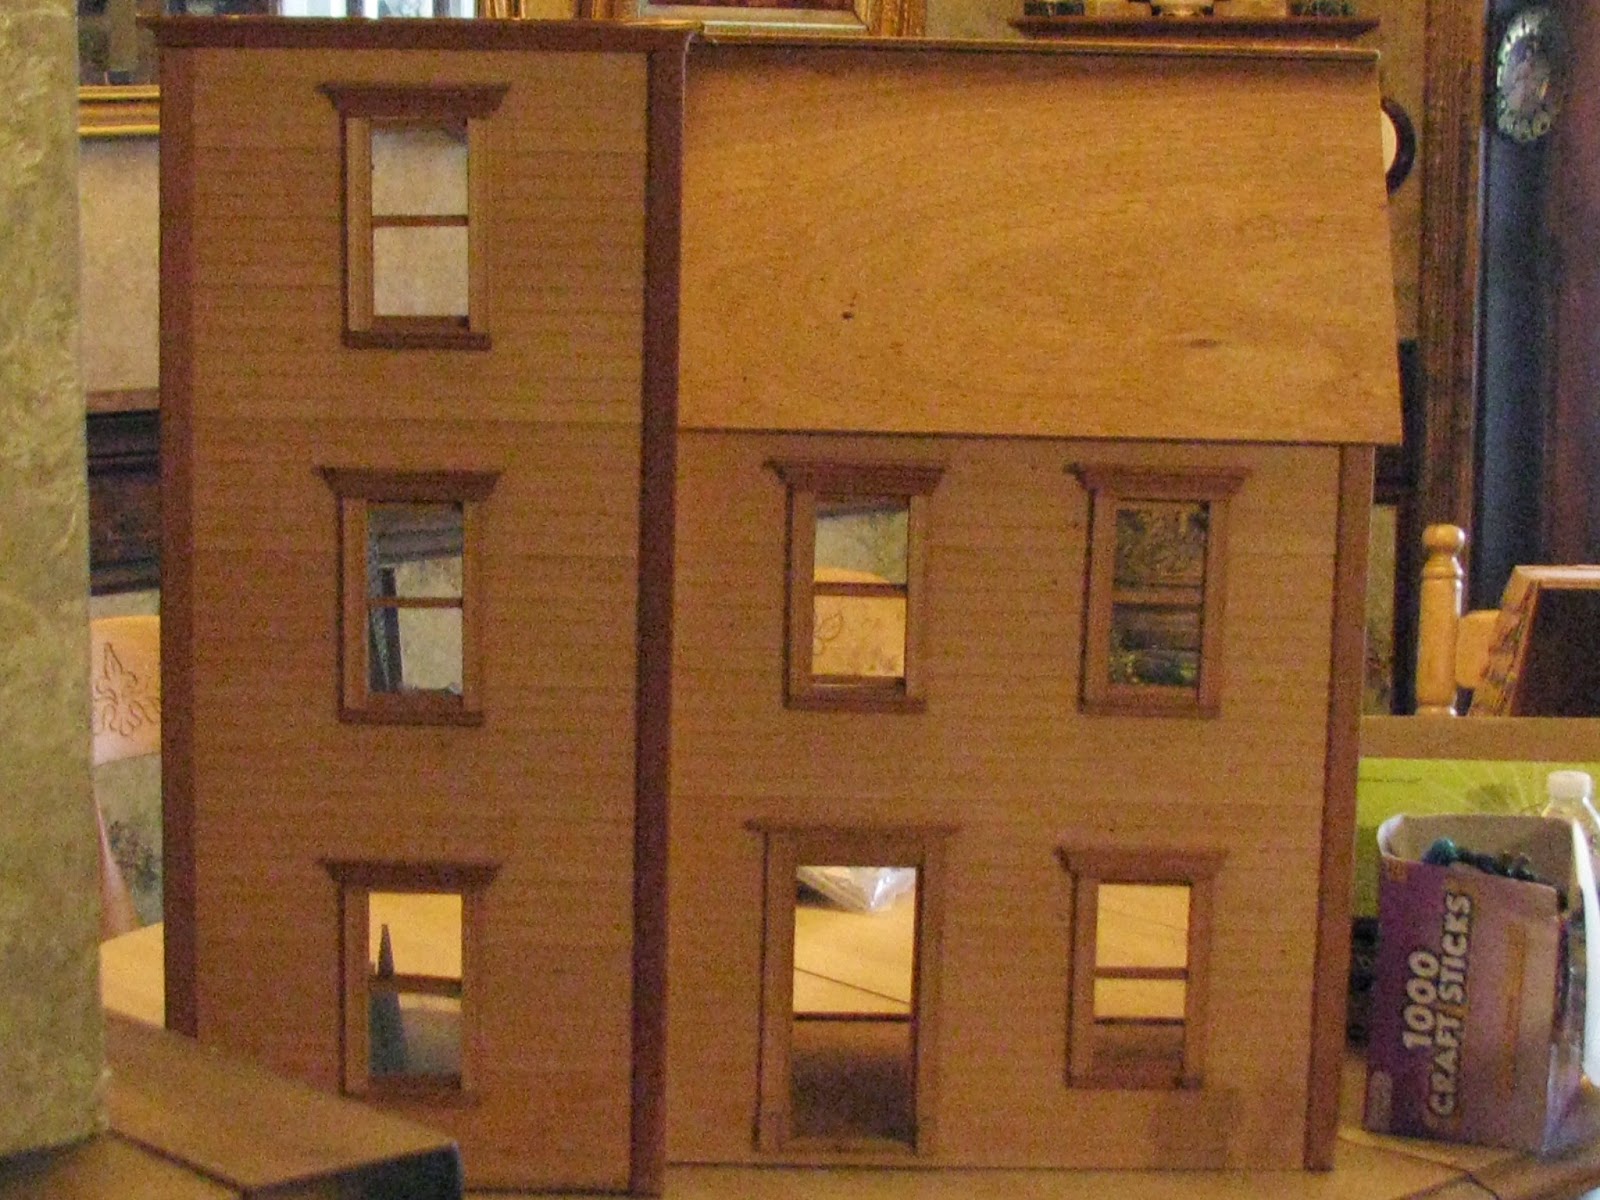
This is a new doll house I am transforming.
This is what the inside looked like, after I took out all the things that were just laying in it.
This is what the front looked like before I started.
This is what the inside looked like before I took out the pieces.
I took the roof and added some of the cardboard roof shingles that I cut out of the bottom of water packages made from cardboard. I also did this with the other doll houses I have on my blog. On the very top I installed checker pieces see the photo below.
These are the checker pieces I used, these pieces can be used for different things. I bought them at the dollar store.
I needed some railings for around the stairways, so I used popsicle sticks, wooden bbq skewers, and some balsa wood.
This is what the railing looked like after putting some pieces together. I took a piece of balsa wood the size I needed for the length and just punched in some holes where I wanted the spindles to be in it. then I glued the spindles which were made from the bbq skewers into their places. Then I added popsicle sticks to the bottom. The popsicle stick area is the bottom railing.
This is what it looked like when I put in some holes before adding the spindles.
These are the cut spindles made from the skewers before I added them.
I installed the railing in this picture, this can save you a lot of money for railings in a doll house.
I added some pieces of furniture that I got from a garage sale. Also around the windows I added some popsicle sticks for the trim work. I also cut up a top window curtain and made some curtains for the windows. I always glued the piece of curtain onto a popsicle stick and then glued it over top of the window.
I put wall paper on the walls in the bathroom. There are web sites that you can download Free wallpaper for dollhouses which saves you money! I also tiled the bathroom floor with small tiles that I bought from the dollar store. I added some bathroom fixtures which I got from a garage sale.
I made one of my solar powered TV sets for this dollhouse. The cabinet itself is made of a cabinet which I bought from michaels craft store I took off the doors which I will use for windows in one of my other projects and took out the shelves on the inside top of the cabinet. I then printed out a picture of a disney scene off the internet and glued it to the front. I then added some little piece of wood trim around the picture ( match sticks cut up from the dollar store). In the back I drilled a hole in the cabinet so I can put a top of a cheap 97 cent solar light in it at night. During the day I put this light outside to build up electric. I also added carpet tiles to the floor in this home.
This is the kitchen area. I added some furniture and also I used shelf lining self glued material for the floor, it makes it look like a wood floor.
This is what the finished project looks like. I added a front porch.
Here is a front view of the house. At night all the windows light up I made solar light holders for this house exactly like the ones I make for my other dollhouses. You have to put the solar light holders outside during the day and then put them in the windows at night so it looks like the lights are on. I also use a solar light for in the back of the TV cabinet which lights up the TV set at night. I drill a hole in the back of the cabinet for just the light to fit through it. My daughter came home at night and was laughing she saw I had put a doll sitting on the couch and the TV was lit up. It looked like she was watching the TV.
This is what the top looks like now.
This is a view of the inside of the dollhouse. If you use your imagination for anything you find anything is possible. It could save you a lot of money finishing off a dollhouse. Happy dollhouse making!!!


No comments:
Post a Comment