Ad sense auto

Google analytics

Saturday, March 22, 2014

This is a new doll house I transformed, there are some tips that can save you Money!!


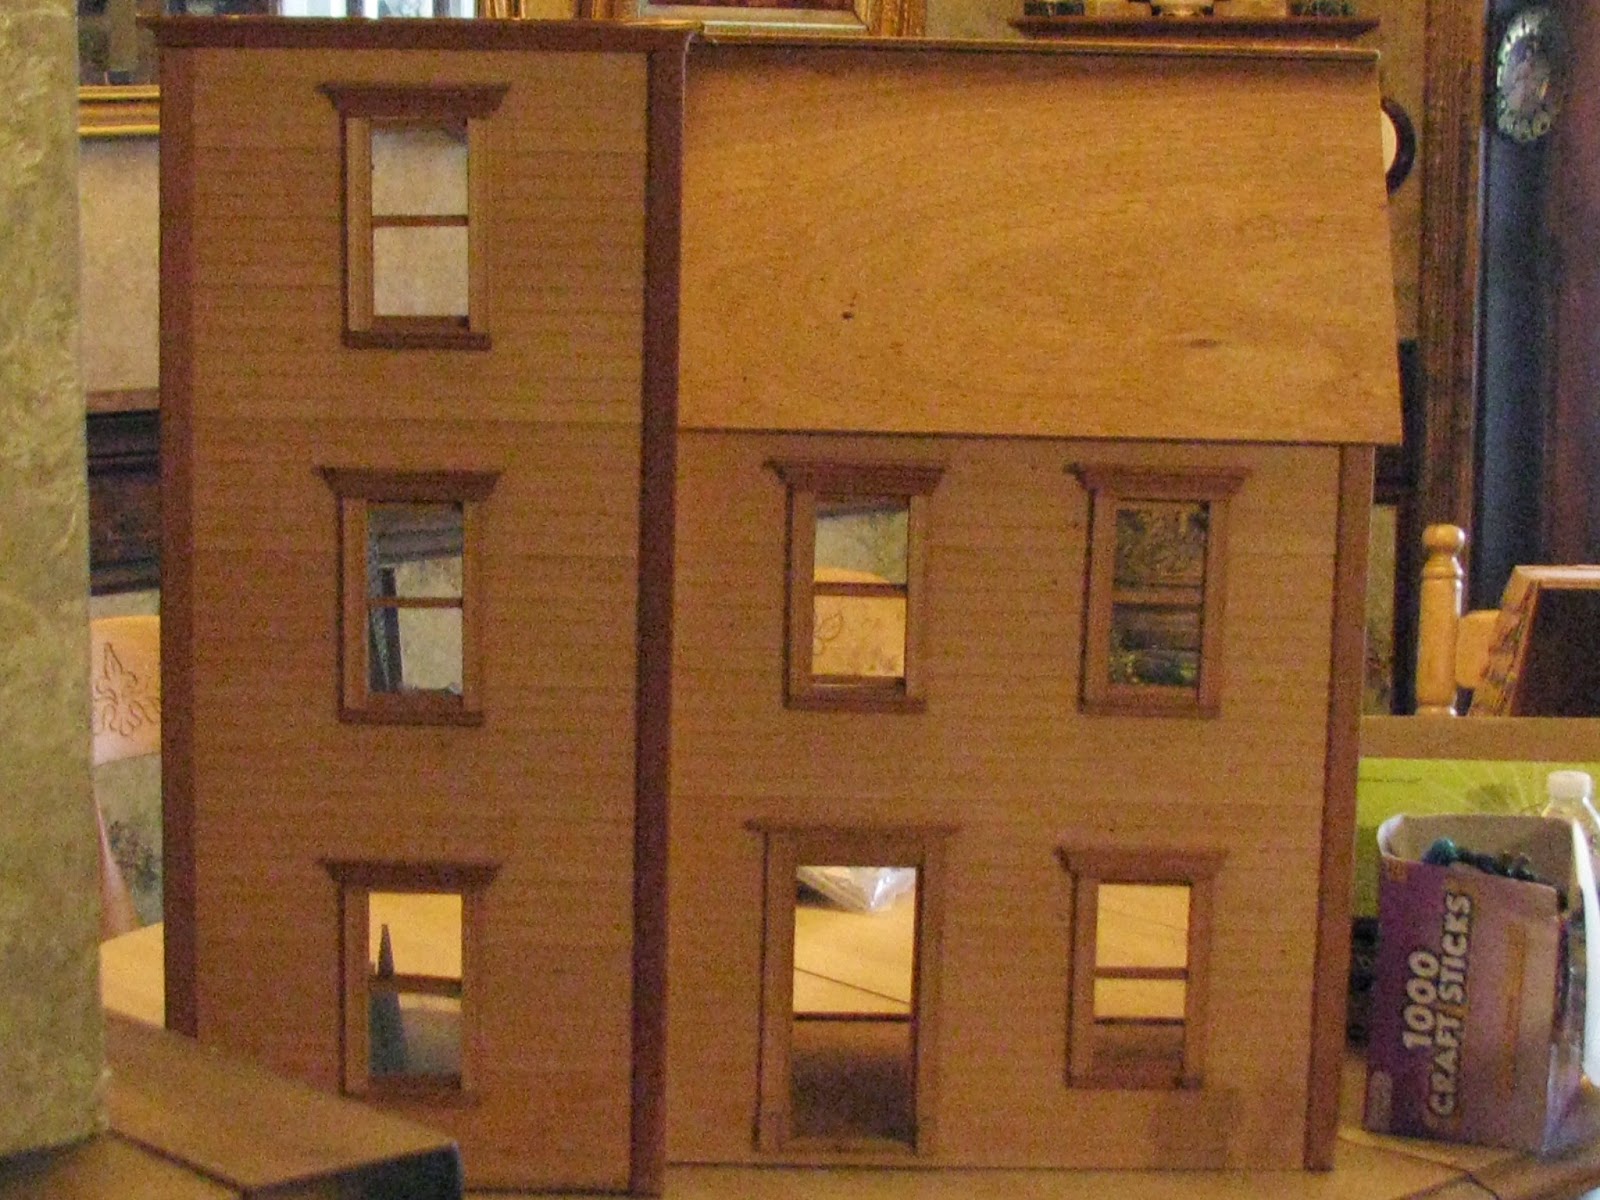
This is a new doll house I am transforming.


This is what the inside looked like, after I took out all the things that were just laying in it.


This is what the front looked like before I started.


This is what the inside looked like before I took out the pieces.


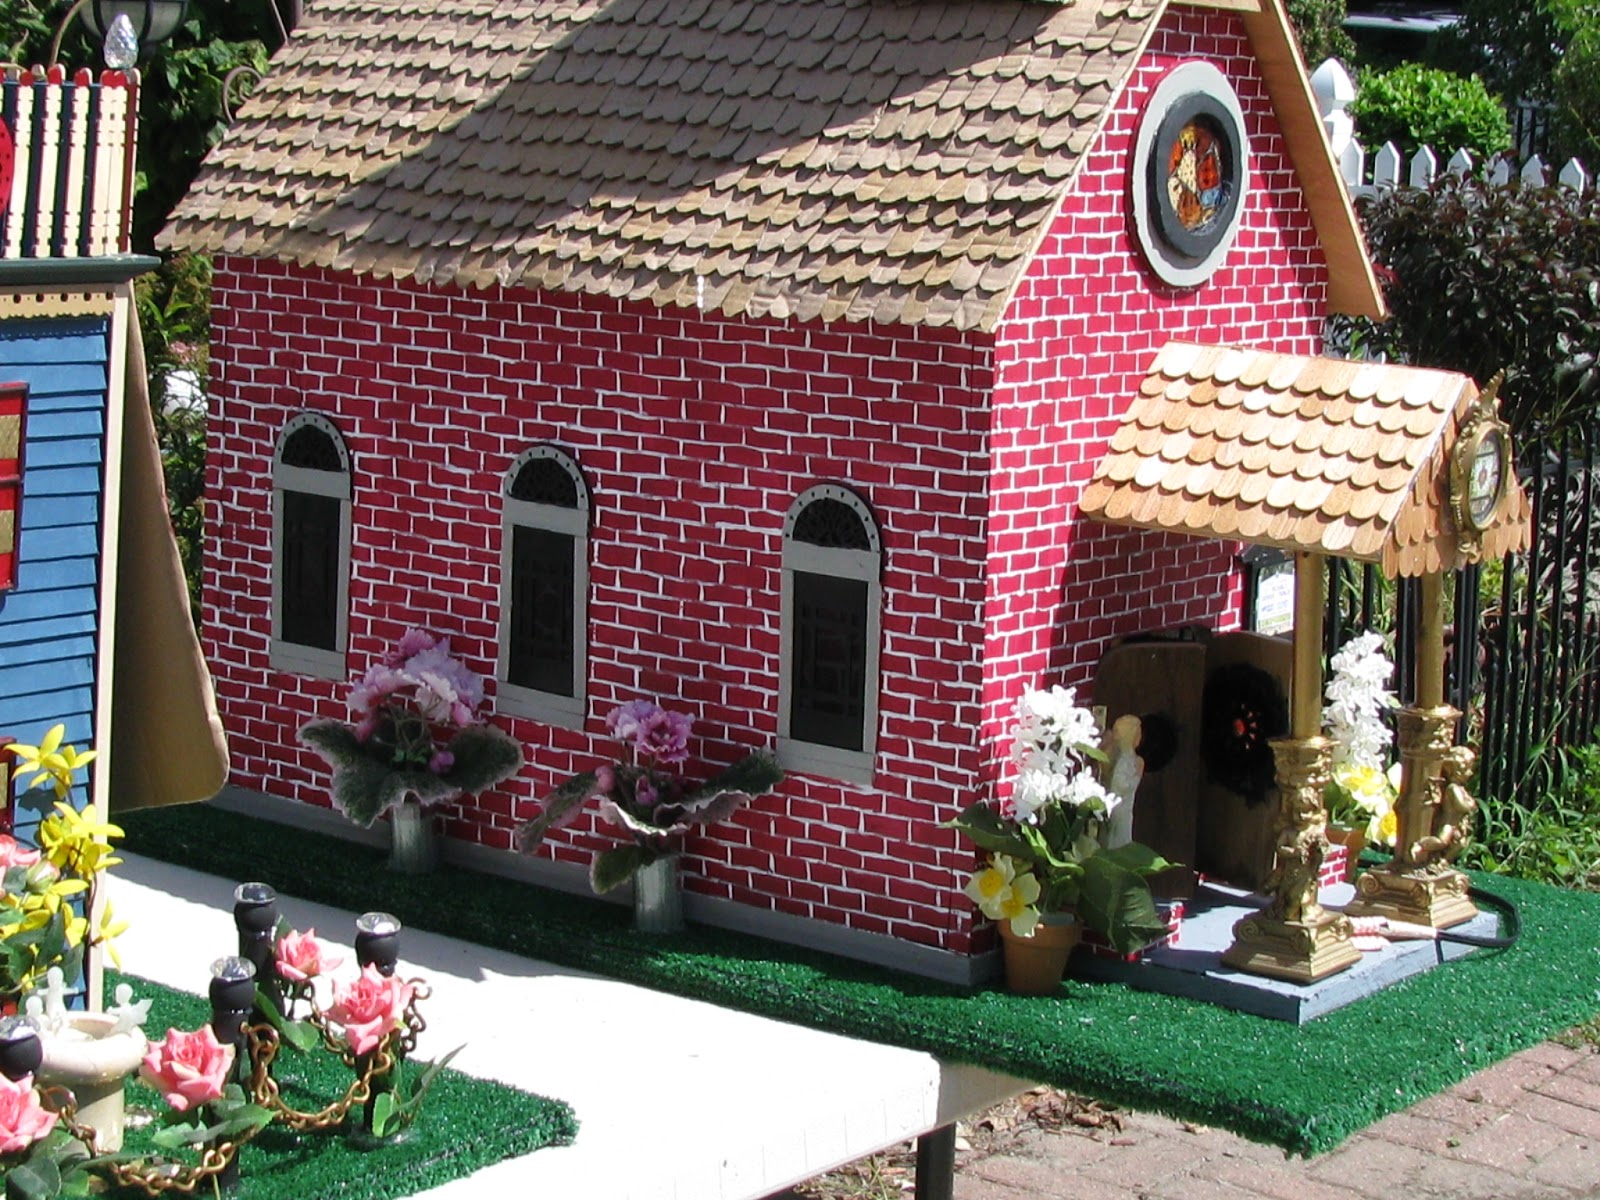
I took the roof and added some of the cardboard roof shingles that I cut out of the bottom of water packages made from cardboard.  I also did this with the other doll houses I have on my blog.  On the very top I installed checker pieces see the photo below.


These are the checker pieces I used, these pieces can be used for different things.  I bought them at the dollar store.


I needed some railings for around the stairways, so I used popsicle sticks, wooden bbq skewers,  and some balsa wood.


This is what the railing looked like after putting some pieces together.  I took a piece of balsa wood the size I needed for the length and just punched in some holes where I wanted the spindles to be in it.  then I glued the spindles which were made from the bbq skewers into their places.  Then I added popsicle sticks to the bottom.  The popsicle stick area is the bottom railing.


This is what it looked like when I put in some holes before adding the spindles.


These are the cut spindles made from the skewers before I added them.


I installed the railing in this picture, this can save you a lot of money for railings in a doll house.


I added some pieces of furniture that I got from a garage sale.  Also around the windows I added some popsicle sticks for the trim work.  I also cut up a top window curtain and made some curtains for the windows.  I always glued the piece of curtain onto a popsicle stick and then glued it over top of the window.


I put wall paper on the walls in the bathroom.  There are web sites that you can download Free wallpaper for dollhouses which saves you money!  I also tiled the bathroom floor with small tiles that I bought from the dollar store.  I added some bathroom fixtures which I got from a garage sale.  


I made one of my solar powered TV sets for this dollhouse.  The cabinet itself is made of a cabinet which I bought from michaels craft store I took off the doors which I will use for windows in one of my other projects and took out the shelves on the inside top of the cabinet.  I then printed out a picture of a disney scene off the internet and glued it to the front.  I then added some little piece of wood trim around the picture ( match sticks cut up from the dollar store). In the back I drilled a hole in the cabinet so I can put a top of a cheap 97 cent solar light in it at night.  During the day I put this light outside to build up electric.  I also added carpet tiles to the floor in this home.  


This is the kitchen area.  I added some furniture and also I used shelf lining self glued material for the floor, it makes it look like a wood floor.


This is what the finished project looks like.  I added a front porch.


Here is a front view of the house.  At night all the windows light up I made solar light holders for this house exactly like the ones I make for my other dollhouses.  You have to put the solar light holders outside during the day and then put them in the windows at night so it looks like the lights are on.  I also use a solar light for in the back of the TV cabinet which lights up the TV set at night.  I drill a hole in the back of the cabinet for just the light to fit through it.  My daughter came home at night and was laughing she saw I had put a doll sitting on the couch and the TV was lit up.  It looked like she was watching the TV.  


This is what the top looks like now.


This is a view of the inside of the dollhouse.  If you use your imagination for anything you find anything is possible.  It could save you a lot of money finishing off a dollhouse.  Happy dollhouse making!!!


Monday, March 17, 2014

A Country Style House redone

This is another dollhouse I just finished.  


This is in the babies room in this house.  I used wrapping paper for wallpaper.  I made curtains for the windows cutting up one top curtain into pieces.

This is the hallway area when you go up the steps in this house. I used carpet tiles for the rugs, i cut them to the sizes I needed them to be.


This is another bedroom.


This is the kitchen area.


This is the parlour.  I also made another solar TV set, this TV lights up at night.


This is the staircase in the parlour area.


I made a wall hanging for on the wall from the front of the cabinet that I took the doors off for the TV cabinet.  I put a photo in back of it and painted the door, and also added a piece of wood trim to the top.


This is a closer look at the TV.


This is a view of the back of the house.


Monday, September 9, 2013

The church is finally finished wait until you see what it looks like!!!


In this picture you can see on the inside of the church a top of a solar light, which I turned into a hanging light for inside the church.  I took an electrical wire from one of the lamps that I take apart and I put it back together inside one of the solar light pieces.  I then put a piece of wood across the top and installed the light on a hook that was originally used to hang up coffee cups.  Now the inside of the church lights up nice and bright, I can't see anyone falling asleep during mass in this church.


This is a view of the front wall of the church I put a figure of Jesus on the front wall.  You can also see the organ.


This is a downward look into the church from the top.  You can see the alter which I put a chalice on it and a dish with communion wafers in it.  I also put an open bible on the alter which is hard to see in this photo.  There are also two candle stick holders with fake candles in them on both sides of the alter.


This is the top over the front of the church.  You can see I have a roof over top of the front which I shingled the roof.  I also took an older frame and put in a different picture in it.


This is located in the back of the church.  Everyone needs a place to pray and meditate.  The fence is made of the sticks that hold up solar lights with a glass bulb on top of them.  The cross railings are made of popsicle sticks.  The fence is painted black.  There is a miniature bird bath looking item in the middle with a small glass on top which the solar light is installed on top of.  This whole area lights up at night due to the solar light.  Inside the bird bath I put decorative pieces of purple glass material.  I also put 1 decorative ceramic tile under the bird bath.  I put in fake flowers and made some benches out of the balsa type wood and put some red felt on top of them.  I also glued down a couple rocks on the ground.  Under this church there is a plywood platform with fake grass carpeting installed on top of it to look like a lawn.


This is above the garden in the back of the church.


This is one of the sides of the church and you can also see some of the front.


this is what the top of the church looks like.

This is what the front of the church looks like.  I have two angels on both sides of the doors.  I made red brick looking stands under the angels.  I also took two candle stick holders that have angels on them and put in two of the solar light sticks to look like they are holding up the roof overhang area.  There is also some fake flowers in the front.  The sign on the front of the church reads: St. Michaels Church which is hard to see on the right side of the picture.  I also have a platform under the columns that I painted gray after putting down wood pieces for flooring material.


This is another view of a side of the church.


This is what the old pipe organ looks like finished off.  I also made some fake books with church music for the organist.


I put some pictures on the walls of the church in between the windows, all different pictures that have to do with Jesus.  I painted the pews and installed some red felt on the pews for the seating area.

This is another view looking down into the church.


This is the front of the church view.  I put in a baptism font on the right side and in front of that is a sign which stands in the church to tell everyone what verse to look up in the bible.  The baptism font was made from a glass turned upside down and on top is the cap off a koolaid container.  I painted it white and installed decorative blue glass for the water.  You can also see a close up of how the light is being held up in the church.


This is a view looking down into the church.  You can see the pews and I also made some little bibles for inside the holders behind the pews.  I also added some crosses to the sides of the pews.   I hope this gave you some ideas just in case you want to build a church of your own.  I also added some pieces of trim wood under the windows to make it look like the window sill.


Friday, September 6, 2013

The third phase of the church I'm working on, stained glass looking windows and fake brick siding.


This is what the church looks like at this point.  First I painted the whole church a beautiful red color. Then I made it look like a brick church by drawing lines and painting them white.  The bottom of the steeple on top of the church I installed popsicle sticks to make it look like lap siding and painted it white.  The middle part of the steeple I painted red and made it also look like red bricks.  I also added shutters which were made of popsicle sticks and put a trim around them with popsicle sticks.  I painted the shutters white.  The top of the steeple I made cardboard shingles and installed them and painted the roof black.  The very top of the steeple I added a piece from a light fixture and also made a cross out of a dowel and painted it gold to match the light fixture piece.  I also added the fake stained glass (which is the window film from Home Depot)  This window film is amazing what it makes windows look like, like real stained glass.  


In this picture you can see the top of the roof which I need to install more cardboard shingles which I make out of the cardboard which holds water bottles in the store or the cardboard from the Gatorade package.  You will see the roof finished with the cardboard shingles when I post it.  You can also see another view of the fake bricks.


One thing I didn't mention I finally tried using my wood burning kit which I got from the craft store, for making the steeple have red bricks on top.  The wood burner worked out great it gives you depth of a real brick.  You can also see a close up of the top of the church.  I have some people asking me if I sell any of my items I always sell them so I can make more of them.  I love making things!  In the photo you can also see the bell in the steeple which is a pencil sharpener.


This is a close up of the front of the church, you can see the fake stained glass window.  I installed two foam circles (different sizes) around the window to give it depth and a frame.  I painted one of the circles gray and the other black.


I made a light for the inside of the church which I will post in the near future.  I made a light out of a top of a solar light and a wire from a lamp.  You can see how the church lights up.  I also put a bell in the tower which is a pencil sharpener it works GREAT!!


This is what it looks like right now with the light lit.


You can see how the fake stained glass windows light up.


You can see what the front window looks like lit up.  I installed the window film over top of a wooden decorative piece I bought from the craft store.  make sure you check out my blog on Monday I finally finished the church!!