Ad sense auto

Google analytics

Friday, July 5, 2013

Lamp parts turned into a decorative egg style solar light.


For this project I will be using some parts off this lamp, which is made of a glass material  The first thing I do with the lamp parts is take off all the electrical parts.


This is another lamp I will be using pieces off of.  This lamp reminds me of those decorative eggs some people make around the holidays.


This used to be part of a hanging type lamp which I will be using some parts off of.


In this photo you will see some decorative string made of a plastic type material.


In this photo I will try to explain the parts that were put together with a threaded bar.  Starting at the bottom.  The part on the bottom was from the first lamp I showed you, the glass lamp.   The second item coming up was a piece from the hanging lamp.  I then attached the egg shaped item from the other lamp I showed you in the above photo.  I them added the other decorative piece off the glass lamp.  On top of that I added the top portion off the hanging lamp fixture.  I put in some spacers and then a little screw down type decorative piece off an older stand up lamp to hold everything into place.  I topped it off with a globe from a light fixture, this is where the solar light will be put on top of.


This is the light globe I used.


This is the bottom part of this project.  I tried to show you a close up.  As you can see I also hot glued some of the plastic string type decorative piece around it.


This is what the finished project looks like.  The top part lights up at night.   this is what you can do with pieces from different lamps and turned it into a unique looking solar lamp for a front window in you home or for outdoor use.


Thursday, July 4, 2013

Disney's Nemo character used in my new project, making a new decorative statue holder out of many different pieces.


For this project I am using pieces from a lot of different light fixtures, lamps etc.  In this picture you can see a threaded bar which came from a lamp.  The base bottom is from a bottom of a large standing lamp.  I'm painting most of the pieces a beautiful blue color.


In this picture you can see some pieces from other lamps etc.  the flower shape tops came from an older beveled lamp which is a lamp that attaches to an outside of a home.  I've used this type in my other projects.  I'm hoping to find some more of these fixtures.   The bars off to the bottom right are pieces off the light fixture that hold the beveled glass into place.  There is also another piece on the top area that came from a table lamp.  The rest of this lamp I used for another project.


Everyone should know who this is, this is Nemo.  I will be adding Nemo to the inside of the beveled lamp fixture as you will see.


This is looking down into the beveled glass fixture, before the glass was added back in.  I hot glued some glass marble type pieces and some moss to make it look more decorative for Nemo.


This is what it looked like after I put the glass back into the fixture and put Nemo inside of it.  I also added the little cherubs which cam from another lamp.  I painted the cherubs gold.


In this picture you can see the area located under the cherubs.  I added two marble pieces one on the top area and one towards the bottom area which were from other lamps.  You can see the other piece I painted blue that was from another lamp.  On the bottom is the base from the standing lamp.  I also added some gold detailing in different places and also some decorative marble circles around the area under the cherubs.


As you can see in this picture Nemo looks very happy in his new fish tank.  I also added a solar light top so this would light up at night.  Any solar light needs the rays from the sun in order to be able to light at night.  This would be great in a child's room or anyone that likes Nemo.  I hope this showed you how you can turn an old light fixture into a decorative fish tank for Nemo or any other under the sea project you may think of.  


Wednesday, July 3, 2013

Pineapple candle stick holder turned into a unique piece, solar.


For this project I used one of these candle stick holders which I used in one of my other projects.  I had three of them so I used the third one for this project.  As you can see I already took the pineapple top off off the candle stick holder.  I also painted it black with gold detailing.


The glass crystal piece on the top of this project used to be part of a lamp.  I turned it upside down.  On the inside I used a beautiful blue globe which was from another lamp.  I also used a piece off another lamp for under the crystal lamp.  I put all these pieces together using the same type of threaded bolt that I used for one of my other projects.  I topped it off with the top of a solar light.  At night this lights up blue due to the blue globe in the center.


This is what it looks like looking down into it.  In the center is the threaded bolt I used to hold it all together.


This is the solar light I used, I took off the bottom stick and used the whole top which fit perfectly in the blue globe.  This is just another way you can use a candle stick holder to make something unique and different.


Tuesday, July 2, 2013

Plastic Bubble Gum Machine turned into a snow globe for Christmas in July. Teddy Bear, Mouse, Solar light


This is the plastic bubble gum machine I will be using for this project. 


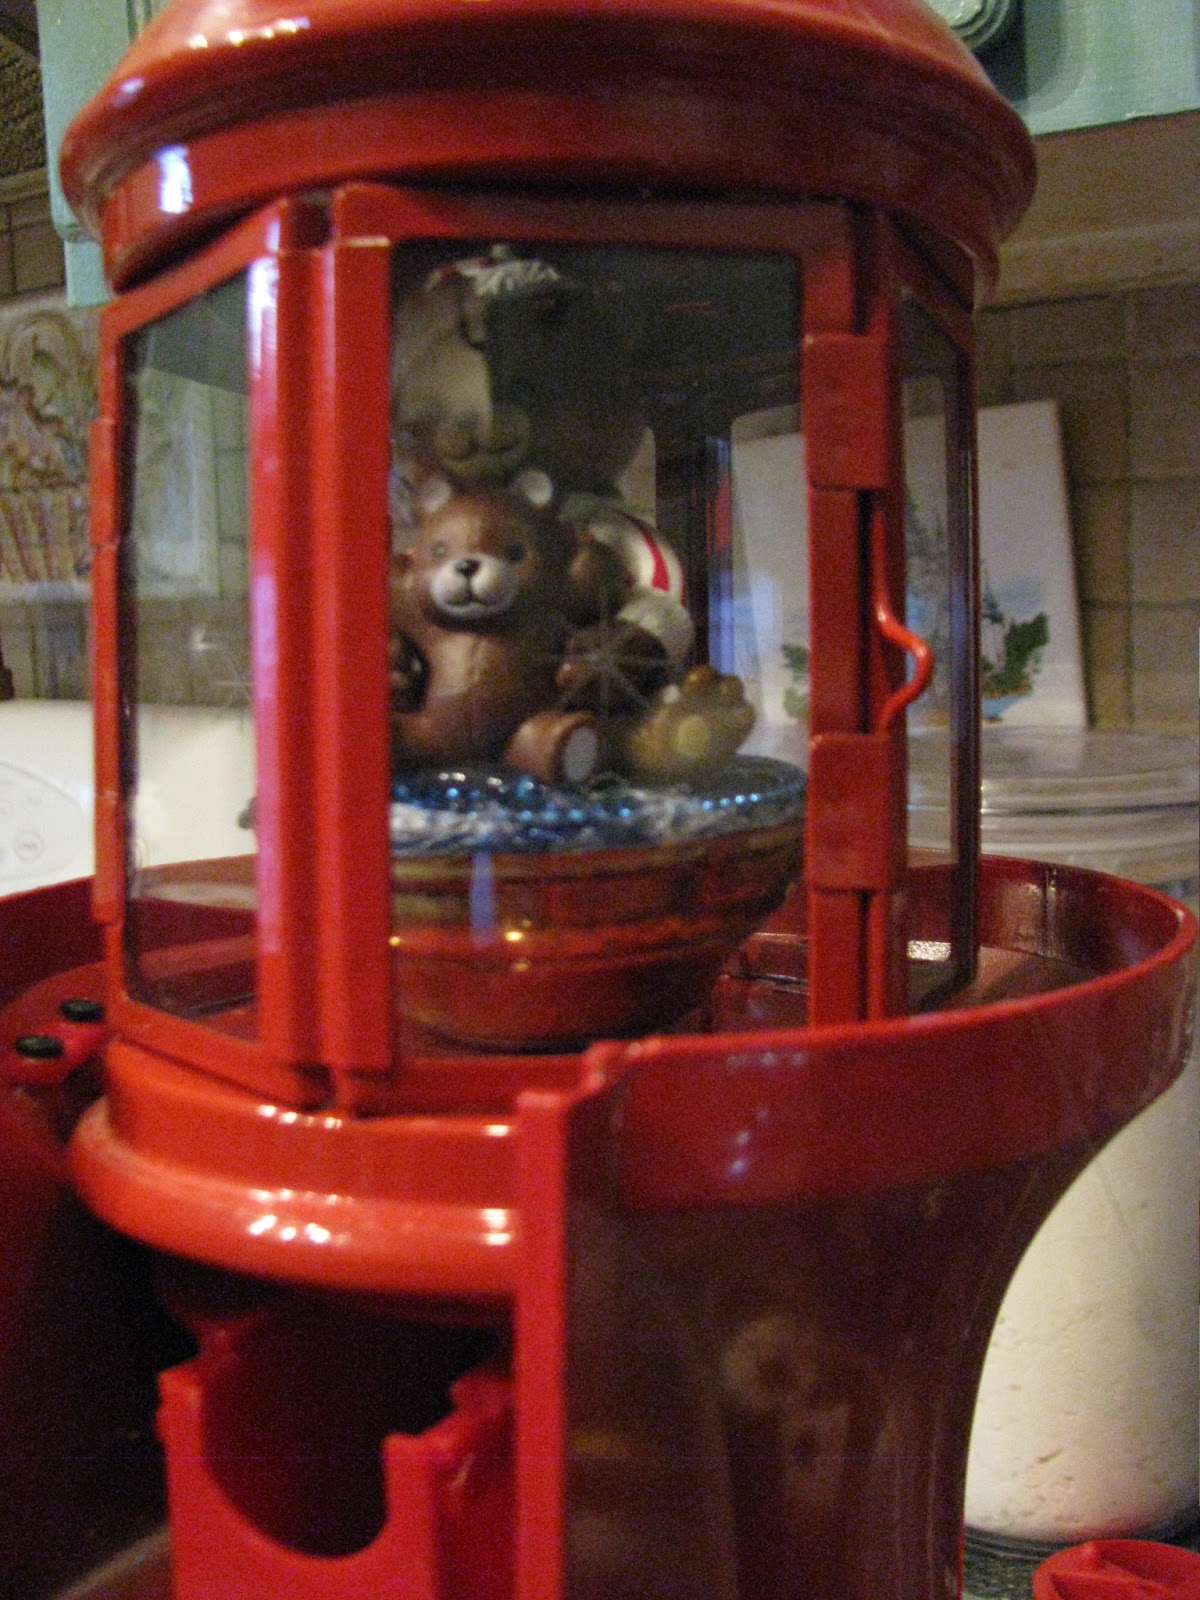
I will also be using a candle holder which is octagon shape.  As I did in one of my other projects with the same type of candle holder I drilled a hole in the bottom of it and also painted it red to match the bubble gum machine.  As you can see in the picture I attached the candle holder to the top of the bubble gum machine after I dismantled the top portion.  You can see I took off the globe top.


I wanted to show you the globe had a red piece on it which I needed off.  So I cut off the red areas on top of the globe so that I could slide this globe right over the candle holder.


I attached a piece off a light fixture to the inside of the candle holder so I could install a round decorative mirror on top.


If you look inside the candle holder I installed the light fixture piece and the mirror on top.  On top of the mirror is a teddy bear wearing striped PJ's and holding his teddy bear.


Once I placed the round globe from the bubble gum machine over top of the candle holder I installed another piece from a light fixture, you can see the holes that wires once came through.  I spray painted the piece with white exterior spray paint.


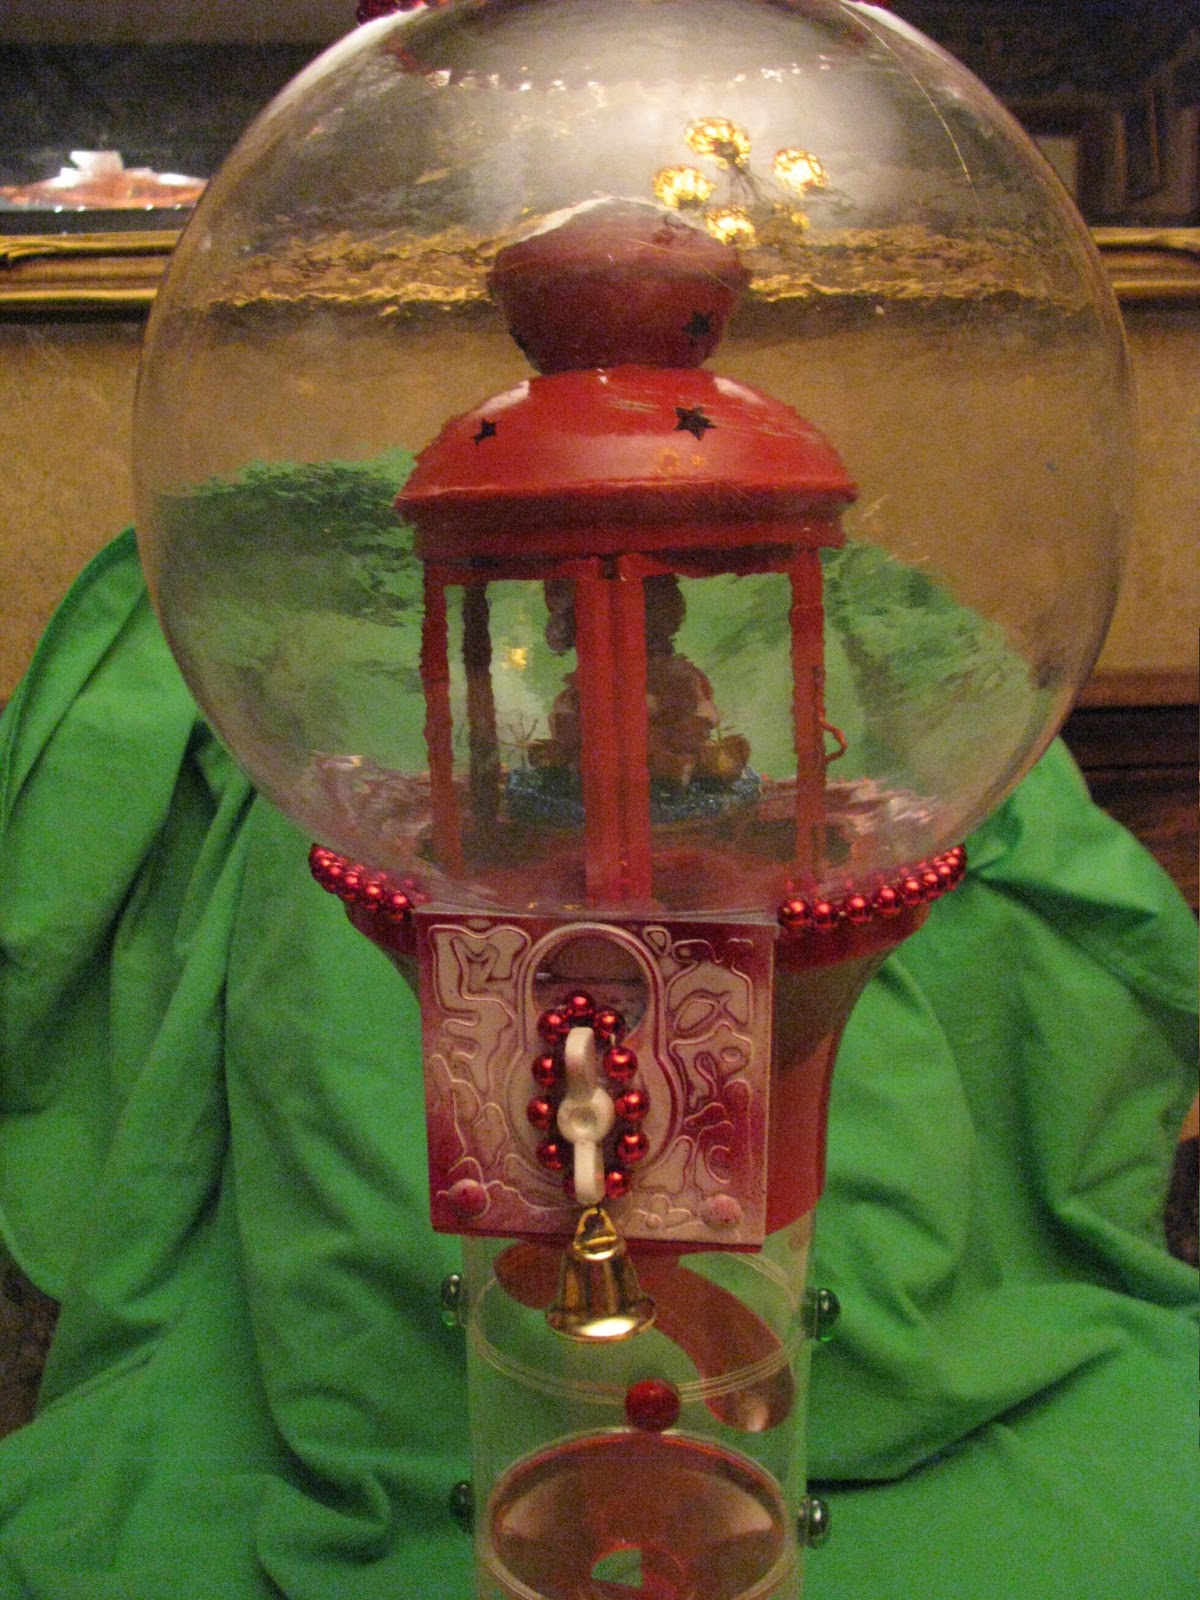
In this picture I tried to give you a better idea of what I did.  All the way on top is the top of a solar light which I painted red to match the piece.  Then under the solar light cap you will see the light fixture piece that I painted white.  The holes that were in the piece I hot glued some shiny decorative marble pieces over top so the holes no longer show.  I added some beads under and over this area.  Then you can see the plastic globe for the bubble gum machine which I installed the candle holder inside of.  Inside the candle holder is the statue of the teddy bear.  The base of the bubble gum machine I left the color red but I put some white detail color on it and some decorative marbles glued on to the bottom area.


In this photo you can see a close up of the candle holder in the globe.


In this picture you can see the beads I glued on around the area where you turn the knob for the gum.  I also put a bell on this area.


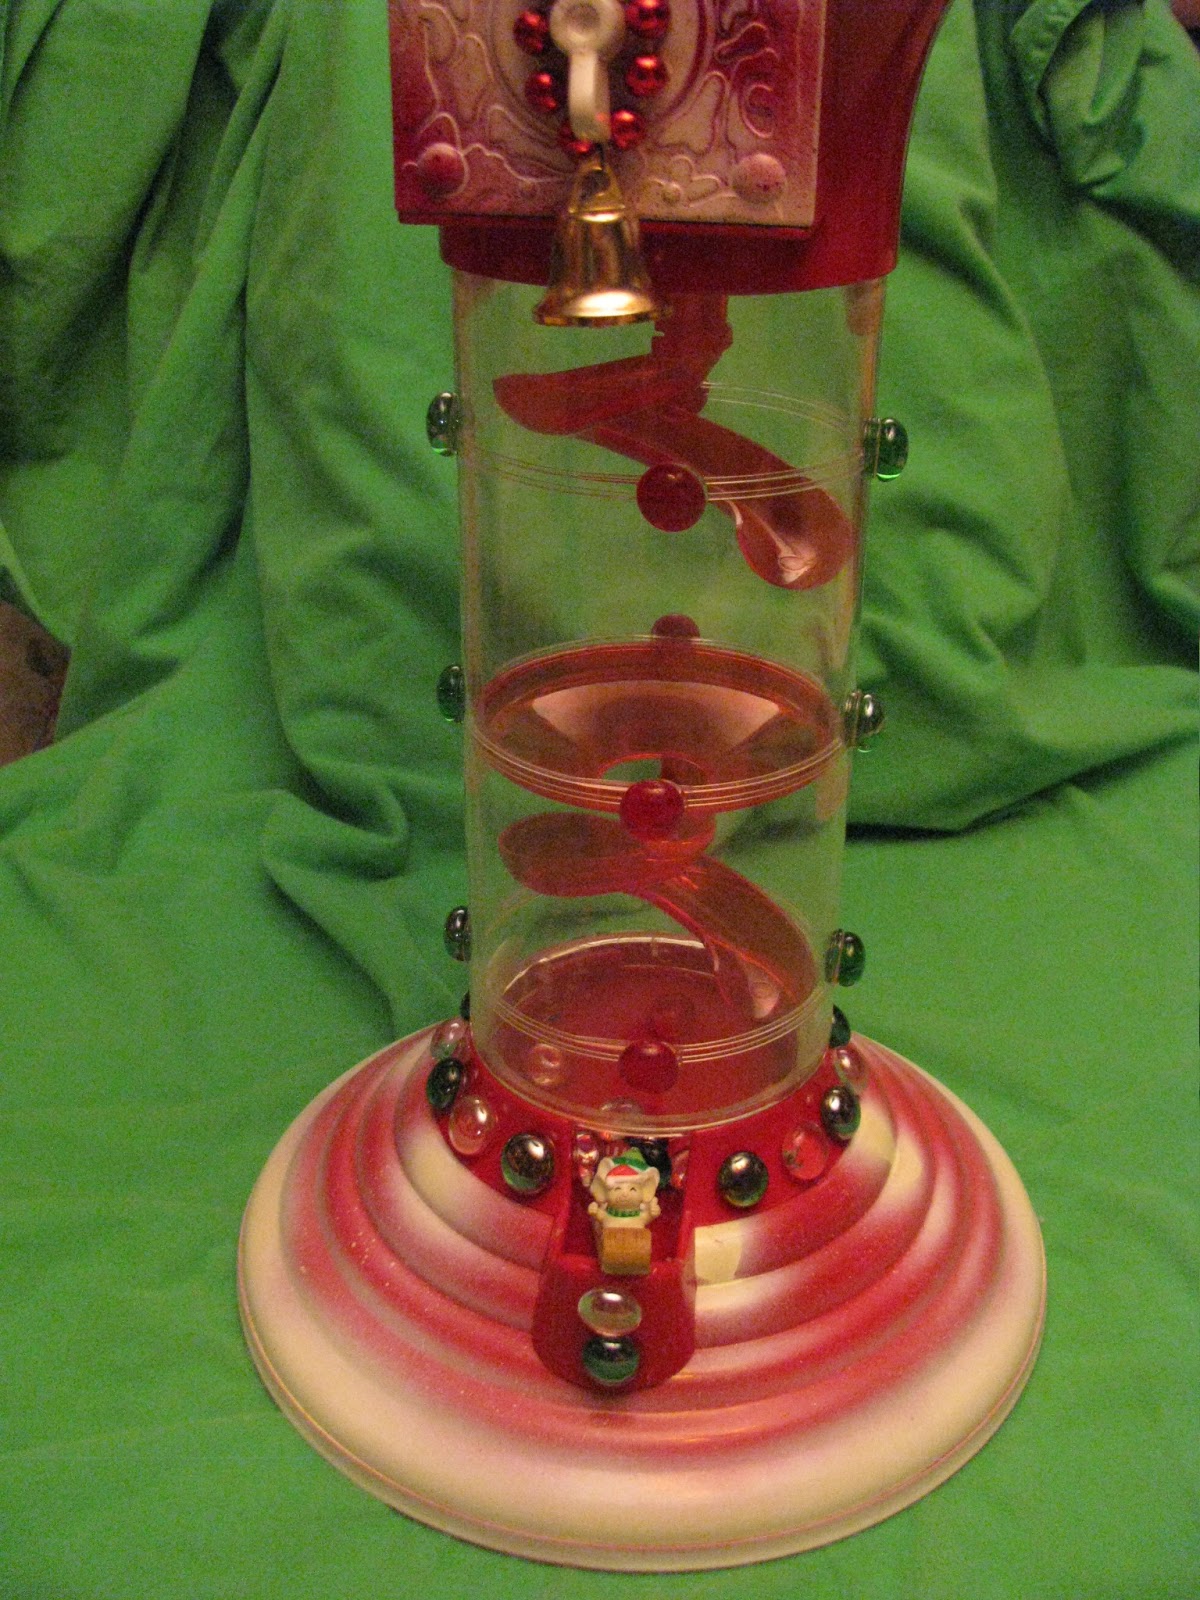
In this picture you can see in the bottom of the gum machine where the gum ball comes out I installed a statue of three mice on a sled.  I made it look like they were coming out of the bubble gum machine.


This is just another close up of the bear.


This is the solar light top I used which I painted red to match the bottom area.


this is a picture of what this item looks like finished.  I also added some snowflakes to make it look like a snow globe.


This is another close up of the top of this item.


This is the back of the bubble gum machine.  There was an opening in the back which needed to be covered up.  What better way but to install a sleeping squirrel with his Christmas stocking hanging over his head.  The hole in the back now looks like the opening he goes in and out of and he is sleeping in a wreath over top of the hole area.


This is what the bottom front looks like.


This is the area where money is put in and the knob for turning for the gum.  The close up shows the beads and bell that was installed over this area.


I tried to give you another view of this item from the back.  This would make a beautiful addition to your Holiday decorating.  The solar light I installed changes colors.  So the inside of the globe has red, blue and green at different times.  I hope this gives you some ideas that you can use those old bubble gum machines for.  It doesn't matter if the machine works or not if you do this with it.


Monday, July 1, 2013

Pineapple candle stick holders and old light fixtures turned into something unique.


This is one of the items I will be using for this project.  There are two candle holders which look like pineapple trees.


These are what both of the light fixtures looked like before getting changed into something different.  I'm going to show you one instead of both, they turned out the same.


I took all the electric pieces off of both of them.  This is what I needed for this project, the light globe.


You can see in this picture I took the candle stick apart, what I have is the pieces.  


This is a birds eye view looking down into the globe.  I connected the globe to the top of another light fixture and into the candle stick holder using the threaded bar from the candle stick holder to put it together.


Before putting the pieces together I painted them black and did gold detailing on them which you will see in the photos to come.


These were the threaded pieces from the candle sticks which I also painted.


This is what the candlestick holders looked like after the gold detailing was done.


This is another piece off of a lamp which I am using for this project.  I also painted this a burgundy red color with gold detailing.


This is the solar light I will be using.


I only needed the top portion of the light not the stick.  This fit perfectly right on top of this globe.


This is what I didn't use off the solar light for this project, this is the stick on the bottom.  I will use this for another project in the future.


This is what this item looks like done.  As you can see in the background there are two of them.  On the top of this project you will see the top of the solar light which sits perfectly in the light globe.  Under that area you will see a part off another light fixture which I painted burgundy red and detailed it with gold paint and black.  On the bottom you will see the pineapple candle stick which was painted black with gold detailing.  The top globe lights up at night.  This is a unique piece and looks beautiful at night.  I hope this gives you some ideas.