Ad sense auto

Google analytics

Friday, June 27, 2014

A solar light Indian Fairies in a beautiful older bubble gum machine


This is the bubble gum machine I will be using for this project.  The first thing I did was take it apart so I could paint it.


This is the base without the top on it, I took it all apart.


I painted the base part a hammered copper color.  I painted it with exterior type paint so I could leave it outside.


This is the middle part of the bubble gum machine.  I painted this part also and added a piece of styrofoam in the center to make a flat base.  If you look in the top area of this picture you will see a circle piece which was from another lamp I took apart.  I'm changing the piece that sits on top of the glass so I can put a solar light through the top of it.


This is what it looked like when I put the pieces back together.  I took out the middle bar, and glued the glass down to the top of the middle piece.


On the inside I added a mirror in the center and some fake flowers to make it decorative looking.  I wanted it to look like a flower garden for the fairies.


This is a closeup of the piece.


As you can see I added the indian looking fairies, they were hanging ornaments from ashton galleries.  They have beautiful multicolor wings.  I taped them down to the glass.  This area won't be seen the top piece goes right over top of them.


This is another view.


This is another view.


After putting the top plate on I added a solar light top piece.  At night this lights up due to the solar light.  This makes a nice piece for a garden.  Remember if the bubble gum machine doesn't work, make it into a display unit for one of your statues, just don't forget the solar light on top.  Also make sure the light hangs into the item.  Remember you can find these at garage sales and you can make something beautiful out of it.  


Wednesday, June 25, 2014

Taking a broken pedestal and adding a hanging light fixture to make a flower planter


This is the pedestal that I purchased from a garage sale.  If you look at the top you can see where something used to be on it.


This is the hanging light that I will be using that I also bought from a garage sale.


This is a close up of the top of the pedestal.


The first thing I did was paint the pedestal so it would match with the colors of the hanging light fixture.


I then glued both pieces together, the light fixture gets turned upside down onto the pedestal.  You can use any hanging light that you like.


This is the finished project, note the flowers on the inside.  I first put a piece of plastic screen material in it so the dirt has drainage when the plants are watered.  You can do this with any hanging fixture, this one is made of plastic so I don't have to worry about the outside.


Tuesday, June 24, 2014

Turning an old lamp into a solar light fixture, 4 glass globes on it.


This is the lamp I started out with.  The first thing I did was take out the electric.  I also washed up the globes.


I then painted the lamp with a nice blue exterior spray paint.


This is what the project turned out to look like.  I also installed a piece off a lamp on the top and a solar light in each globe and on the top piece.  The whole lamp lights up at night.


Monday, June 23, 2014

I just finished another dollhouse, Beautiful! Used pieces from earrings on house and in house.


I took this picture to show how I made this house from a box kit.  In order to keep the pieces together while the glue is drying make sure you tape the sides together or it will fall apart and not be straight.  I used the tape that you use in your office and for wrapping up gifts it worked just a good.  Also make sure you put wax paper under it so if the glue drips it doesn't ruin your table.  It's also easier to pick up the house off the table, the wax paper peels right off the glued areas.  I used elmers wood glue it works great!


Here is another phase of the house being built.  The base of the house is the first part that gets put together.  If you see on the top of the house I used an electric cord tied around the top to hold the house square while it was drying overnight.  You can't rush the glue drying it does take overnight for it to be right.


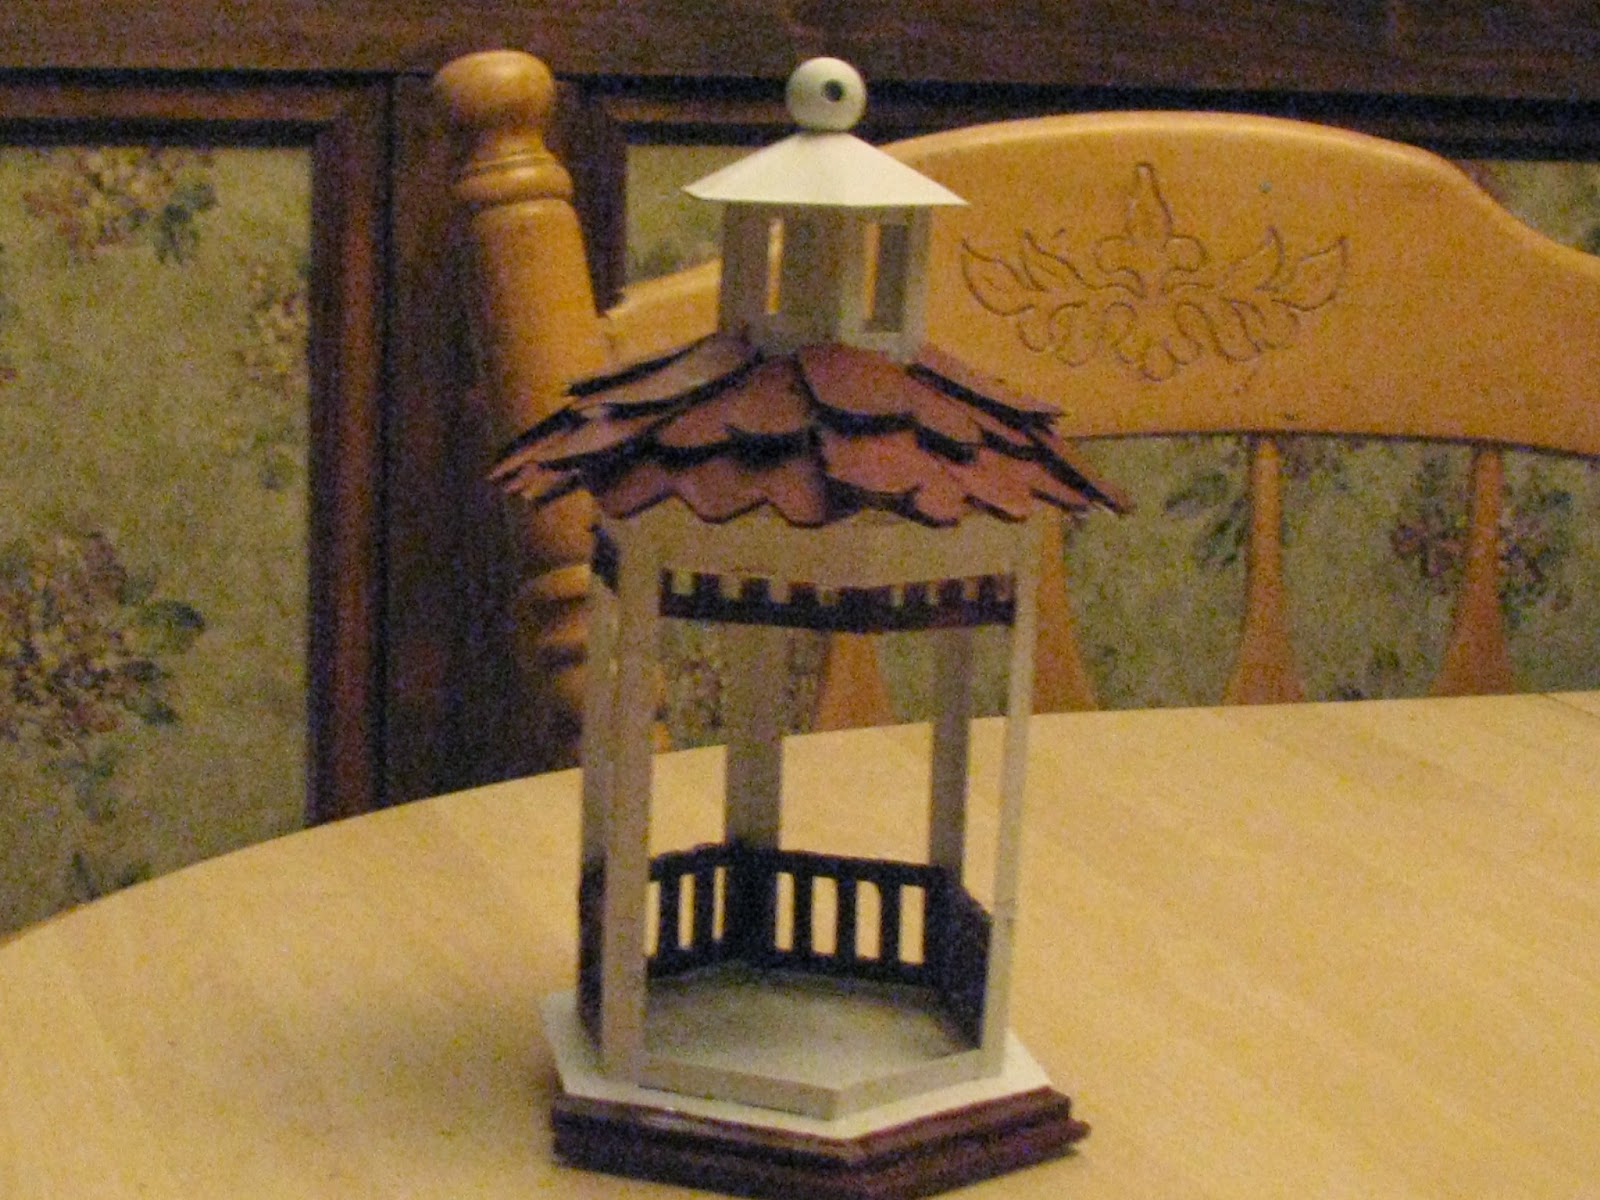
This is the finished house.  Use your imagination on colors.  I made the cardboard roof shingles for this house it was FREE! I showed you the roof shingles in one of my other house blogs.


This is the babies room. I used the bottom of a wooden box and the headboard used to be the back of a wooden chair which I bought from a garage sale.  In the front of the bed you will see a shiny piece which I got from a pair of cheap earrings at a flea market.  The earrings were 25 cents but I took them apart to make different pieces I could use.


Here is the kitchen area.  I used shelf paper which I bought from the dollar tree for the tile floor.  The refrigerator is made of a wood box standing sideways.  I painted it to match the kitchen area.  The trash can in the background is a toothpick holder which I bought from the dollar store, you get three to a package.  


This is the bathroom area.


This is the parlour.  On the one side of the door you will see a fake looking mirror on the wall, this mirror was made from a small frame which I added some silver duct tape to the back, it looks like a mirror.  I also made one of my solar light TV sets.  I made a couch out of pieces of wood.  


This is the mothers bedroom.  I built some window seats under the windows, I used rectangle shaped blocks which I cut on angles to fit under the window and added some wood across the top as the seats.  The decorative item in the front window I made from a small trophy which can be found in the dollar store in the childrens party supply area, all you do is add fake flowers.  I made some curtains out of pieces of curtains.  There is no sewing involved just hot glue to stick all the pieces onto a popsicle stick which is glued to the wall on top of the window. I love the little frames you can download a beautiful painting off the internet and shrink it to fit the frame and you have a beautiful picture for on a wall in the dollhouse.  You could even take family pictures and shrink them to fit the frame and make a bedroom in the dollhouse to match a family members bedroom.  You can decorate a dollhouse with personal pictures of your family.  What a great way to make a dollhouse for your child for Christmas time.


This is the diningroom area.  I hung a birdcage off the ceiling by the front window.  I also made a little table for in the middle of the window which is made from a small marble ashtray turned upside down and attached to a marble piece I bought a garage sale.  The curtains are made from a curtain.  


This is the staircase, I added some match sticks in a square shape to make it more decorative as you can see.


this is another view of the house from one of the sides. Make sure you watch for my next blog I am making a plant holder for the garden made from a broken concrete pedistal and an older hanging light shade.  


Friday, June 6, 2014

Making a beautiful solar light piece for your garden, and also using a drain part in your project. Gingerbread man, bird, little girl.


This is some of the pieces I will be using for this project. These are three pieces off different light fixtures.  I'm sure you have seen these pieces before somewhere.


The first thing I did was glue two sets together which consists of two different lamp fixture pieces.


I didn't like the color that these pieces were before so I painted them black.  Remember you have to take all the glass out before painting them or you will ruin the glass pieces with paint.


I purchased two of these drain pieces from Home Depot, I will be using them to connect the solar light project onto a PVC pipe.  


This is what the item looks like sideways view.  I will be taking off the metal plate around it.


After taking off the metal plate off of it this is the piece.  I also drilled a hole in the center so I could put in a threaded bar which will be used to hold down the project.


This is a closeup of the threaded bars I will be using.  I had two sets of these.  I took these out of another lamp that I worked on in the past.  I keep all the pieces from lamps that I take apart you never know what you might need!


In this photo you will see that I used plumbers glue to install the drain piece on top of the PVC pipe.  But before you glue them together make sure you put in the threaded bar first so you can install the whole fixture together before adding to the PVC pipe. I capped it off with the two pieces I glued earlier.  I spray painted the top portion red and added a solar light top.  This lights up at night.  I will show you what I put on the inside of both projects.


On the inside of this one I put a red bird and also added some decorative marbles on the inside bottom.


This is the other one, I added a figurine of a gingerbread man and a little girl, I also added decorative marbles.


This is a closeup, hopefully you can see what it looks like on the inside.  This light up at night they both have solar light tops on the top of the pieces.  I spray painted the PVC pipe red.  Remember you can put anything on the inside that you want to display.  Make sure the paint you use is exterior paint.


Thursday, June 5, 2014

Turning a light fixture into a beautiful solar light fixture on a wooden pole for a garden. You can put anything in it to display.


This is the light fixture I will be using I purchased two of them from a garage sale, the wiring was bad so I got them CHEAP!


This is what the lights look like now.  As you can see I cleaned up the glass, I had to take the glass out so I could paint the light fixtures.  I also cut out the bad electrical wiring.  I will show you in the bottom photos what I put on the inside of them.


The pieces I put on the inside of these fixtures were pieces from old lamps that I had taken apart.  On the inside is a decorative round piece on the bottom that has flowers on it, it is made of a porcelain type material.  On top of that is a decorative piece off another lamp and last is a glass piece out of a candle holder.  These pieces are all glued together.  On the top is the solar light.  The light shines on the inside of this fixture at night.


This is looking at the bottom of the light fixture where it is attached to the wooden pole.  I attached the bottom of the light fixture to a round ball made of wood which you usually put on the top of a fence pole, this wooden ball has a screw type item on it which you use to install it into the top of a wooden pole.  This wooden ball fit perfectly into the base of the light fixture.  You can also see I put a wooden cap installed on the top of the wood pole for decorative purposes.


Here is a closeup of the project.  It doesn't matter what you put on the inside it will light up what ever you use.  You could put in a statue or just add some decorative pieces.  This looks beautiful at night.  Best of all NO ELECTRIC, just solar.


Wednesday, June 4, 2014

Making a gazebo for your dollhouse or decoration from a metal candle holder


This is the metal candle holder that I will be changing into a gazebo.  I took out the glass panels around this candle holder as you can see in the photo.


I had these wooden fence pieces that I purchased from a garage sale which I will be using.  You can also buy them at a craft store.


I cut some pieces off the wood fencing to make railings for the gazebo.


As you can see in this photo I glued the wooden railings around the gazebo.


The gazebo needs some platform steps which I will make from pieces of balsa wood, this wood is easy to cut.


This is what it looked like after I added the pieces of balsa wood.


I also added some pieces of the wood fencing material around the top of the gazebo, as you can see in the photo.


This is a closeup of the gazebo at this point.


I added some of the cardboard roof shingles that I make from cardboard.  You can look up how I made these in my dollhouse blogs.  They are easy to make and FREE!!


This is the finished gazebo.  I painted some areas a brown color and other areas white.  I hope this helps you in making something different.  If you find a candle holder at a garage sale you can make one of these.  This gazebo will be used for one of my dollhouses in a near future blog, keep your eyes open for it.