Ad sense auto

Google analytics

Saturday, February 23, 2019

Making a curtain rod for a dollhouse

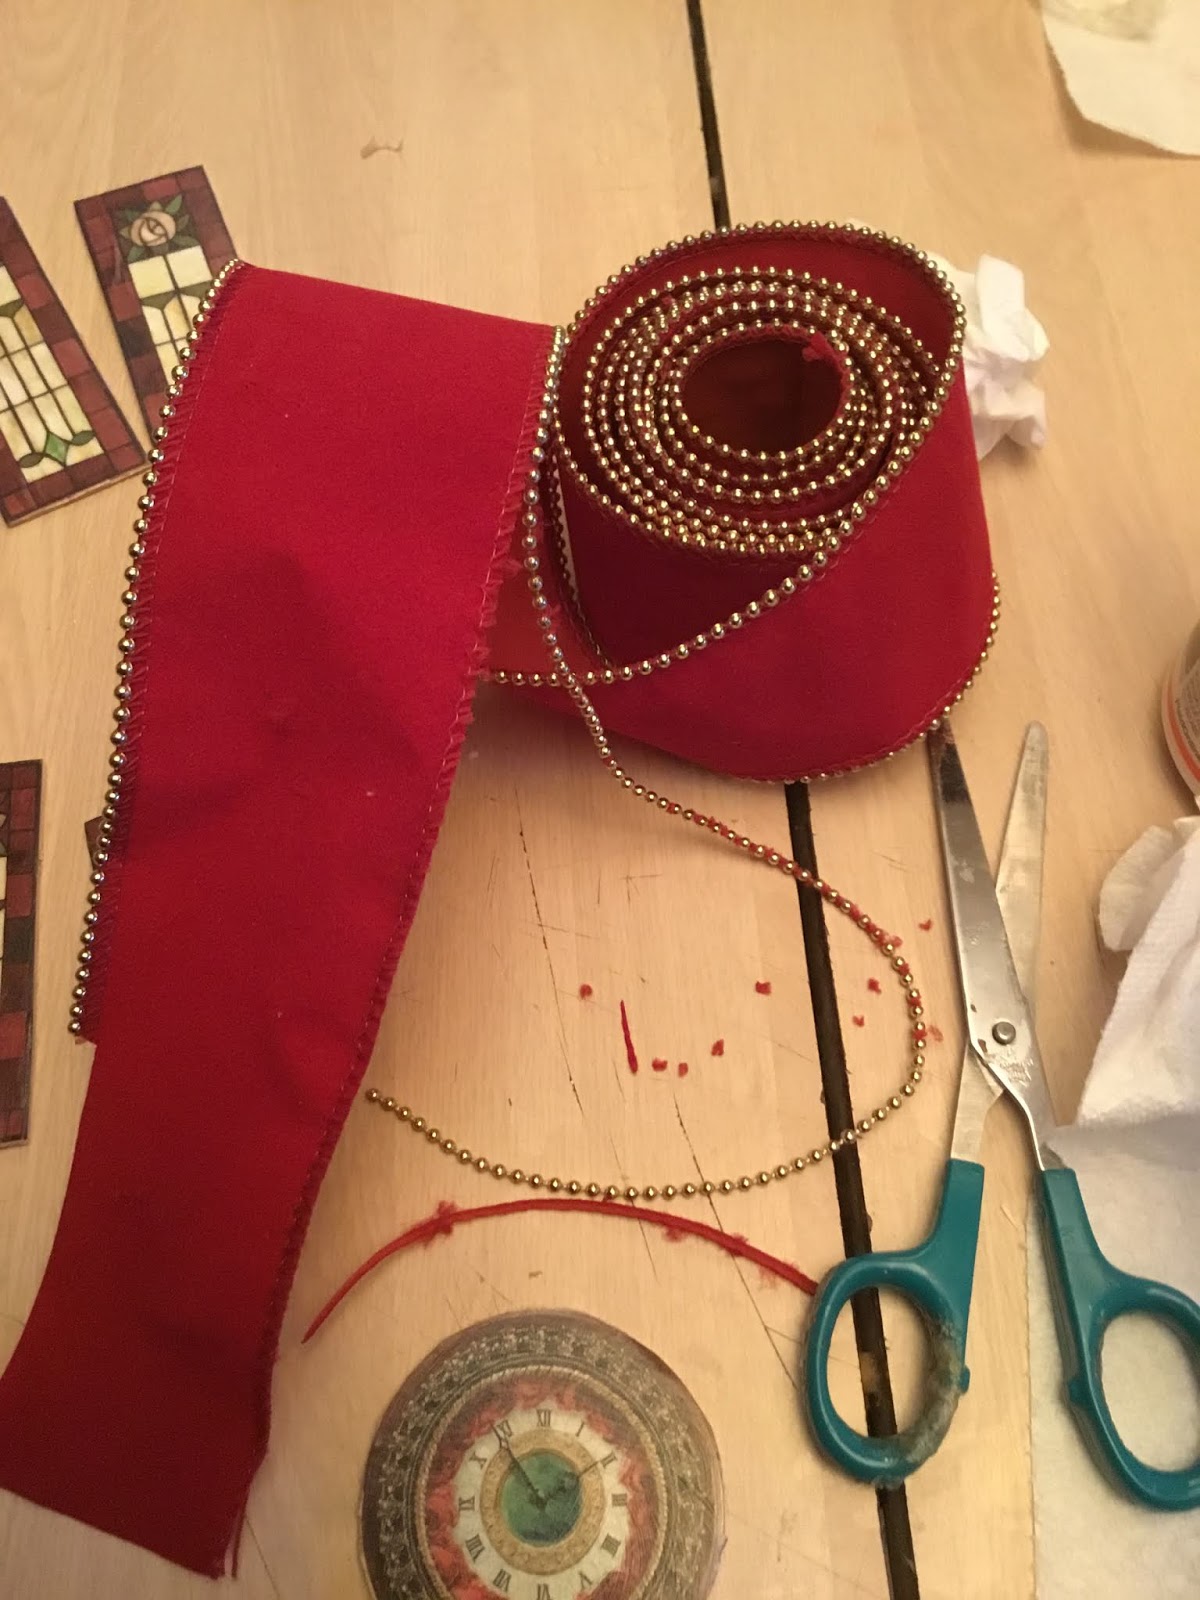
This is what you are going to need, a small round dowel and two beads that have holes in them.


You need to cut two pieces of dowel the size you need for the window.  What I did then was use a razor knife and make the ends to fit into the bead holes.  First you put some hot glue in the bead hole and put one end of the dowel in the bead.  The hot glue holds it into place.  Next put on the curtain you are going to be using.  I used a very wide piece of trim that I cut a piece off of.  You put it zig zag through the holes of the curtain then on the other side glue on the other bead.


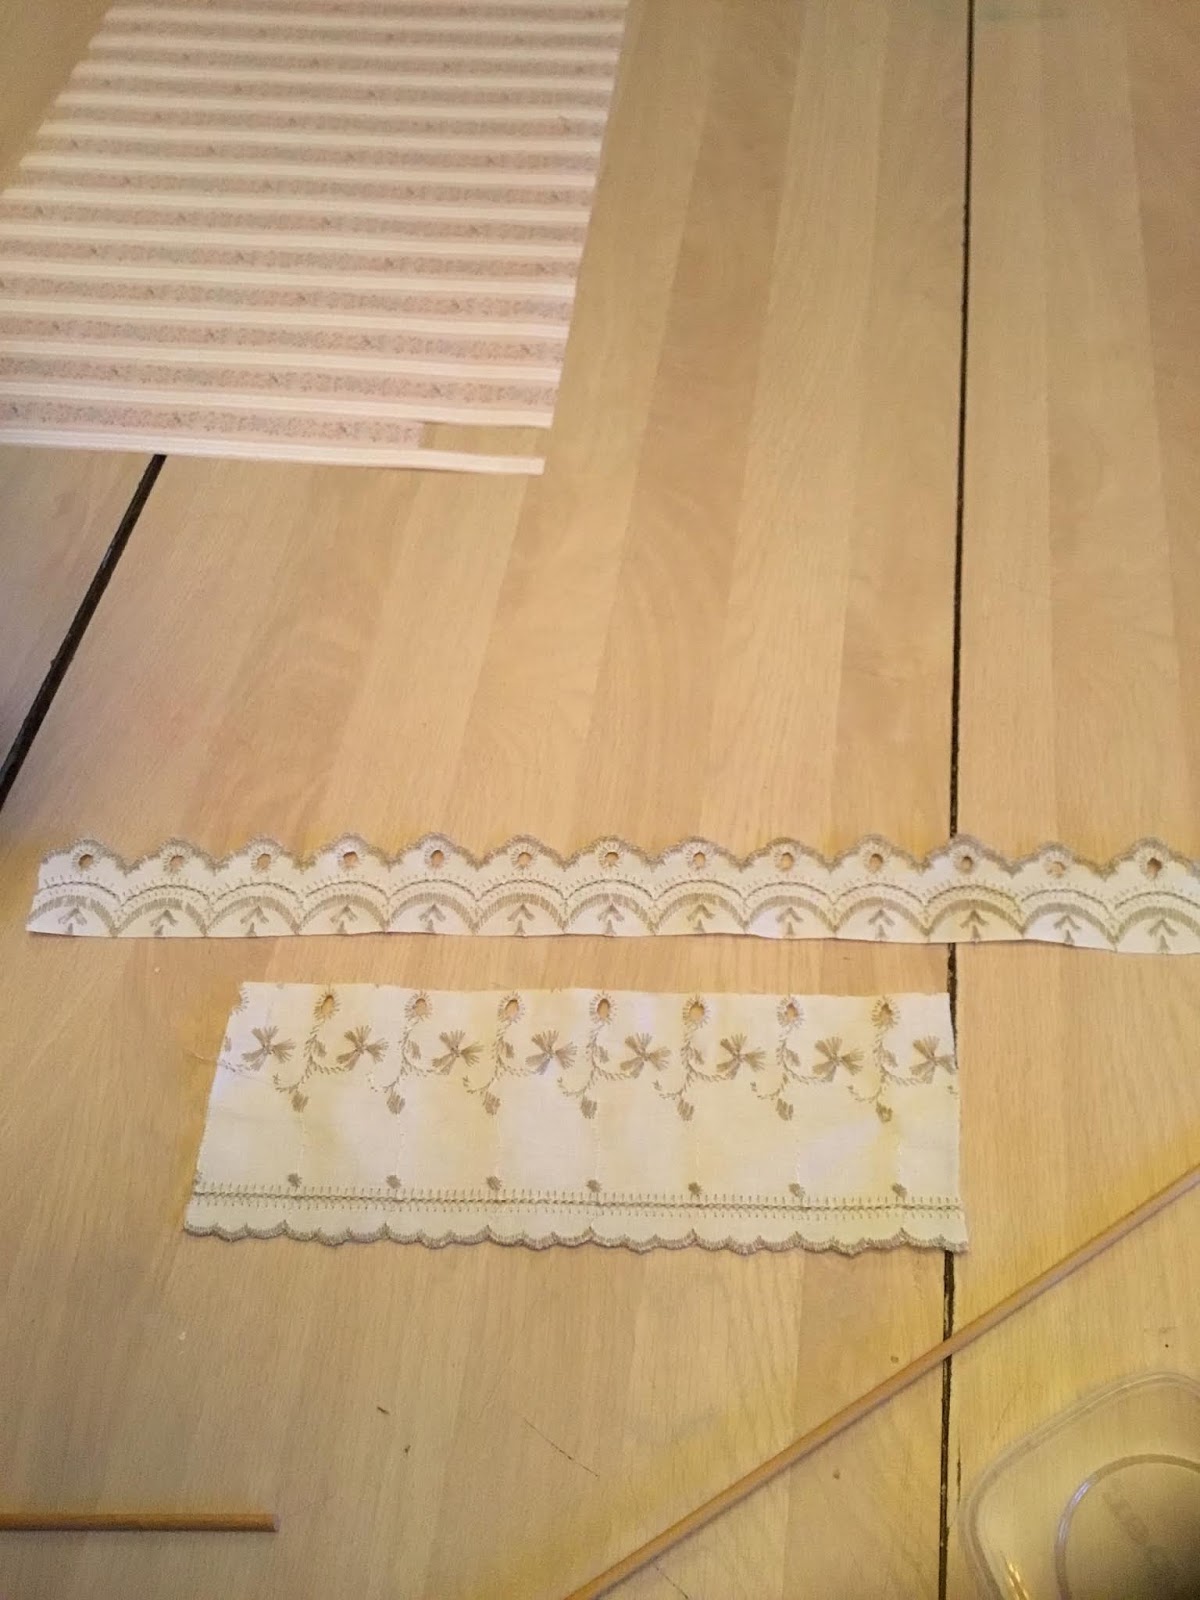
This is what I used for my curtains, it had holes in it that I could put the rod through.


In this picture you can see where I cut the material, I wanted to get curtains and toppers out of it.


Here is my curtain.  Now to put it up, I’m going to show you how to make the piece that holds up your curtain rods in my next blog post.  You can use and type of material to make your curtains. Use you imagination and it will soar!


Friday, February 22, 2019

How to make a framed picture for dollhouse


In this picture you can see the picture in the middle, which was a sticker.  The first thing I did was cut a piece of cardboard from a cereal box way larger than the picture. Then I took the paper off the back  of the sticker and stuck it to the cardboard. I then took large colored popsicle sticks and hot glued them around the picture on the cardboard.  I cut the popsicle sticks to the sizes I needed before hot gluing them down. Finally I used gold and black paint pens to make swirl designs on the sticks.


This is what the back looks like.


This is what it looks like on the wall in a dollhouse.


Use your imagination and it will soar!

How to make playing card wallpaper for dollhouse

These are the playing cards I decided to use.


You can see in this photo that the playing cards are glued to the walls and popsicle sticks are used on the sides of the cards.  I also put popsicle sticks on the tops. You can use any playing cards. Use your imagination and it will soar!


Another view.


Thursday, February 21, 2019

Making a clock from a magazine photo


This is the magazine that I saw the picture of the clock in.  You can get this catalog for free online. Just go to the bottom right of the homepage and select the request catalog option.


All this picture is a copy of the picture of the clock that is from the magazine.  I made a copy, cut the picture and glued it onto a piece of wood. You can also use a piece of cardboard.  Then, I took some gold bead trim and glued it around the outer edge of the clock. In the next picture you will see what the trim looked like that I got the gold beads from.


I just cut off the gold bead part and used it.


In this picture you can see the clock which is glued onto the front top of the dollhouse.  Use your imagination and it will soar!


How to make beautiful shutters for a dollhouse from a magazine


This is the magazine that I found a beautiful stained glass hanging piece.  You can get this catalog for free, you can go on their site and sign up for one, here. The request catalog option is on the bottom right of their page.


This is the item I found and made copies of from the magazine.


Next, I took thin pieces of wood and cut out pieces the same size as the pictures.  Then I used mod podge to glue the pictures onto the wood pieces.


This is the mod podge I used as well as the thin pieces of wood. You can also use cardboard if you don’t have some thin wood lying around.


This is what they look like once they are glued down onto the wood. I also put on a layer of mod podge over the picture to protect it.


You can see in this picture how beautiful these shutters look on both sides of the windows.  These pictures were out of the magazine.  There are many things in this magazine and other magazines that you can make copies of the pictures and use the pictures for making framed pictures for in a dollhouse, shutters etc.  use your imagination and it will soar!


Wednesday, February 20, 2019

How to make fake bricks on dollhouse chimney


Here is the fireplace chimney I’m going to make into fake brick.


 The first thing I did was paint whites lines on the chimney making the lines as wide as I want my bricks to be.


The next thing is to draw lines going up and down for the length of the bricks.  Make sure you stagger the lines from one line to the next as you can see in the photo.


You do this all the way down the chimney and this is what it will look like. 


This is another view of the chimney.  You can use this technique for different items.  Use your imagination and it will soar!


How to make a "stone wall" for a dollhouse

You will need these types of egg cartons or any type of cardboard that resembles this cardboard.  I cut out the cardboard to make easier pieces to work with.  You need to cut out stone looking pieces out of this cardboard.  I cut out circles of different sizes and off shapes.


Using the tacky glue to glue the circles onto the areas that you want to texture like stone. On the left you can see what it looks like with them glued on and on the right after they are glued on and painted. The background color is a lighter gray than what the "stones" are painted.


In this picture you can see it all painted with the gray. Now for the detailing on the stones.


I use a piece of aluminum foil so I can mix the colors together, it also makes for an easy cleanup.


The first color I use is I mix the gray with a little dark brown.  Using a hard bristle paint brush, the kind you use for stenciling. I dab this color on the stones,  make sure you don’t put a lot on the brush use the amount that you would use if you were stenciling.  I smear the color on the aluminum foil to get it thin layer to dab.  Once that color is on the stones I add a little black to that color and do the same thing all over.  However dab the colors in different areas, not a lot small amount; you want it thin not thick.  Once you added this color in take your paint brush and wash it out.  I use the same paint brush for the next part.  Take the color white dabbing a small amount each time when your running out and using a small amount on your paint brush and in a circular motion blend the white over top of the colors on the stone to get that blended in stone look.  You can use different colors for different color stones use your imagination and it will soar!


Tuesday, February 19, 2019

Making a beautiful display for your dollhouse

You will need a candlestick holder, you can see the one I used.


You also need one of these plastic containers from a bubblegum machine.


I used two small elephants for this project.


You also need felt.


I also used pieces of fake greenery.


Also a cap from your laundry detergent.


I use tacky glue for some things in this project.


I also use E6000.


I first took the laundry detergent cap and glued down a piece of green felt on it with tacky glue.


Then I used hot glue to glue down the piece of greenery.


Then I glued down the statue I wanted to use. I’m using an elephant charm.


Then using e6000 I glue the cap into the top bubblegum cap.


Then I glue the bubble gum holder back together again.


Then it gets glued down onto the candlestick holder.  You can use any item you want to, use your imagination and it will soar!


Monday, February 18, 2019

Making perfume bottles for your dollhouse

I went to a flea market today and bought necklaces that also came with earrings, for a very good price and from a beautiful woman.  I love necklaces; you can get a lot of perfume bottles from a necklace. Here are the necklaces I used for this craft.


I had to print out some perfume labels off the internet so I have them for the perfume bottles.  You can look up labels on yahoo or google under images.


If you look at this picture you can see the beads I glued together to make the perfume bottles with E6000.  you can also see the labels I glued onto them with mod podge.


 I used poker chips for under the perfume bottles. I painted around the edges of them with gold.


Here is another close up.


And another..


And another...


Here is another closeup.  Use your imagination and different necklaces, and your imagination will soar!